

This topic explains how to generate a file from RPI so that you can access it from other third-party tools.
This process is required to allow data to be sent through to an external content provider (e.g., AWS, Azure, SFTP, etc.). Refer to Cloud storage providers for specific configuration details.
Create a new export template
Depending on the data you plan to activate and the channel(s) the data is being activated to, you should define different data layouts or “Export Templates” as they are known in RPI. Each Export Template represents the list of data attributes that will be exported.
An Export Template is required to allow data to be sent through to an external content provider (e.g., AWS, Azure, SFTP, etc.). Refer to Cloud storage providers.
-
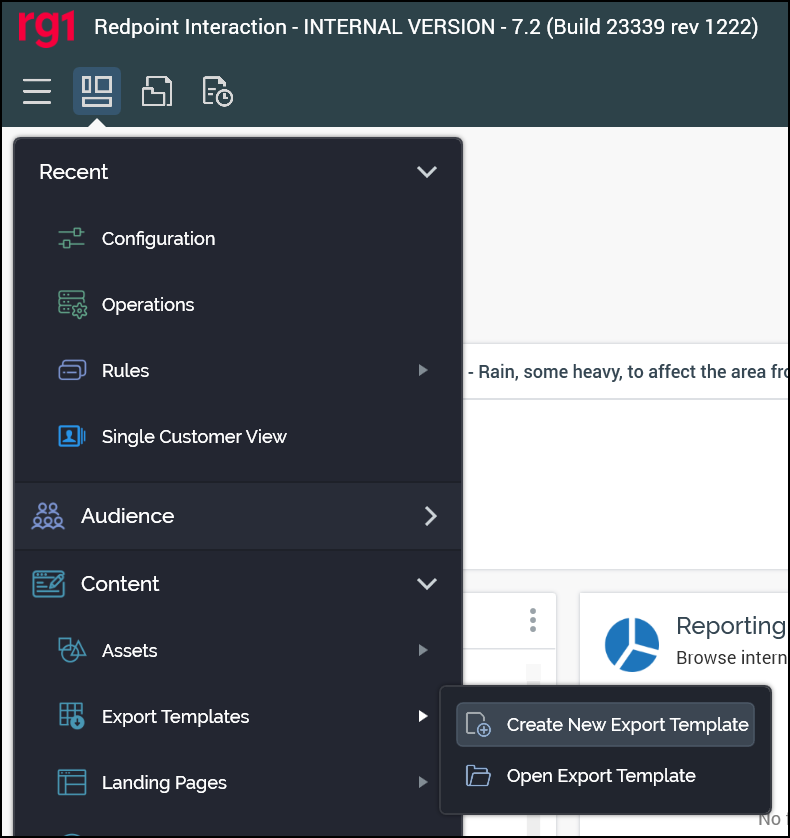
Navigate to Content > Export Templates > Create New Export Template
-
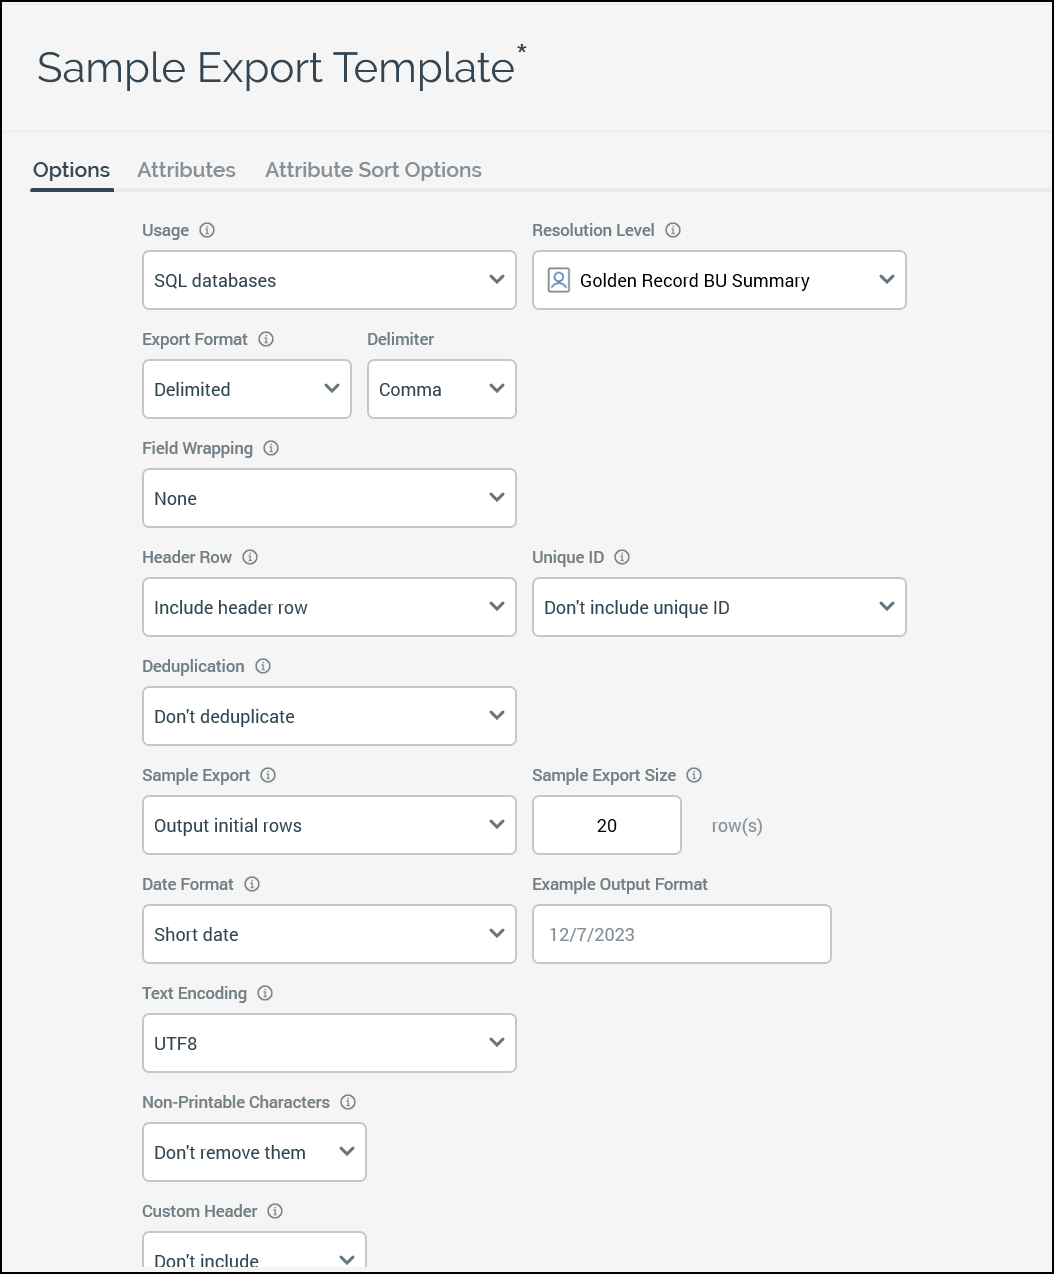
Name the Export Template appropriately for the given vendor.
-
In the Options tab make the proper selections based on vendor requirements.
-
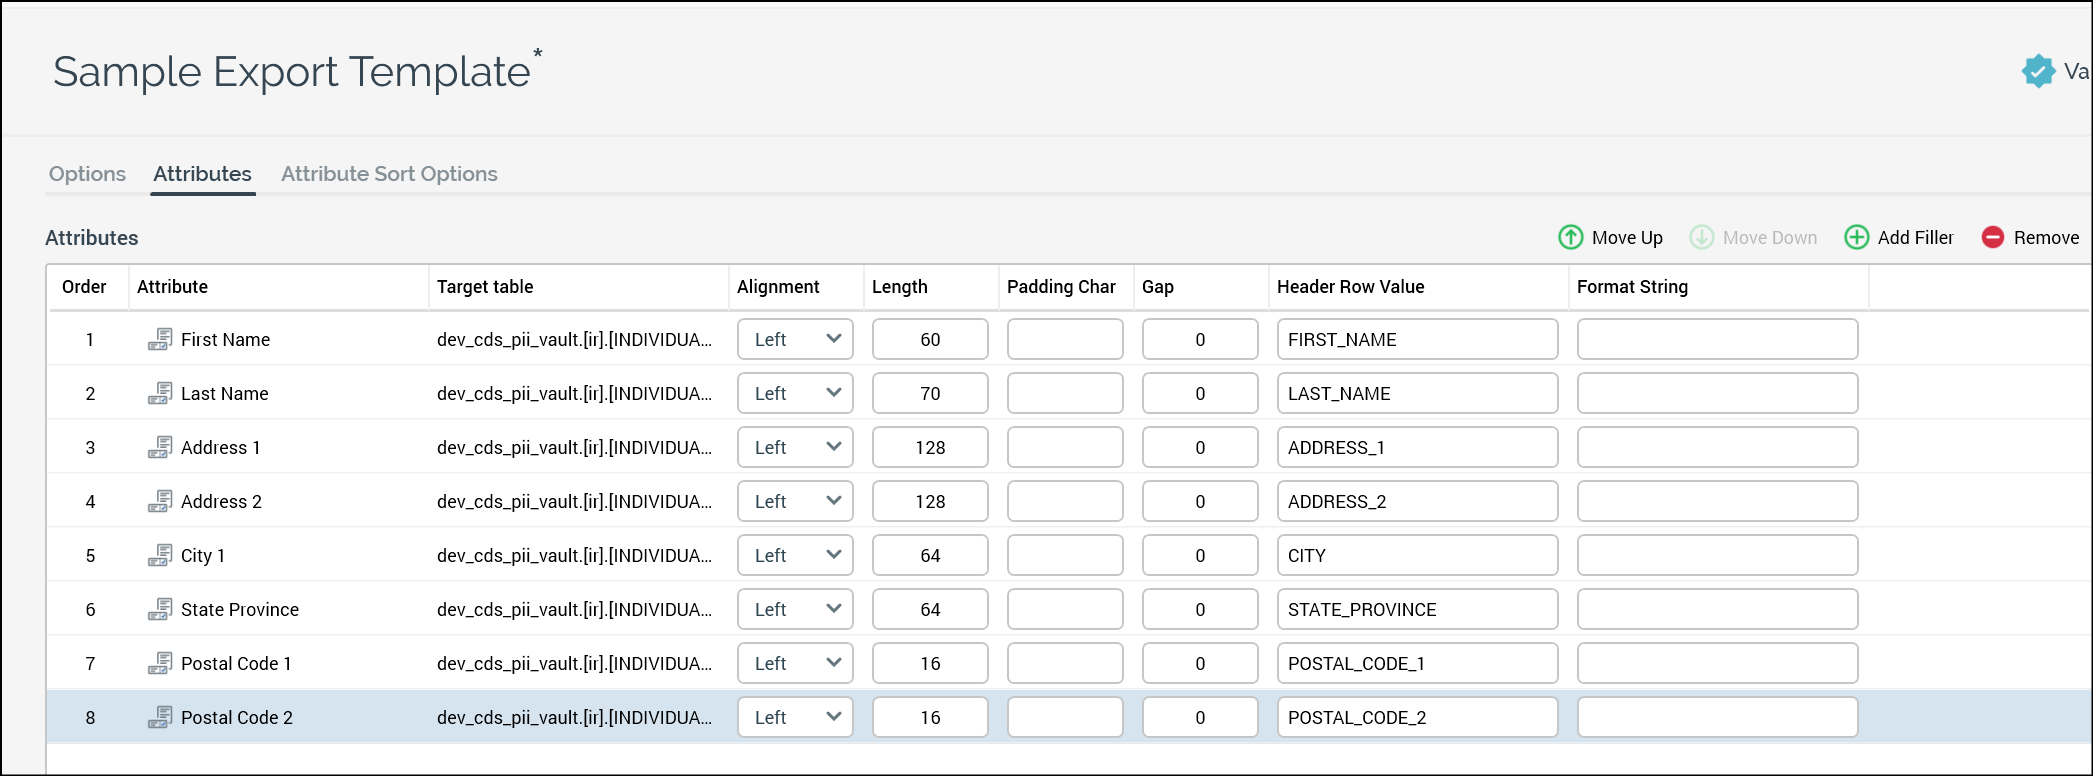
In the Attributes tab select the fields that will be sent to the specific vendor from the available attributes. The required fields will be different based on vendor requirements.
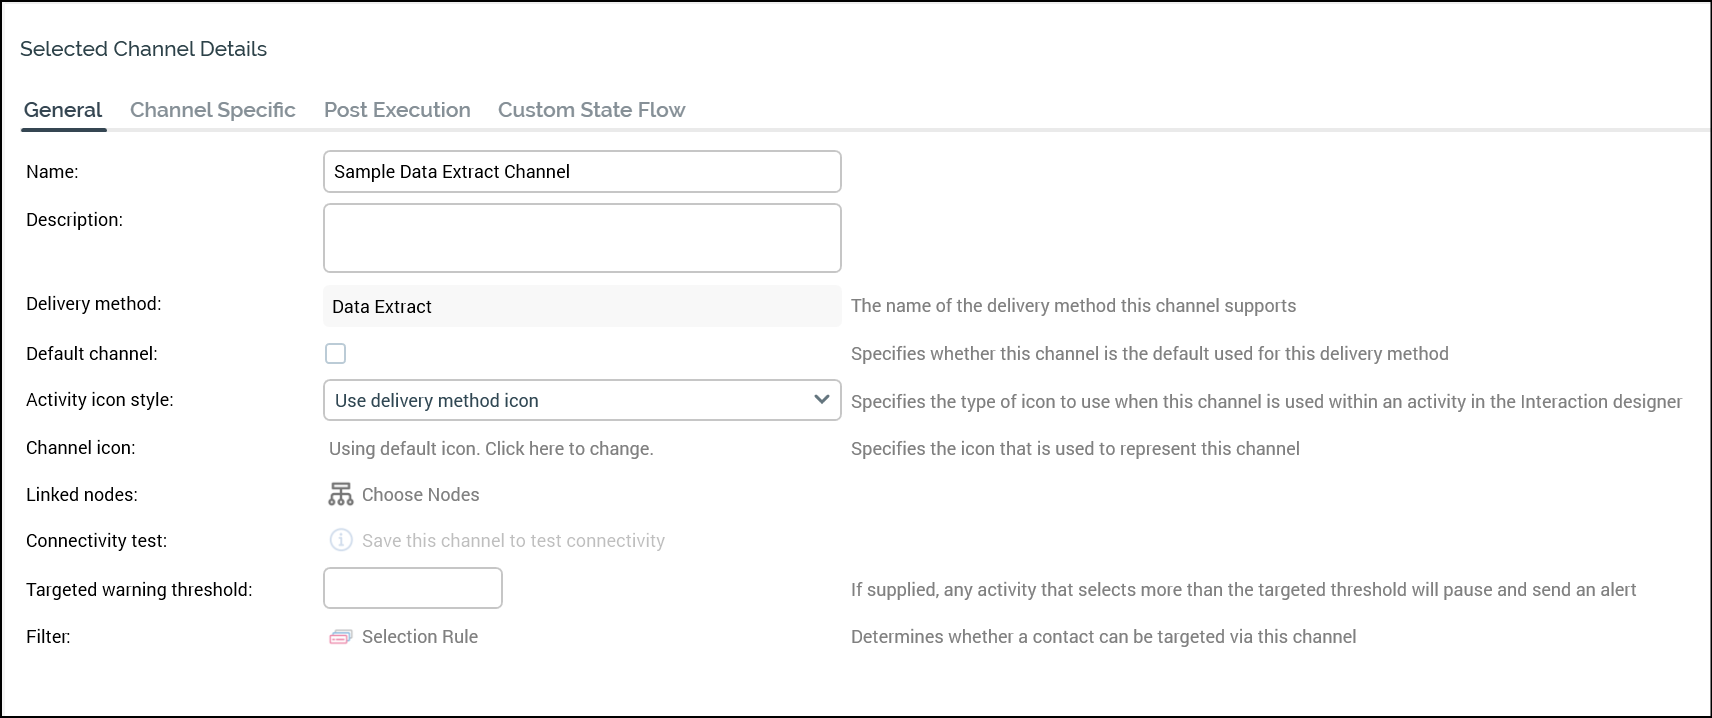
Create a new data extract
-
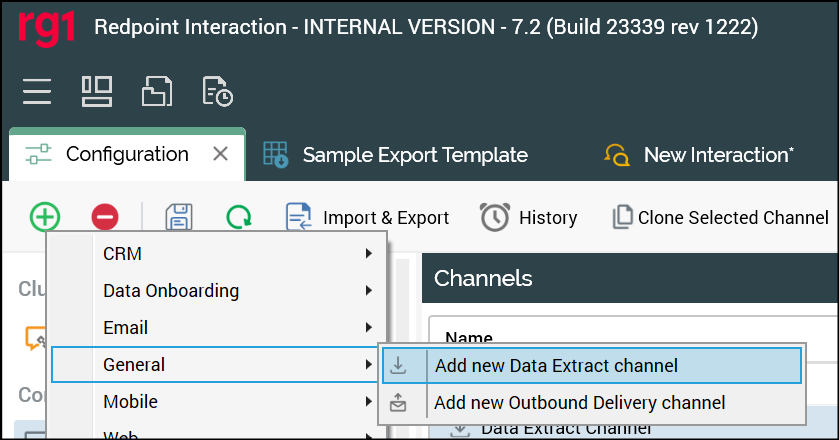
Navigate to Configuration > Channels.
-
Click the green plus button
-
Name the channel appropriately for given client and/or resolution level.
-
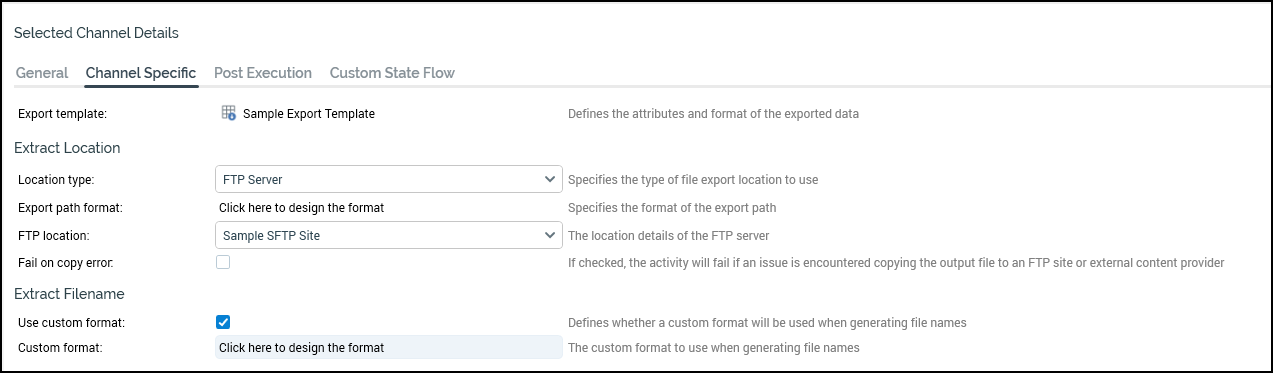
In the Channel Specific tab for the new channel, update the following settings:
-
Export template: Select the specific vendor export template.
-
Location type: Specify the type of export location (e.g., FTP Server).
-
FTP location: If you specified FTP Server as your Location type, select the specific FTP Location for specific vendor.
-
In the Extract Filename section:
-
Check Use custom format.
-
For Custom format, click the Click here to design the format link to open the Design Filename Format dialog and define the vendor-required naming convention.

-
-
The destination is now usable from the Redpoint CDP Activation screens, or can be used by other third-party providers, such as Data onboarding providers.