

Overview
Users can be created, managed, and deleted using a dedicated Server Workbench tab.
A user can be associated with one or more clients (a process which can be managed in the same context).
Note that users can also be created and managed from within the RPI client application. On creation of a user in that context, an automatic link to the client within which the creating user is working is also added. On deletion of a user in the client application, the results of this action depend on the number of clients with which the user is associated. If associated with multiple clients, the user record remains, but the link to the client is deleted. If associated with a single client, the link between client and user, and the user record itself, are deleted.
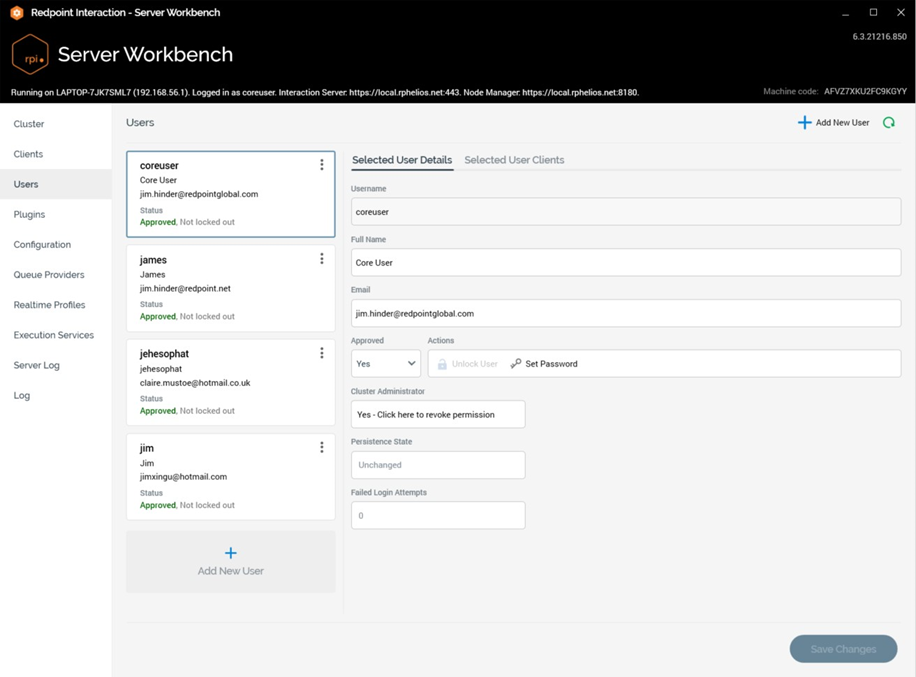
The Users tab consists of the following:
Toolbar
The Users tab toolbar exposes the following options:
-
Add New User: clicking this button adds a new user to the bottom of the Users list. The new user’s default Name is “username” and Full name “New User.” If “username” already exists, the default name is set to “username2” (this numerical value can be incremented).
-
Refresh: clicking this button loads the latest user information from the core operational database. Note that an “Are You Sure?” dialog is shown if unsaved client or user changes are present.
Users List
A list of users configured at the current cluster is displayed to the left.

When no users have yet been set up in the cluster, the list displays an advisory message (“Add and save a user, then choose clients to which he or she will have access”).
The Users list contains a list of the users that have been created in the cluster. For each user, the following properties are displayed:
-
Username
-
Full Name
-
Email
-
Status:
-
Approval status
-
Locked out status
-
-
Actions: exposing a single option:
-
Remove: selecting this option sets the selected user’s Persistence state to Deleted (unless its status was Added, in which case it is removed from the grid). You can no longer select a Removed user. Any Removed users are deleted permanently on invocation of Save.
-
Users are ordered alphabetically by Username.
On initial cluster commissioning, a default user, with the following properties, is created:
-
Username: “coreuser”
-
Full Name: “System administrator”
-
Email: “notset@default.com”
-
Password: “.Admin123”
Selected User Tabset
This section displays an expanded view and editable properties of the user selected currently in the users list. Two tabs are provided, and are described separately below.
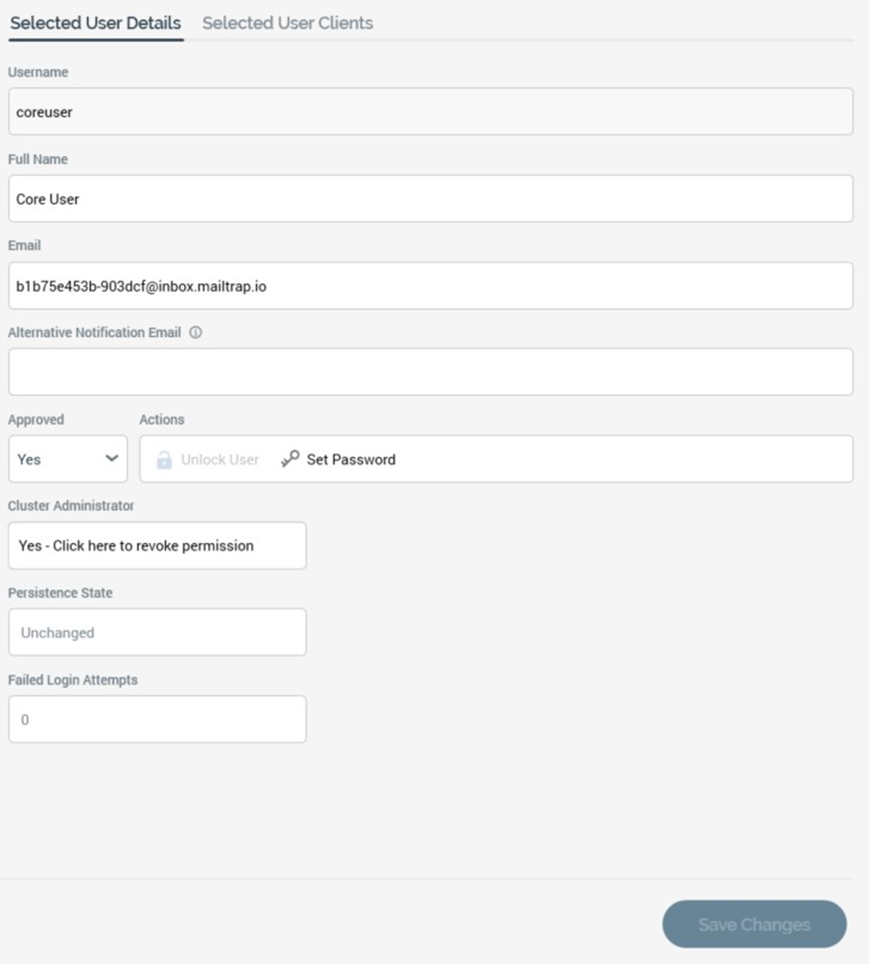
Selected User Details Tab
This tab exposes the following properties:
-
Username: this property is mandatory and can be a maximum length of 256 characters. Username must be unique within the cluster and is read-only once a new user has been saved.
-
Full name: this property is optional and can be a maximum length of 256 characters.
-
Email: this property is mandatory and can be a maximum length of 200 characters. The value provided must be unique within the cluster and must be a valid email address.
-
Alternative Notification Email: this property allows you to define a second email address, to which notification emails will be sent, rather than to the provided Email address.
-
Approved: a Yes/No dropdown, set to ‘No by default when creating a new user. An unapproved user cannot log into the RPI client application.
-
Actions:
-
Unlock User: this option is only available when the currently-highlight user’s account is locked. Its invocation is protected by an “Are You Sure?” dialog. Clicking the button unlocks the user account, allowing the user in question to log into the RPI client application once again. It also resets the user’s failed login attempts count to 0, and removes the Lockout ends property from display.
-
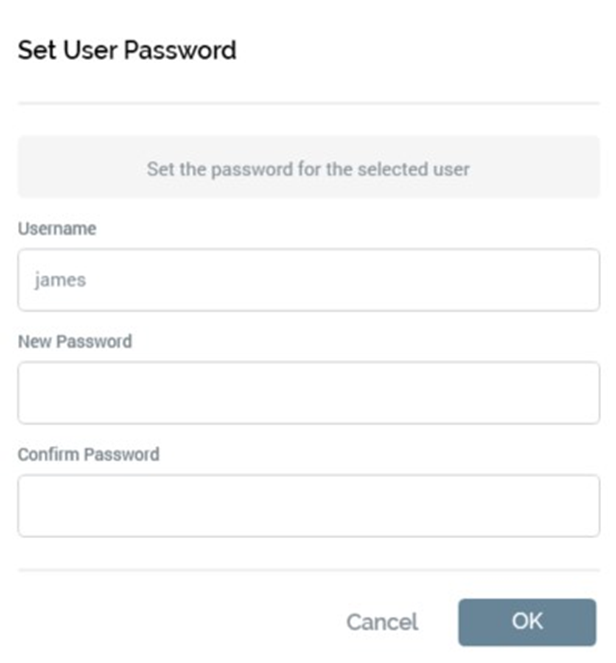
Set Password: this button is available at a previously-saved user, where no unsaved changes exist. Clicking the button displays the Set User Password dialog, which contains the following:
-
Username: read-only.
-
New password: it is mandatory to supply a new password. The value provided must adhere to the current password policy.
-
Confirm password: also mandatory; the value supplied must match New password.
-
Cancel: clicking this button removes the dialog from display without setting the user's password. Note that clicking off the dialog has the same effect.
-
OK: clicking OK sets the user's password if the conditions above are met, otherwise displays a validation error.
-
-
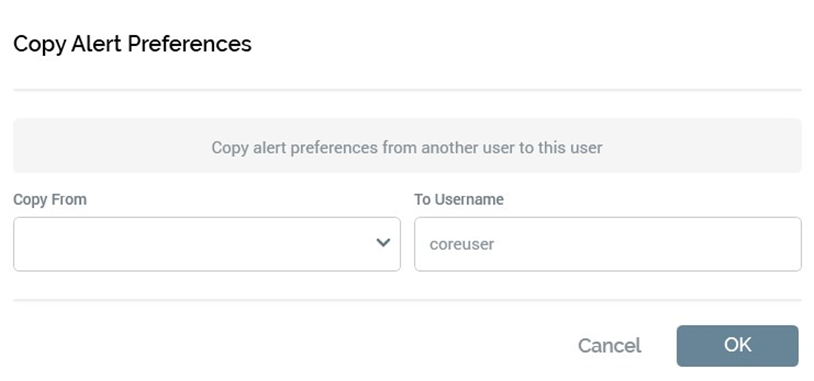
Copy Alert Preferences: this button, which is available when the current user's Persistence State is Unchanged, allows you to copy alert preferences from another user to the current user. Clicking it displays the Copy Alert Preferences dialog containing the following:
-
Copy From: this dropdown property is blank by default. It lists all RPI users other than the current user. For each, the following are displayed:
'[Username] ([Full Name])'
It is mandatory to select a user from which to copy alert preferences. -
To Username: a read-only representation of the current user's username.
-
OK: you can click OK to copy user preferences to the current user. Following a successful copy of user preferences, an advisory message is displayed at the top of the Server Workbench interface:

-
Cancel: clicking this button removes the dialog from display. Clicking off the dialog has the same effect.
-
-
-
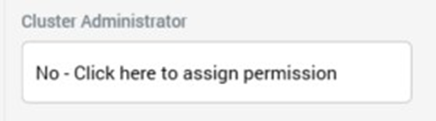
Cluster administrator: only users who are defined as cluster administrators may access Server Workbench. By default, a user is not a cluster administrator, and this property appears as follows:
If you click the accompanying button, the user becomes a cluster administrator, and the property is shown thus:
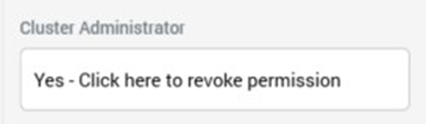
Clicking the button again revokes the cluster administrator permission.
Note that it is not necessary to save changes to this property using the Save Changes button; changes are saved automatically upon clicking the Cluster administrator button.
Note also that you cannot revoke your own cluster administrator permission. -
Persistence State: one of:
-
Unchanged
-
Added
-
Edited
-
Deleted
-
-
Failed login attempts: this read-only property displays the current number of failed login attempts undertaken by the user. It is reset to 0 when the user’s account is locked.
-
Lockout ends: this read-only date/time property is shown when the user is locked out and displays the time at which the user’s account will be automatically unlocked.
Selected User Clients Tab
The Selected User Clients tab exposes the following:
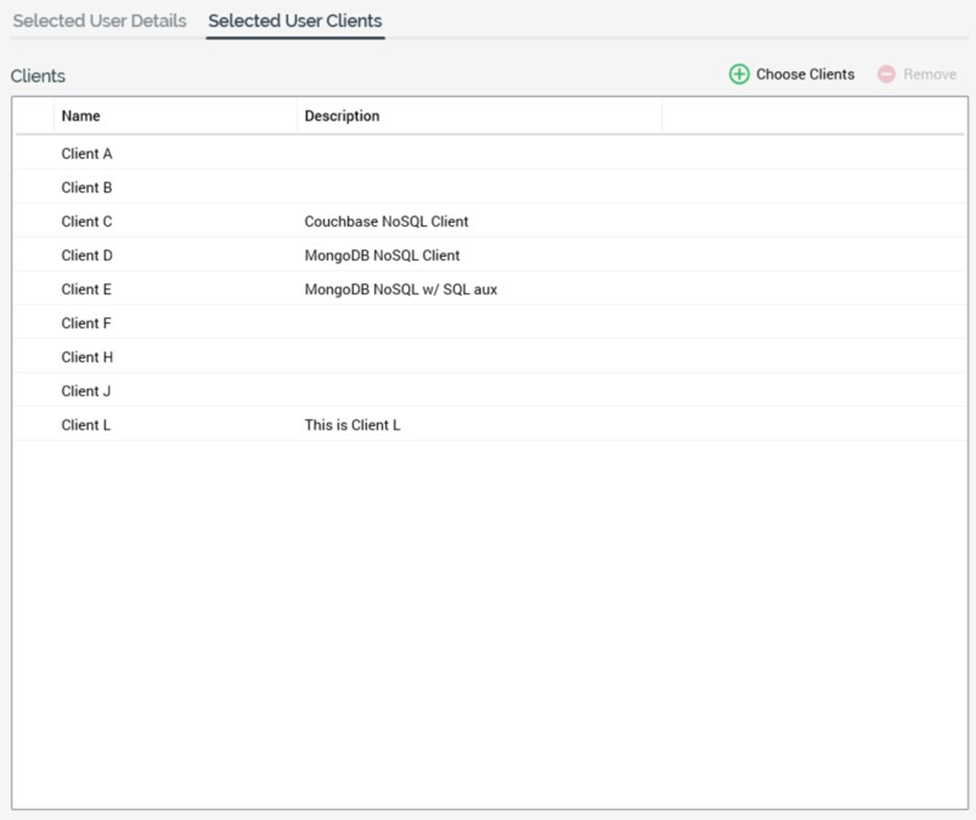
A toolbar is shown above the list and exposes the following buttons:
-
Choose Clients: clicking this button displays the Assign Clients dialog (documented separately). The dialog allows you to manage the assignment of clients to the currently selected user.
-
Remove Clients: this button is available when one or more client(s) is/are selected. Clicking it removes the selected client(s) from the Clients list.
The Clients list itself displays a read-only list of those clients associated within the currently selected user. Clients are displayed in alphabetical order by Name. The following client properties are shown:
-
Name
-
Description
Footer
A single button is displayed at the bottom of the Users tab:
-
Save Changes: The button is available when outstanding changes exist in the Clients or Users tabs. Clicking Save persists any client and user changes to the core operational database. Any displayed status icons are removed.
Password Policy
Users’ passwords must conform to a password policy, which is applied to all clients in the current RPI installation.
The following cluster configuration settings are used to define the password policy:
|
Name |
Description |
|---|---|
|
DefaultAccountLockoutTimespan |
Number of minutes a user is locked out for after MaxFailedAcessAttemptsBeforeLockout is reached |
|
MaxFailedAttemptsBeforeLockout |
Number of access attempts allowed before a user is locked out (if lockout is enabled) |
|
PasswordRequireDigit |
User passwords require a digit |
|
PasswordRequiredLength |
Minimum required length of user passwords |
|
PasswordRequireLowercase |
User passwords require a lower case letter |
|
PasswordRequireNonLetterOrDigit |
User passwords require a non-letter or digit |
|
PasswordRequireUppercase |
User passwords require a lower case letter |
|
UserLockoutEnabledByDefault |
If true, will enable user lockout when users are created |
Assign Clients
The Assign Clients dialog—displayed on invocation of Choose Clients at the Clients list in the User tab—allows you to manage the assignment of clients to the currently selected user.
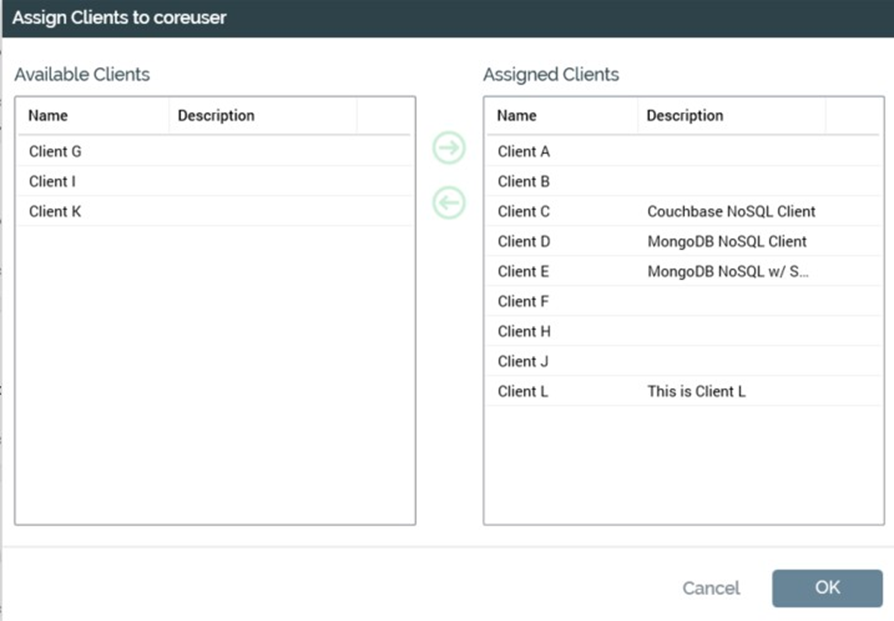
On invocation, the dialog presents two lists of clients: to the left, a list of those clients within the cluster that are not currently assigned to the selected user; and to the right, a list of those already assigned. On initial display, the contents of the two lists reflect the current state of client assignment at the user.
Available Clients Section
The list to the left displays clients that have not yet been associated with the current user. Clients are listed alphabetically. The following properties are shown:
-
Name
-
Description
Clients Buttons
Two buttons—shown between the two lists—control the assignment of clients to, and removal of clients from, the current user:
-
Assign the selected Clients to this User: this button is enabled when one or more clients are selected in the Available Clients grid. Invocation moves the clients to the Assigned Clients grid.
-
Remove the selected Clients from this User: this button is enabled when one or more clients are selected in the Assigned Clients grid. Invocation moves the clients to the Available Clients grid.
Note that double-clicking a client in either list has the effect of removing the client from that list and moving it to the other list.
Assigned Clients Section
The list to the right displays clients that have been associated with the current user. Clients are listed alphabetically. The following properties are shown:
-
Name
-
Description
OK and Cancel
Clicking the OK button at the bottom of the dialog closes the dialog. Any changes to the user’s client assignment are reflected in the Clients list. If changes were made, the user’s Persistence state is set to Edited, and it is necessary to click Save to make the changes permanent.
Clicking Cancel closes the dialog without saving.