

Azure Redis Cache provisioning
This section describes how to provision an Azure Redis Cache. Please follow the steps below:
-
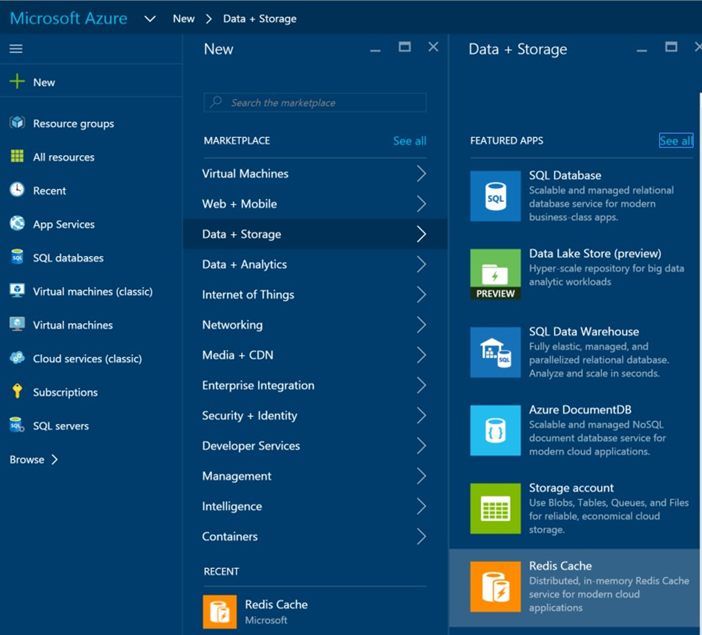
In a web browser, log onto the Azure portal: https://portal.azure.com.
-
Click New > Data + Storage > Redis Cache.
-
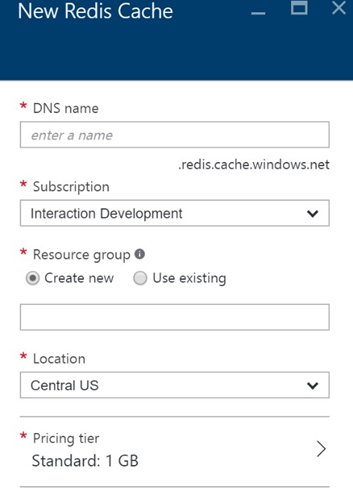
Supply the required fields for the new instance and click Create.
Web Processor Site Configuration
This section describes how to configure the Web Processor web site to utilize the Redis caching mechanism to support RPI Realtime decisions. Please follow the steps below.
-
Open the
web.configfile from the WebProcessor web site.
-
Ensure you have uploaded these two assemblies within the Web Processor bin directory:
-
Redpoint.Resonance.RedisCache.dll -
Sider.dll
-
-
In the
web.configfile, add the following entries:XML<section name="redisCacheClient" type="Redpoint.Resonance.RedisCache.Configuration.RedisCacheClientSection, Redpoint.Resonance.RedisCache" />This entry must be added within the
<configSections>section.XML<setting name="WebCacheAssembly" serializeAs="String"> <value>Redpoint.Resonance.RedisCache</value> </setting> <setting name="WebCacheClass" serializeAs="String"> <value>Redpoint.Resonance.RedisCache.RedisCacheHandler</value> </setting>These entries must be added within the
<Redpoint.Resonance.Web.Shared.Properties.Settings>section.XML<redisCacheClient><host IPAddresses="10.100.68.157:6379"/></redisCacheClient>If running on a clustered Redis environment, the specified IP addresses in
IPAddressessetting must be in a comma-separated value. The<redisCacheClient>entry must be added within the<configuration>section.