This section describes how to configure Azure Service Bus for use with RPI. Please follow the steps below:
-
Set up your service bus namespace in Azure and obtain the connection string.
-
Log onto the Windows Azure portal (https://manage.windowsazure.com).
-
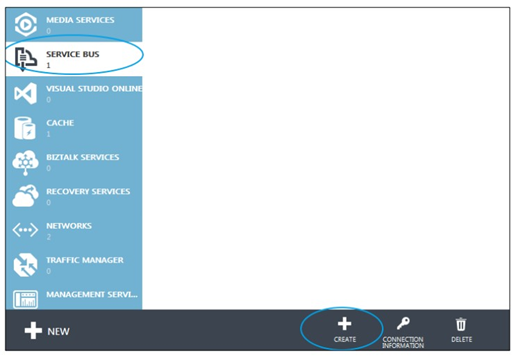
Once you have successfully logged into the portal, go to the Service Bus tab and click CREATE as shown below:
-
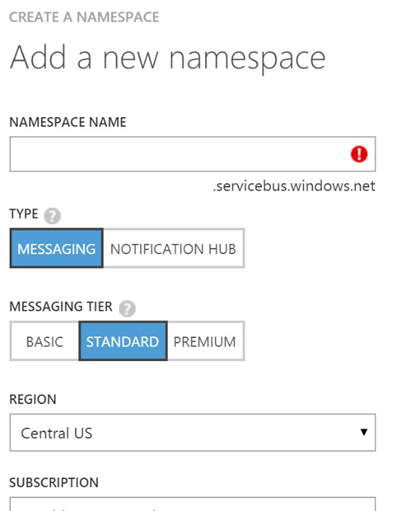
Provide a NAMESPACE NAME, leave the default TYPE of MESSAGING, and choose your REGION and SUBSCRIPTION:
-
Once the namespace is created it will appear in the list of service bus namespaces. Select the record and then click on the CONNECTION INFORMATION icon from the taskbar at the bottom of the page:

-
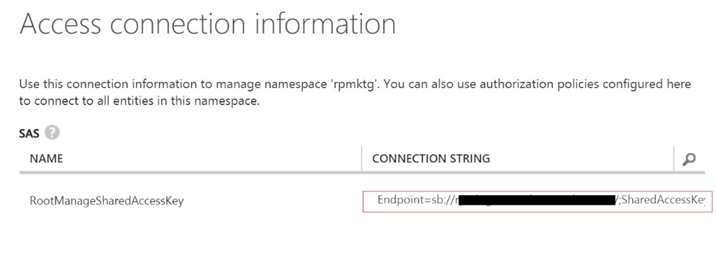
From the Access connection information dialog that pops up, copy and record the entire CONNECTION STRING property value. This will be used when configuring the queue provider in RPI:
-
-
Setup RPI queue configuration elements to use your newly created Azure message bus as the queue provider.
-
Log in to the RPI Client as an Admin user and navigate to Configuration -> Queue Providers
-
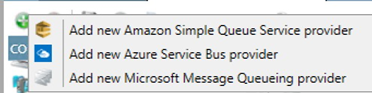
Select the icon with the plus sign to create a new queue provider then select the option ‘Add new Azure Service Bus provider’.
-
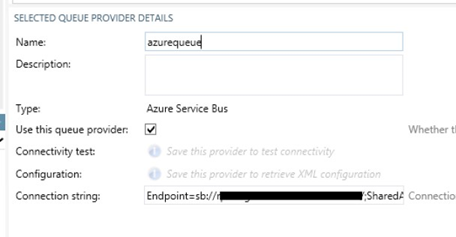
Give your queue entry a name, select the option to ‘Use this queue provider’ and then paste in the Connection String harvested in the section above.
-
Save the record and once saved, click on the ‘Connectivity test:’ button to verify connectivity to the service bus.
-
Once successful connectivity has been verified, click on the ‘Copy XML configuration to clipboard’ button and record the XML configuration details. This will be used in the web.config file for the RPI Realtime API site:

-
Navigate to Configuration -> System Configuration and set the value for following 3 queue related parameters. Please note that the queues need not already exist within the Azure service bus namespace as RPI will create the queues automatically if they do not exist:
-
FormSubmissionQueuePath
-
WebCacheQueuePath
-
WebEventQueuePath
-
-
Make a note of the names entered for the 3 queues as they will be entered in on the web.config file within the RPI Realtime API site in the next section.
-
-
Configure your Realtime API web.config file to reference the new queue provider and queues created in the sections above.
-
Open up the web.config file at the root of the Realtime API web site directory in a text editor.
-
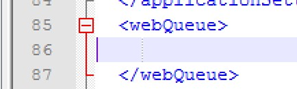
Locate the webQueue XML tags within the web.config file:
-
Within these two tags, paste in the contents of the queue XML configuration details harvested in section 2e above.
-
Locate the following three settings within the <applicationSettings> section of the web.config file and set respectively to match exactly the three system configuration values defined above in section 2f:
-
In this section, enter in the same value from RPI system configuration parameter FormSubmissionQueuePath:
XML<setting name="ProcessQueuePath" serializeAs="String"> <value>value from FormSubmissionQueuePath</value> </setting> -
In this section, enter in the same value from RPI system configuration parameter WebCacheQueuePath:
XML<setting name="WebCacheQueuePath" serializeAs="String"> <value>value from WebCacheQueuePath</value> </setting> -
In this section, enter in the same value from RPI system configuration parameter WebEventQueuePath:
XML<setting name="TrackingEventsQueuePath" serializeAs="String"> <value>value from WebEventQueuePath</value> </setting>
-
-
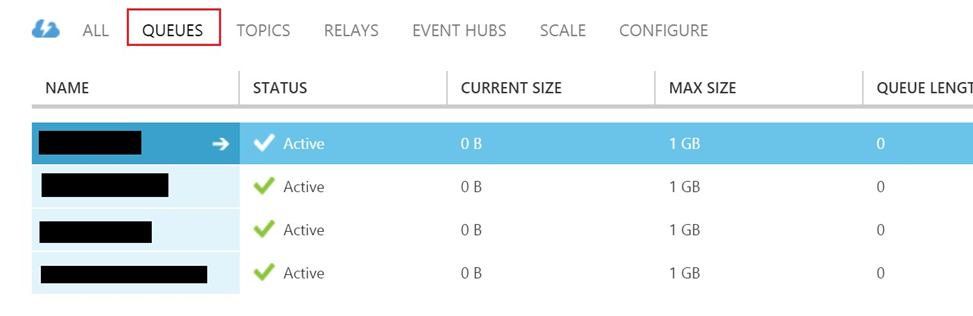
This completes the steps necessary to configure RPI to use Azure Service Bus message queues. You can validate that the queues have been created successfully from the Windows Azure portal. They will be listed under QUEUES within the namespace created in the first section above: