Overview
This section shows how to setup your CheetahMail account to configure an RPI CheetahMail email channel.
-
To acquire a CheetahMail account you will need to contact CheetahMail support directly to obtain the necessary credentials to setup an RPI CheetahMail email channel.
-
You will also need to request whitelisting of your IP address (i.e., the server where RPI is located). This is needed for SFTP access, which will facilitate downloads of email delivery results.
-
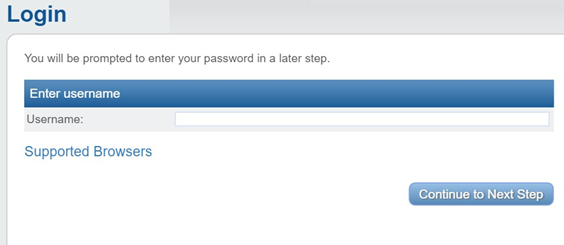
If your account allows you to add custom fields, log into https://app.cheetahmail.com/cm/login.
-
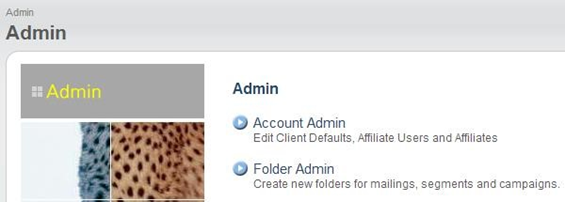
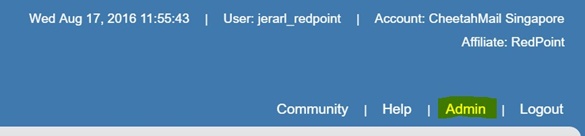
Click the Admin button in the upper navigation bar of the CheetahMail application.
-
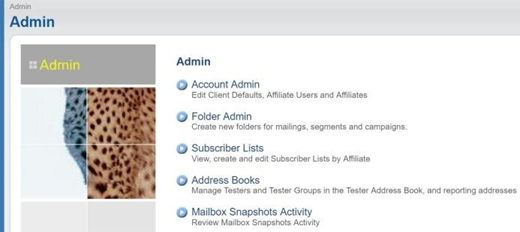
In the Admin screen, click Account Admin.
-
In the Account Admin page, select Manage Fields. Add fields as stated in step 7.
-
If you cannot see Manage Fields on the Account Admin page, request CheetahMail support to add these fields for you. CheetahMail only supports STRING, NUMBER, DECIMAL, and DATE data types for custom fields.
To create a generic custom field, you need to suffix the name of the data type to a series of numbers starting from 1, e.g., ‘STRING1’, ‘STRING2’, ‘STRING3’ and so on, or ‘NUMBER1’, ‘NUMBER2’, ‘NUMBER3’ up to ‘NUMBER-N’.
You can only request up to a total of 500 fields.
-
When results are read back from CheetahMail they are read via SFTP as part of the channel synchronization task that runs periodically. Daily exports need to be configured in CheetahMail as below to make sure the expected file is available:
|
Email Events Reported: |
Bounces, Bulk Mail Sends, Bulk Mail Unsubscriptions, Clicks and Opens, Event Based Mail Sends, Issue ID File, Transactions |
|
Loader Events Reported: |
Loader Events |
|
Subscription Events Reported: |
Change of Address, Demographic Changes, Subscriptions, Unsubscriptions |
|
Delimiter: |
Comma Delimited |
|
Compression: |
zip |
|
Output Directories: |
/cmsg/fromcheetah/ |
The table below describes the CheetahMail RESTful service-based API calls that are utilized by the RPI CheetahMail channel plugin.
|
API |
Service name |
Usage |
Call order |
Data sent |
Expected data |
|---|---|---|---|---|---|
|
login1 |
Get a login cookie; this is used to authenticate other API calls. |
1 |
API username and API password |
Login cookie |
|
|
ok1 |
This is to ensure that we are properly passing the authentication cookie obtained from login1 service, and to check if the cookie does not expire yet. |
2 |
Cookie |
"OK" |
|
|
setlist1 |
Creates new subscriber list. |
3 |
Subscriber list name |
Subscriber list ID |
|
|
getlist1 |
Check if the newly created subscribers list is now available for use. This is important for the whole email sending process because creating the subscribers list from API takes 10 to 15 minutes before it will become available. Without this service to check subscriber list availability, the sending process will fail. |
5 |
Subscriber list ID |
"OK" |
|
|
bulkmail1 |
Creates new mailing and execute mailing for send. |
5/8 |
Email content |
Mailing id |
|
|
load1 |
Upload subscriber’s data. |
6 |
Customer data |
"OK" |
|
|
mailgo1 |
Set mailing subscribers list and approve mailing for sent. |
7 |
Mailing id, subscribers list id |
"OK" |
|
|
setuser1 |
Re-subscribe contact. |
By request |
Email address |
"OK" |
|
|
getuser1 |
Check if contact exists in CheetahMail. |
By request |
Email address |
Contact demographics |
Creating a Subscriber List
-
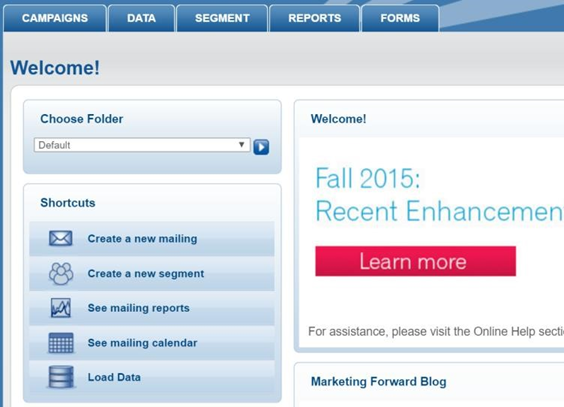
In a web browser, log into https://app.cheetahmail.com/cm/login.
-
Once you have successfully logged into the portal, you will be redirected to its main page.
-
Click the Admin tab.
-
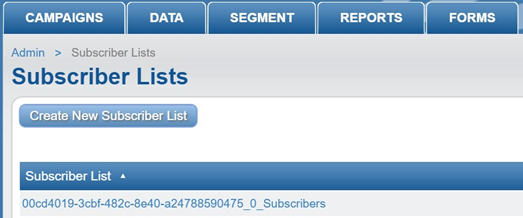
Click Subscriber List.
-
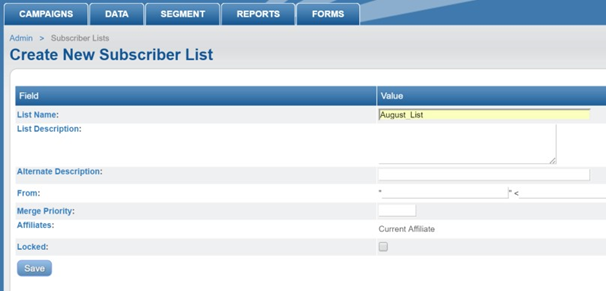
To create a Subscriber List, click Create New Subscriber List.
-
You will now be redirected to the Create New Subscriber List page. Enter a List Name (the only required field).
-
Click Save to commit your changes.
-
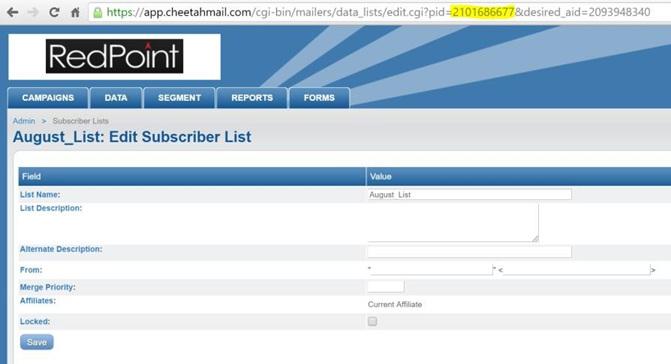
Select the newly created Subscriber List. In the browser’s address bar, look for the ‘pid’ parameter. Take note of its value, as you will use this to configure the channel’s Subscriber list ID.
Creating a segment
-
Log in to the CheetahMail portal.
-
Click Segment > Segments.

-
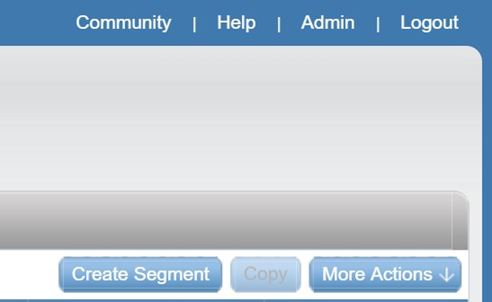
Click Create Segment.
-
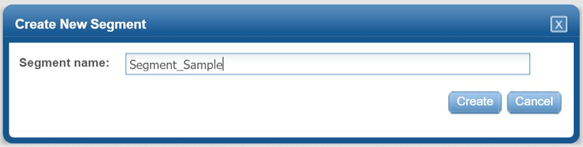
Enter a unique segment name then click Create.
-
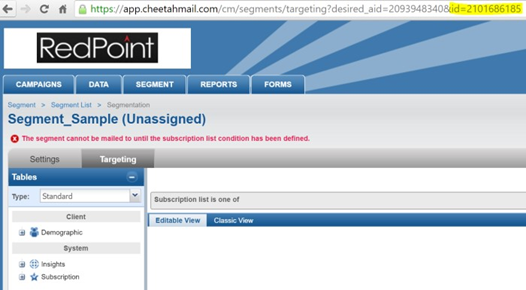
The newly created segment should be displayed; otherwise select it from the list of segments.
-
In the browser’s address bar, look for URL parameter ‘id’. Take note of its value, as you will use this to configure the channel’s Segment ID.
-
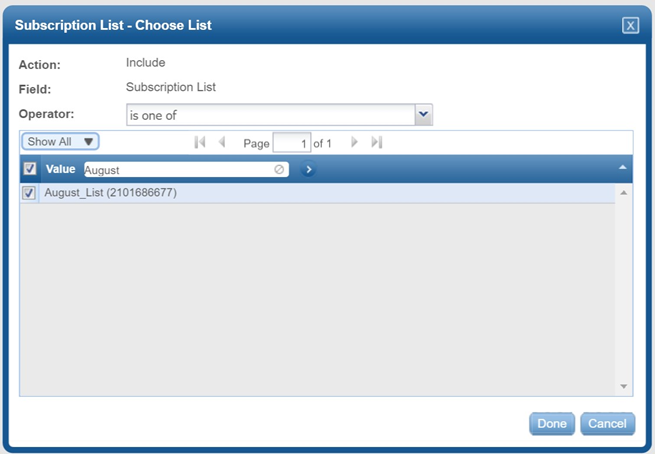
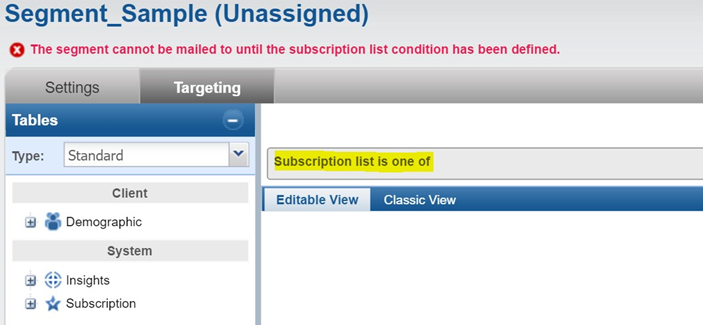
Click Subscription list is one of.
-
Select the Subscriber List you want to associate with the segment, then click Done to commit your changes.