

Overview
This document walks through the process of setting up and executing an interaction within Redpoint Interaction (RPI) by using an external trigger key constraint within an automation in Redpoint Data Management (RPDM). Since you are using two separate tools being for this process, the steps are broken down by each of those tools.
RPI interaction configuration
The configuration steps in this section assume that the selection rules and audience have been created in order to be executed within the interaction. The following steps walk you through how to create the interaction.
-
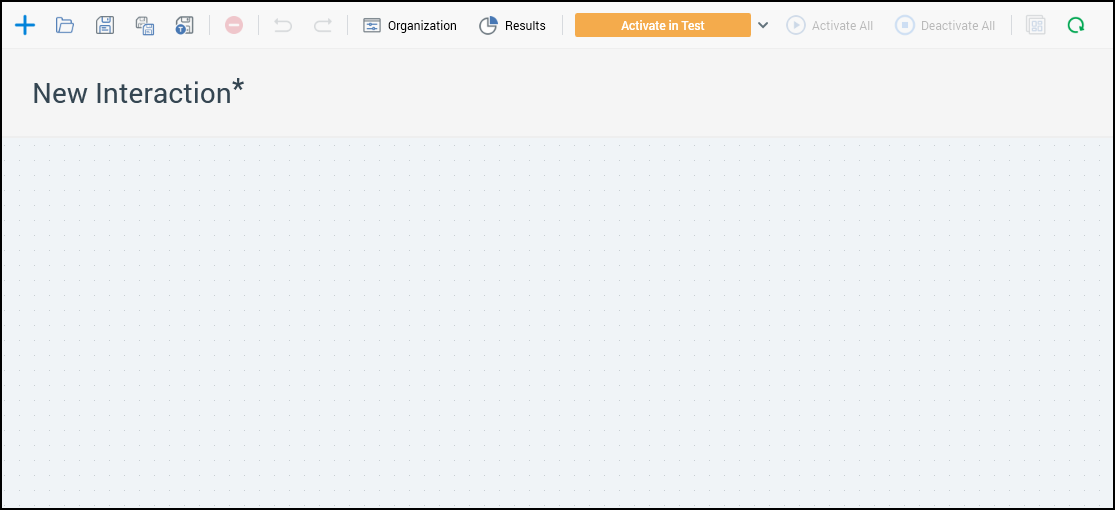
Create a new empty interaction within RPI. (This is assuming that the interaction has not been created already.)
-
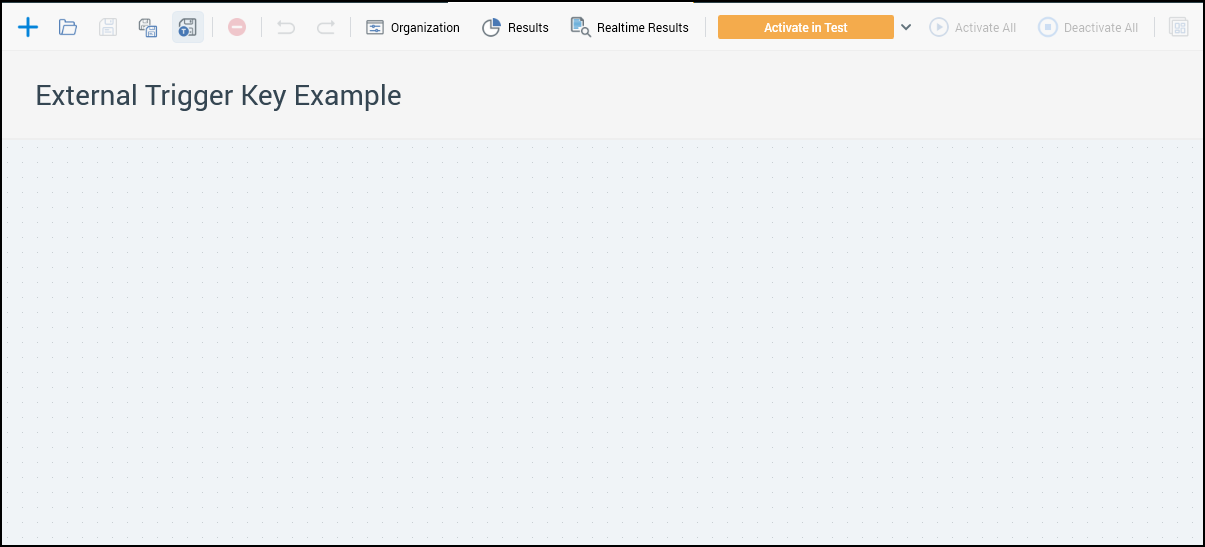
Rename the interaction as needed and save.
-
Select the “Workflow Control” process block, considering how the interaction will be used:
-
If this is a one-time run, then a “Manual” control will work.

-
If the goal of the interaction is to run multiple times, then a “Recurring” control would work.

-
-
Configure the workflow control to account for using an “External Trigger Key Constraint”. For this example, we have chosen to use a recurring trigger.
-
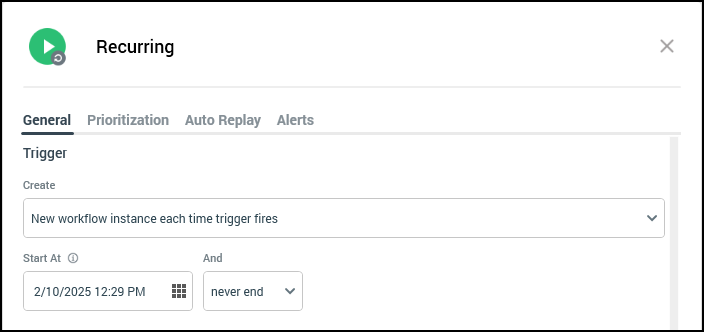
Using the following settings for the trigger will allow for an external process to trigger the workflow. For this example, we will use RPDM.
-
Create: for this example we used “New workflow instance each time trigger fires”.
-
Can be set to a single workflow instance if you want all executions of this interaction to roll into one set of data within Offer History.
Or -
Can be set to new workflow instance each time the trigger fires, which will create a new workflow ID each time the interaction runs, making the data look separate within Offer History.
-
-
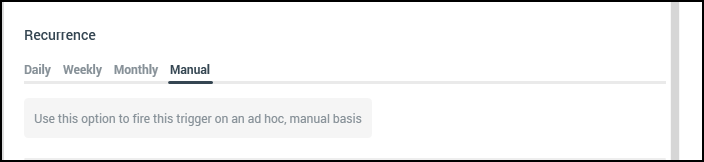
Recurring: for this example, we set this to “Manual” to allow RPDM to control when this trigger will fire. The other options can be used to allow RPI to fire the trigger as well as allowing RPDM to fire it when needed.
-
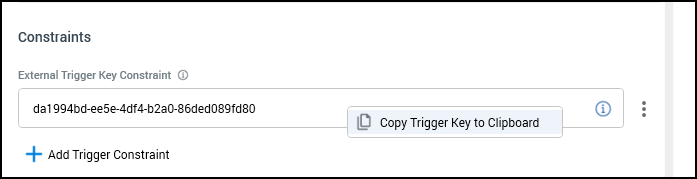
Constraints: click “Add Trigger Constraint”. This will show two options; you want to select “Add New External Trigger Constraint”. After doing so, the assigned trigger key will appear, which will need to be copied by right-clicking on the key and then pasted somewhere to be used later in RPDM.
-
-
-
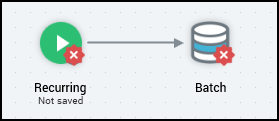
Add a “Batch” process block from the “Targeting” section of the pallet to whichever workflow control you have selected to use.
-
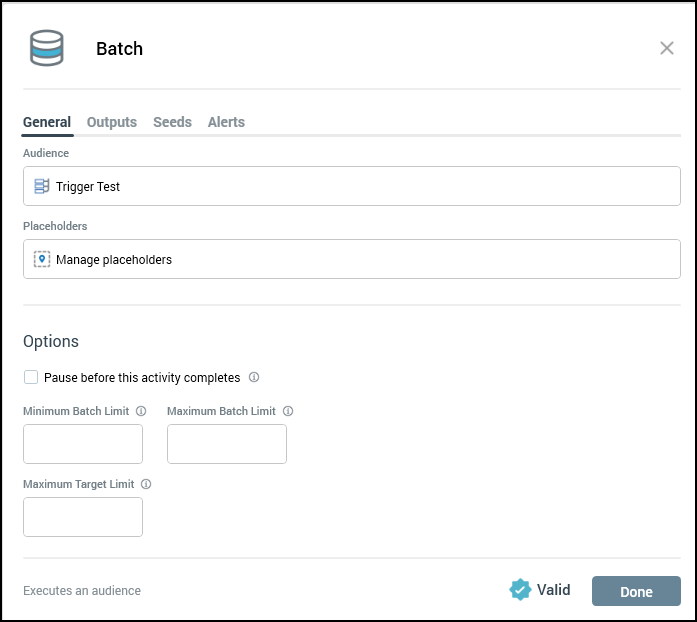
Within the batch process block, you need to assign the correct audience for execution.
-
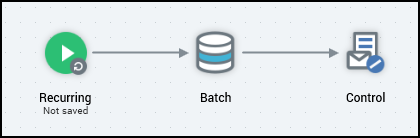
Add the required “Fulfillment” process block after the batch process. For this example, we added a control block.
-
Now that the interaction has been created, click save.
-
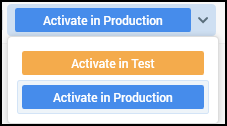
At the top of the interaction window, select “Activate in Production”.
-
The last step in RPI is to “Activate the Trigger” so that it is in a running state and can be triggered from RPDM.
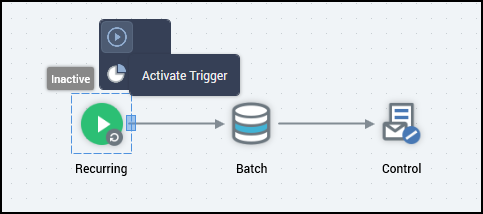
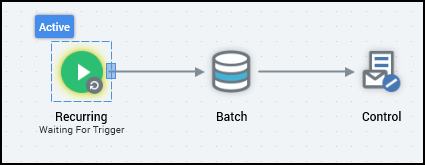
Once the Trigger has been activated, it will be yellow in a “Waiting” State.
RPDM configuration
The below steps will take place within RPDM, now that the RPI interaction has been set up and is in a waiting state. These steps can either be used to create a brand new automation or can be used to add the trigger to an existing automation. For this example, we will create a new automation to execute the trigger from.
-
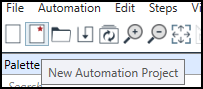
Create “New Automation Project”.
-
Within the RPDM Palette, drag the “SQL” process block onto the automation canvas.
-
On the right side of the screen, you will see the configuration panel for the process block. This is where you enter the command line command that will fire the trigger within RPI. The following is the configuration needed as well as the required command.
-
Data Connection: select the “Pulse” database from the Ops Database in order to execute the required command.

-
A data connection will need to be created to the operational databases, specifically Pulse, to have the ability to execute a stored procedure that exists in that database.
b. SQL Statement: enter the following command line command and click Commit:
Exec FireTrigger '<Enter Trigger Key from RPI Interaction>'
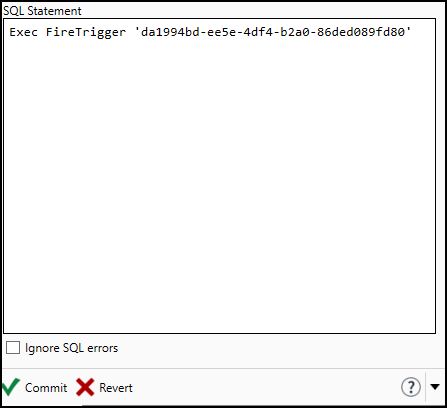
This command executes the stored procedure FireTrigger that takes a single input variable, which is the “trigger key”. This stored procedure is created as a part of the installation of the RPI software.
-
You are now able to manually trigger this automation in RPDM, which will trigger the RPI interaction. Also now that this SQL block has been configured, it can be copied and pasted into any running automations in RPDM.
Make sure to update the trigger key to the correct trigger when reusing the SQL process block.
Additional resources