

Overview
When you elect to create a new image asset, the Image section initially displays no image.
You can browse for an image to upload. This displays the Load Image Windows file system dialog, which allows you to browse for an image file. The maximum size of an image that may be uploaded is controlled by system configuration setting MaxFileAssetUploadSize. If you attempt to upload a non-image file a warning message is shown.
Provision of an image is mandatory and a validation error is shown when an image has not been uploaded.
Toolbar buttons: Above image
When an image is displayed, the toolbar shown immediately above it exposes the following buttons.
Browse
If desired, you can change the image with which the image asset is configured.
Image HTML Attributes
Invocation of this option displays the Override Image Size dialog. Selecting this button allows you set an image's HTML attribute values displays a panel to the right.
The following HTML properties can be set:
-
Width and Height: a button accompanies the two size properties
-
Revert to Original Size: the button is available when one or both of Width or Height is/are overridden. Invocation reverts the image's dimensions to their original values, removes the “Override” label shown below the image and disables the Revert... button.
-
Changes made to the following properties will not be reflected automatically at the file when used in an HTML asset, email offer, or landing page. Remove and re-add the image asset to pick up the saved changes.
-
Border: this integer property allows you to specify the image's border size in pixels. It defaults to 0.
-
Float: set using a dropdown field, the following values are available:
-
None
-
The default
-
-
Left
-
Right
-
Inherit
-
-
HTML ID
-
HTML Language
-
HTML Class
-
CSS Style
-
Alternative Text
-
Is Map
Resizing an image asset in the image Asset Designer is not the recommended approach for image size management. Rather, it is recommended that images be resized in their context of use within e.g. the email Offer and Landing Page Designers. Please see those interfaces’ documentation for further information.
Clear the current Image
This button discards the image you uploaded.
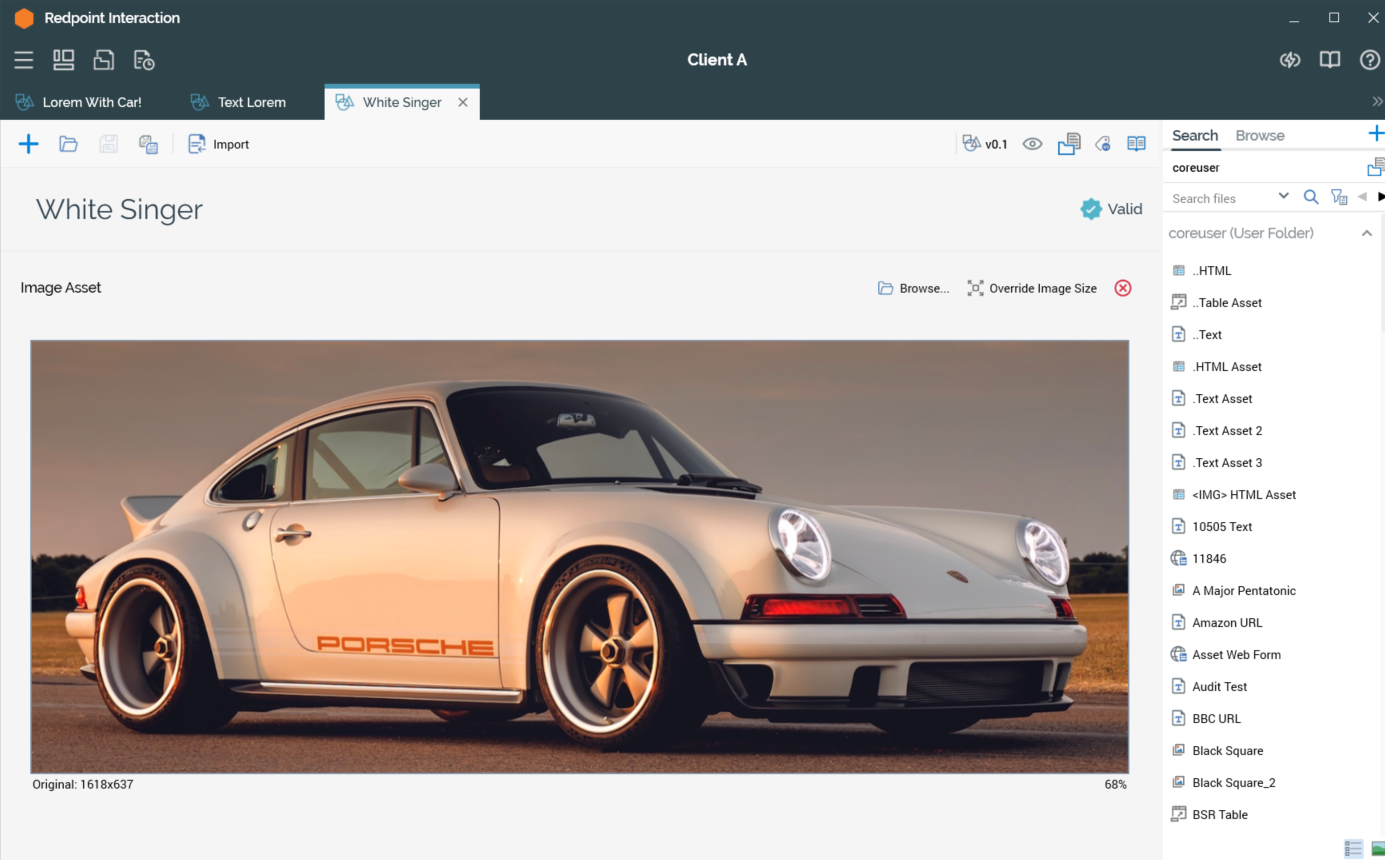
Toolbar buttons: Below image
The following properties are displayed below the image:
Original
The original dimensions of the image.
Override
Only displayed if the image’s dimensions were overridden in the Override Image Size dialog.
[Zoom]
The size of the image as displayed (RPI may have to change its dimensions to accommodate it within the Asset Designer).
These values are reset when the image with which the asset is configured is changed.
You cannot drag attributes or assets from the toolbox onto the image asset.
When used in HTML content, the image asset will be displayed as per its original dimensions, unless overridden (in which case the new dimensions will be applied).