Overview
This section describes how to configure the Azure Storage Service to support an RPI external content provider.
Azure account configuration
-
In a browser, log in to Azure.
-
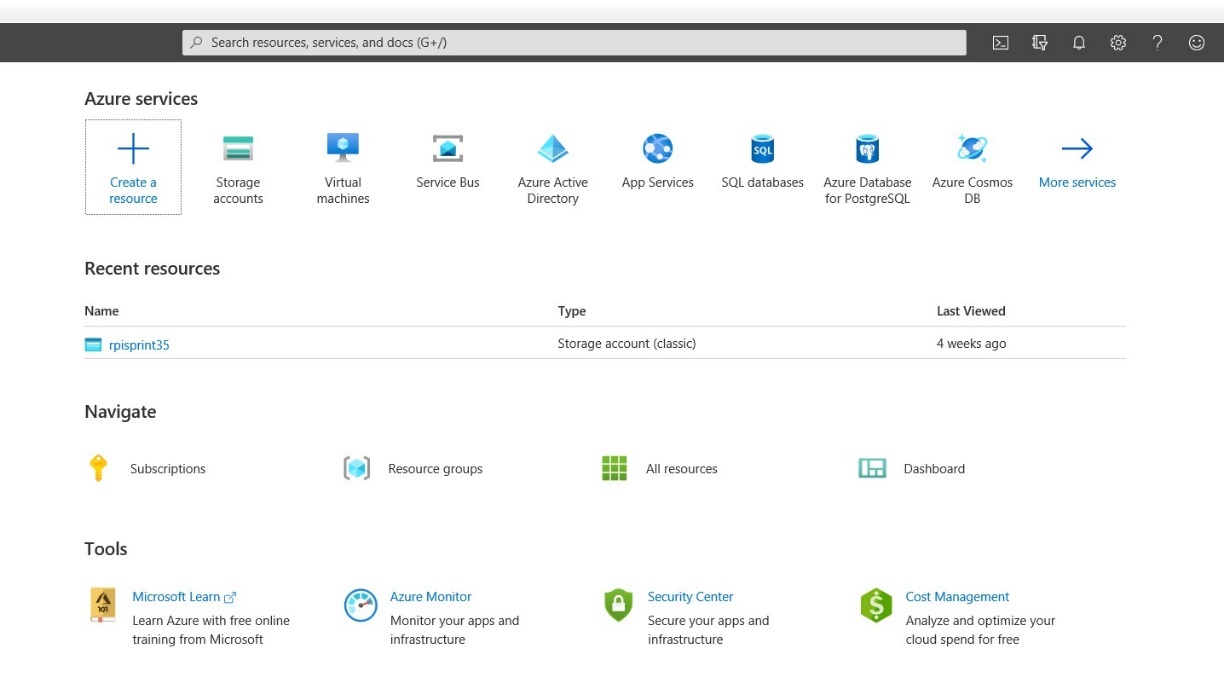
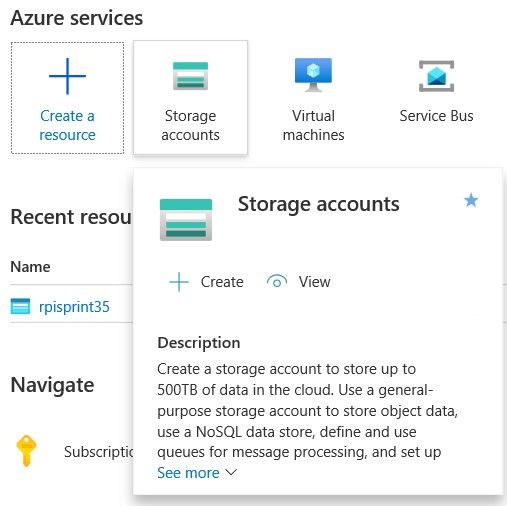
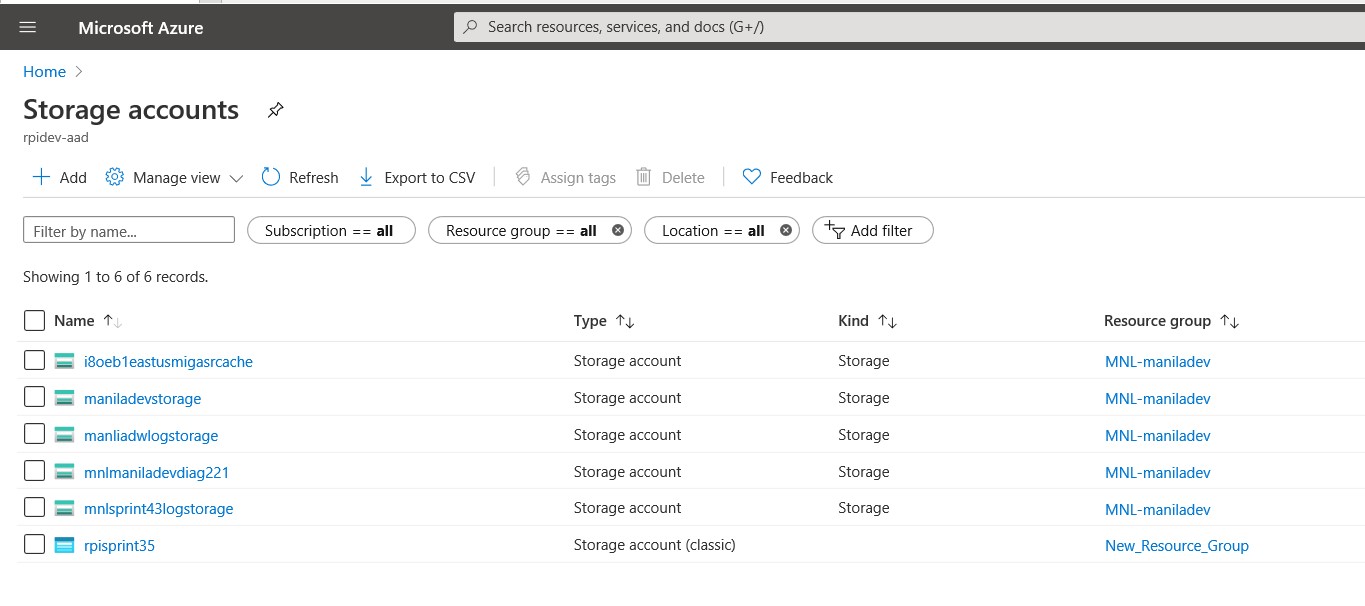
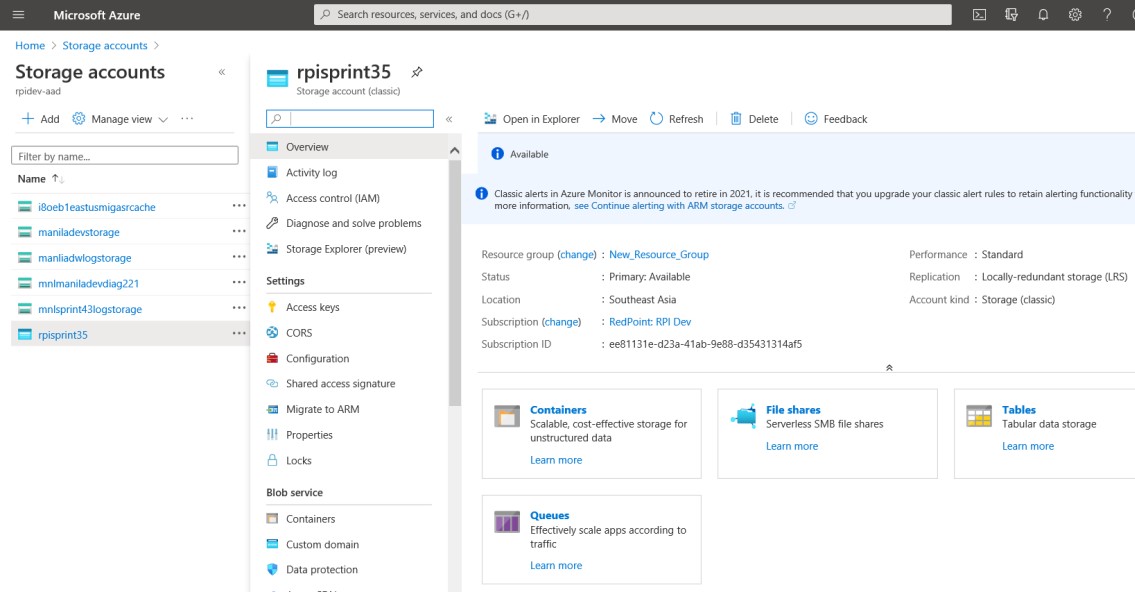
From the Azure Portal home page, select Storage accounts to view the list of storage accounts for the Azure Storage service.
-
Select your preferred account to view its details.
Adding an Azure storage container
-
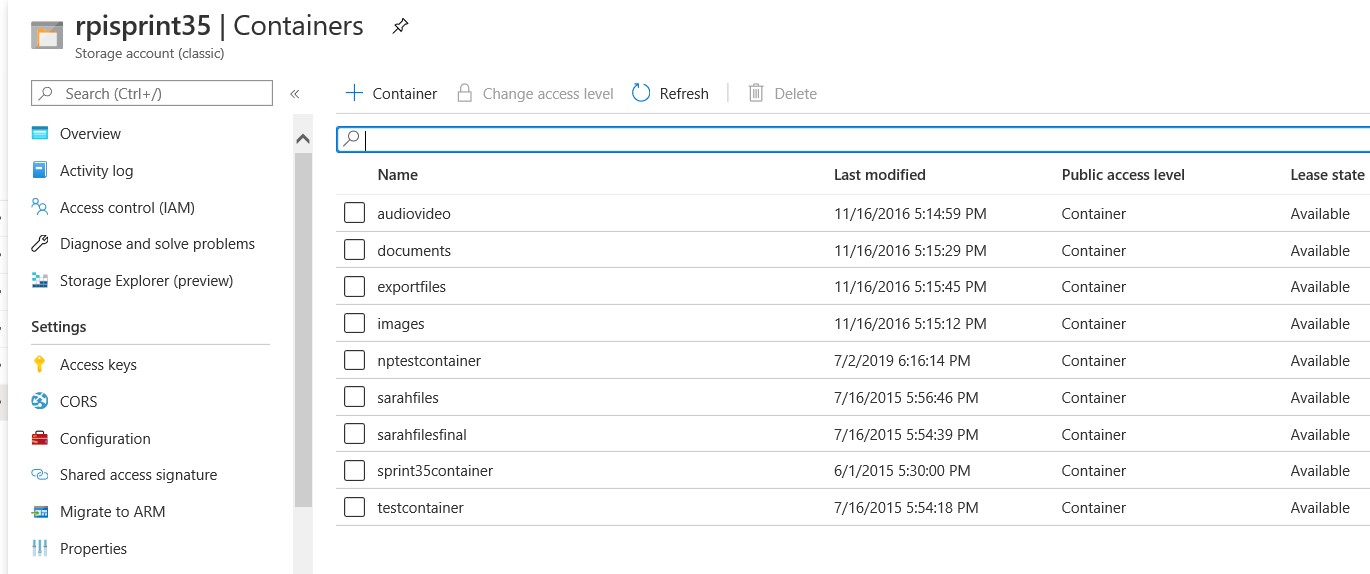
Select Containers.
-
Choose Add a container.
-
Set the access type to Container. Note that if this setting is not changed, files will not be accessible in RPI.
-
Specify a name for the container.
-
Select Create.
-
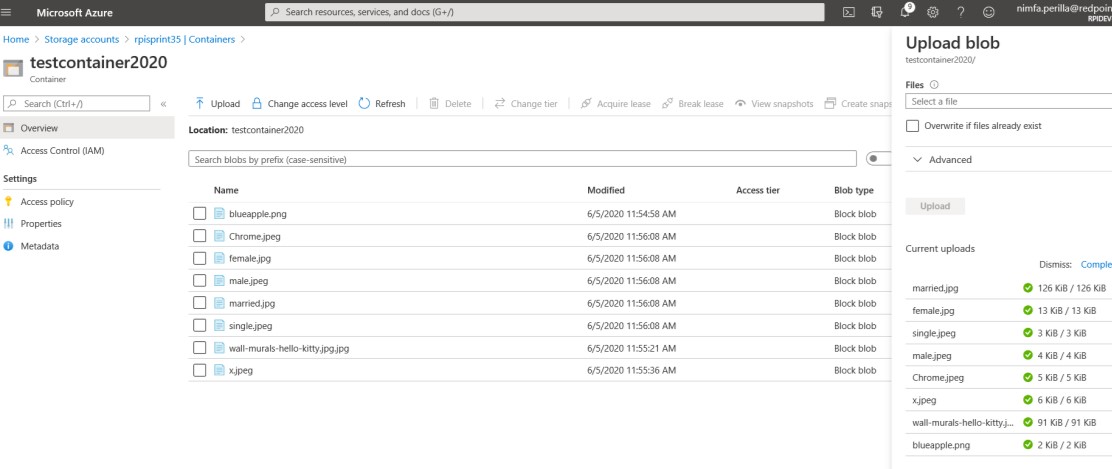
Select the created container in the list to start uploading/viewing files.
Azure CDN (Content Delivery Network) configuration
-
In a browser, log in to Azure.
-
In the navigation panel, navigate to More services>Front Door and CDN Profiles.
-
Select Create.
-
Choose the following options:
-
Explore other offerings
-
Azure CDN Standard from Microsoft (classic)
-
-
Select Continue.
-
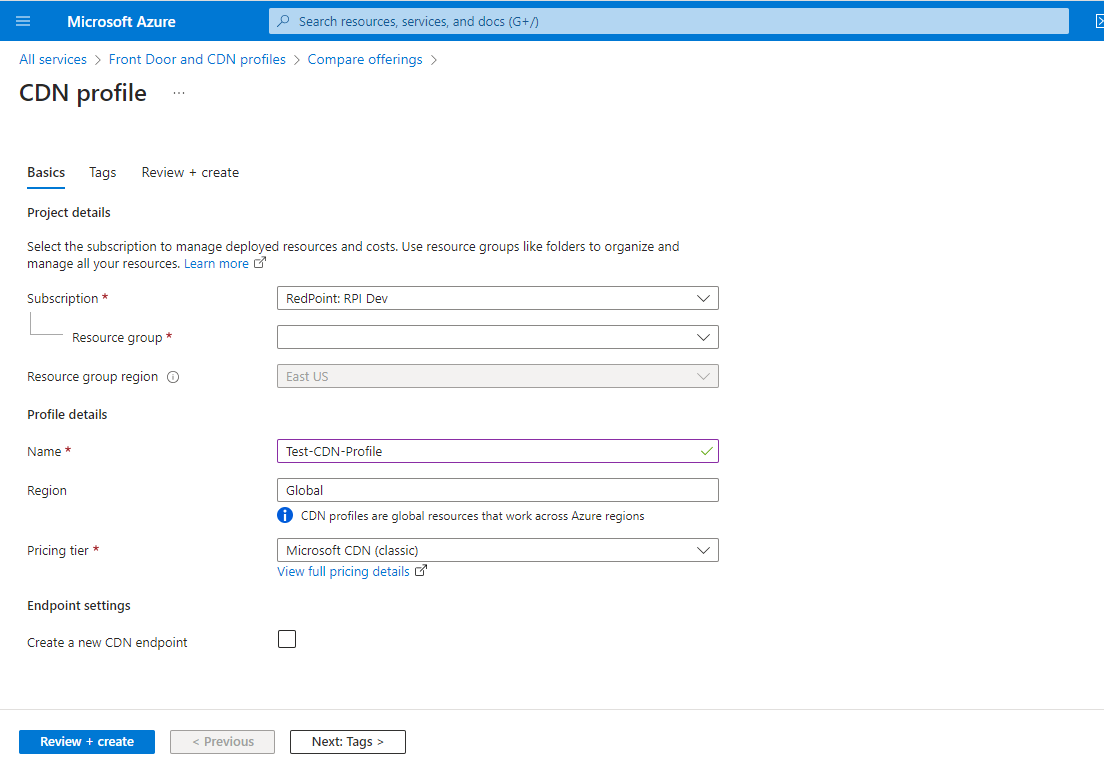
To create a new CDN profile, complete the form’s required details.
-
Select Review + Create.
-
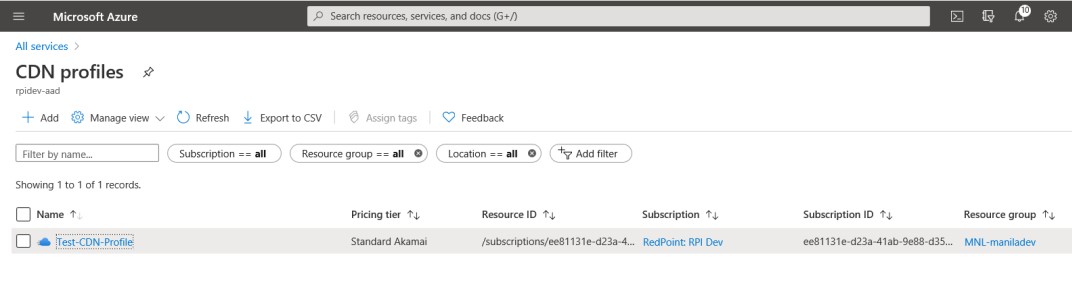
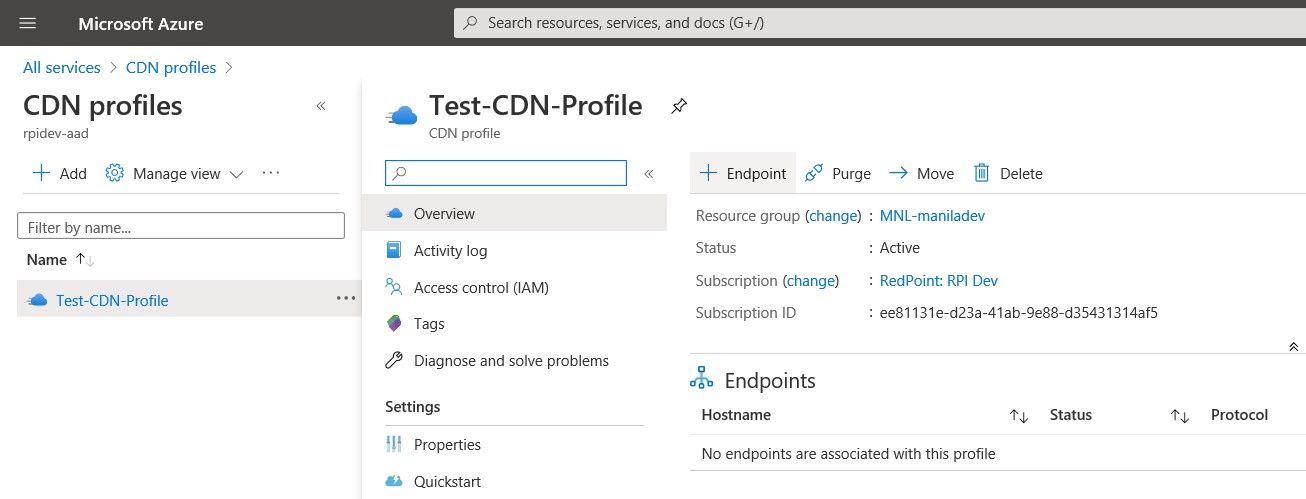
Refresh the list of CDN profiles. Once your new profile is available, select it.
-
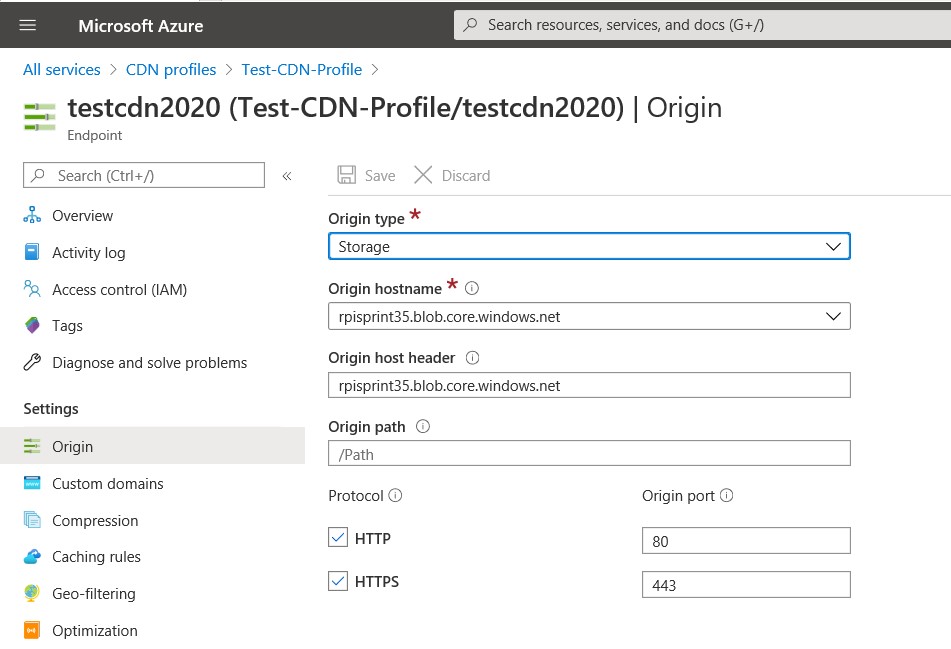
Select Endpoint.
-
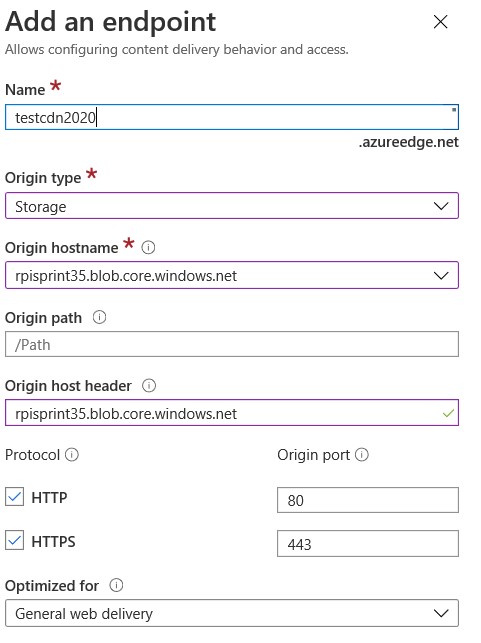
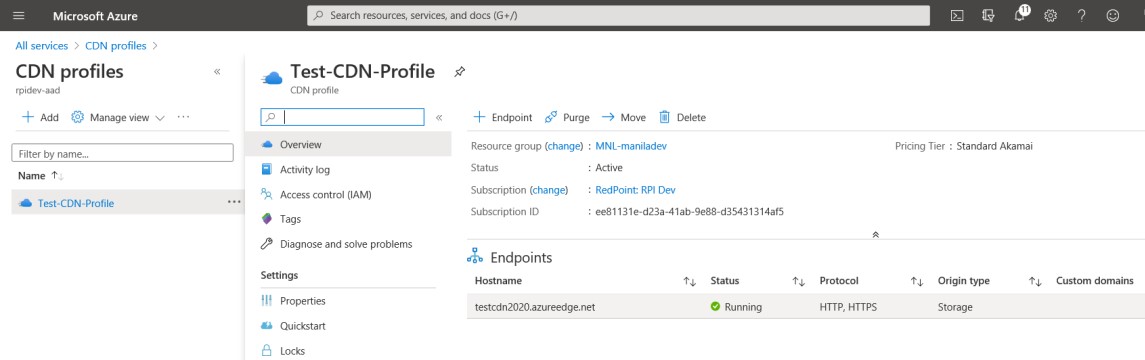
Complete the form and select Add. Wait while the CDN endpoint is created. Refresh the list of CDN profiles to view the newly-created endpoint.
-
Select the endpoint and scroll down to Origin. Use the Origin hostname to configure the Azure Storage provider’s Blob service endpoint property.
Locating the access key
-
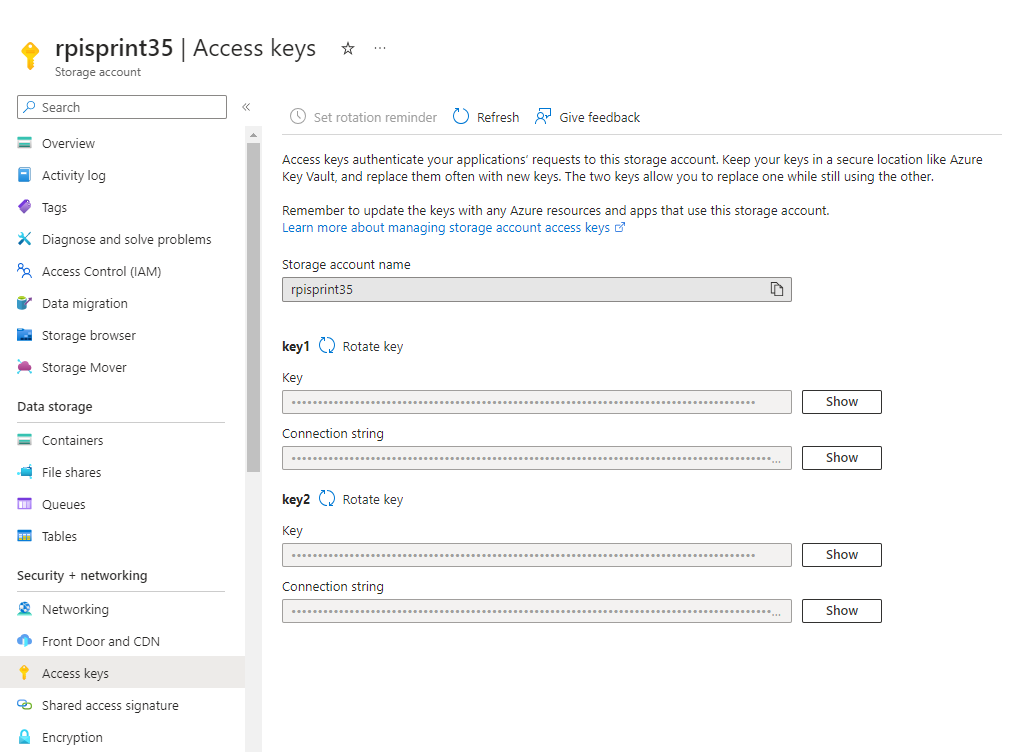
Select your preferred Storage account to view the details.

-
In the left menu, select Access keys.
-
At key1, select Show.
-
Select Copy to clipboard.
Set permissions
-
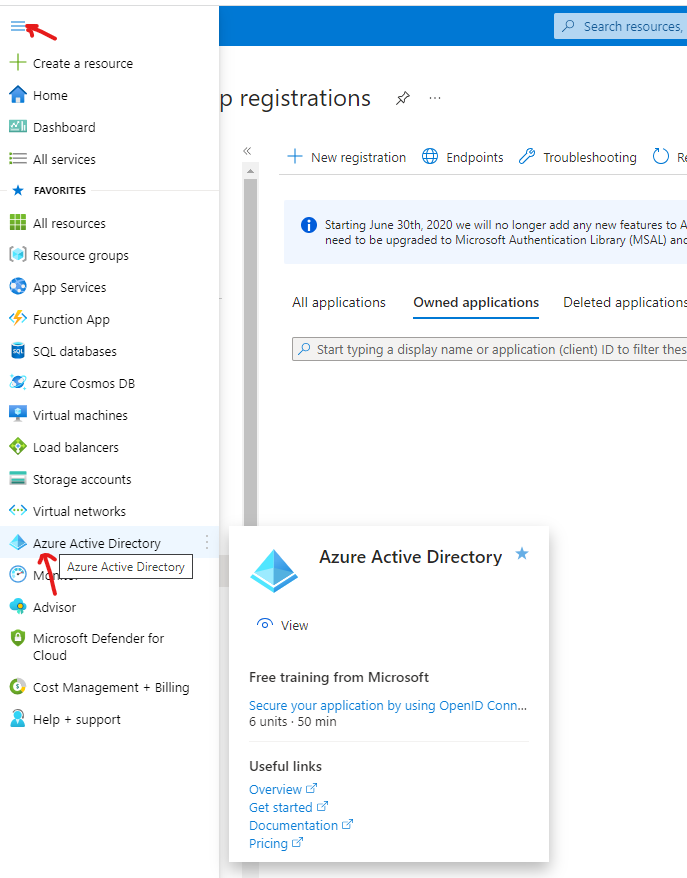
From the top left menu icon, select Azure Active Directory.
-
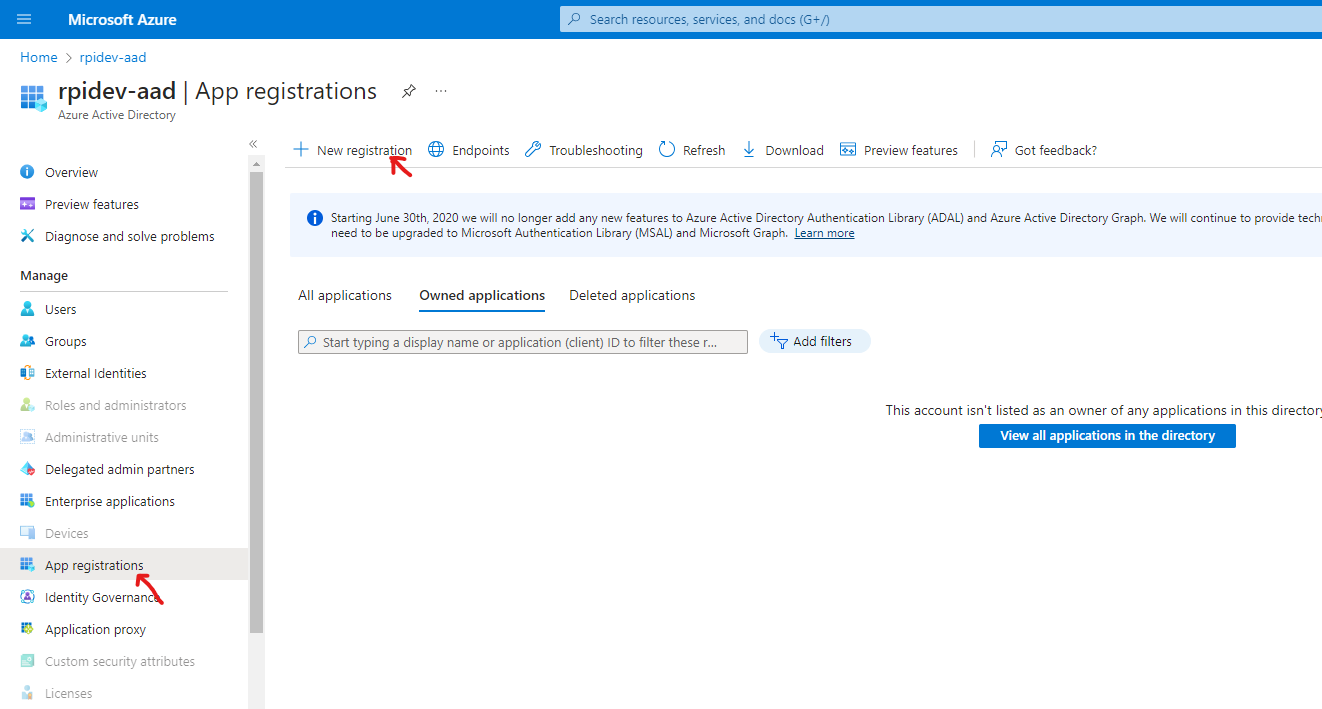
Select App registrations.
-
Choose New registration.
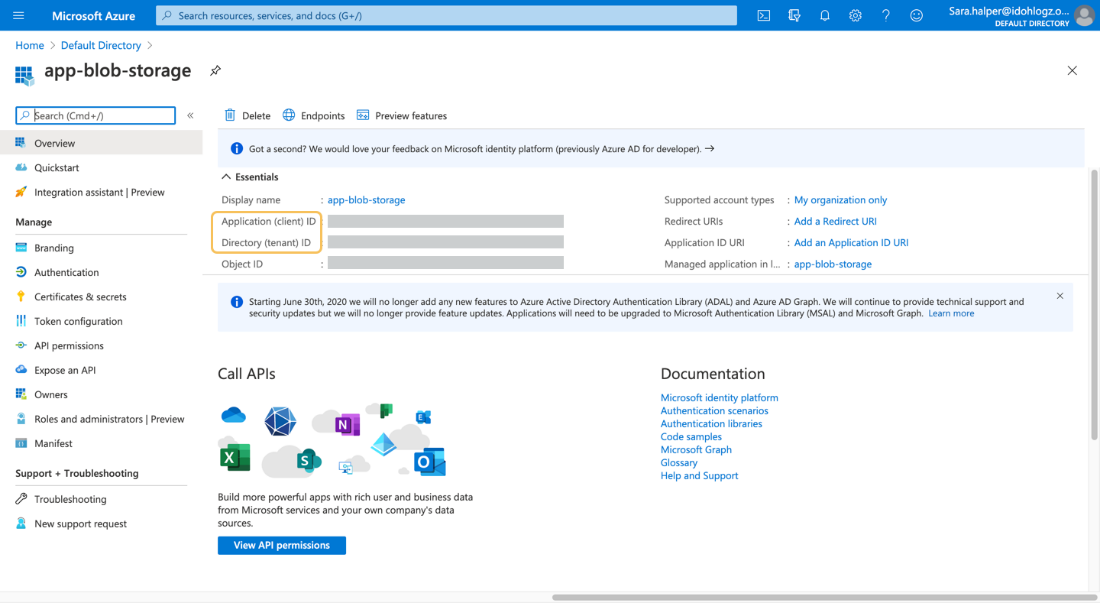
-
Add a name, then select Register. The App Overview page provides the Application ID and Directory (tenant) ID.
-
Select Certificates and secret in the left-hand menu.
-
Under New client secret, select Add.
-
Assign an App and Role to your storage container.
-
Go to your storage account and select the created container.
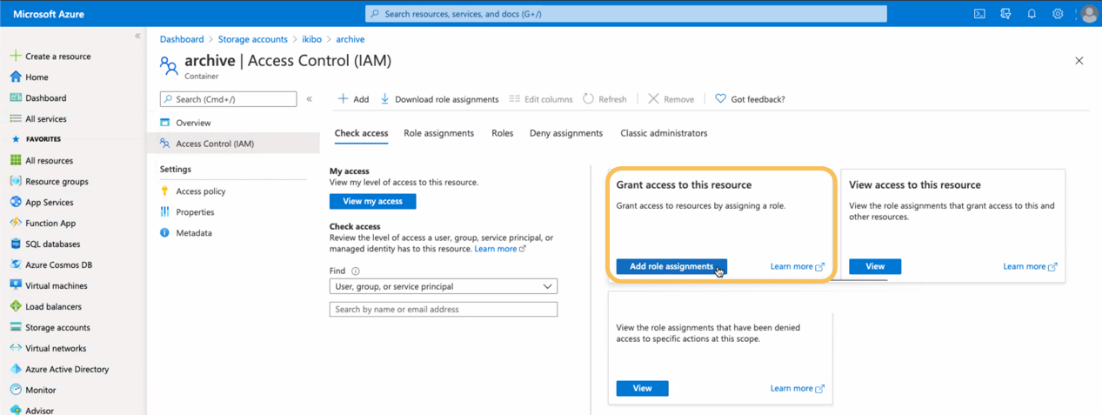
-
In the left menu, select Access Control (IAM).
-
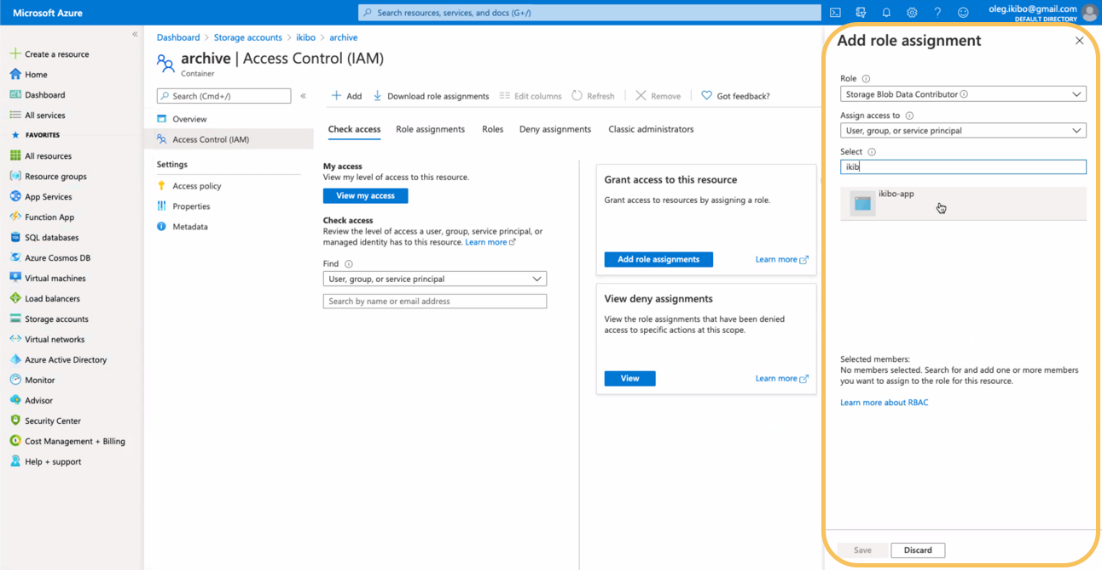
Select Add>Add role assignment.
-
Complete the form:
-
Role: select Storage Blob Data Contributor.
-
Assign access to: leave the defaults unchanged. They should be User, group, or service principal.
-
Select: start typing in the name of the app and select it from the dropdown list.
-
-
Select Save.