

Overview
This page describes how to set up a Drupal site to work with RPI.
Create a Drupal Docker container
This sample Docker container is using MySQL DB. You will need to create the database first in order to proceed with the installation of Drupal.
Below is the Docker Compose to set up the Drupal container:
services:
  drupal11:
    image: drupal:11.2.2
    ports:
      - "80:80"
    environment:
      - MYSQL_DATABASE=drupal
      - MYSQL_ROOT_USER=root
      - MYSQL_ROOT_PASSWORD=[PASSWORD]
    volumes:
      - /var/www/html/modules
      - /var/www/html/profiles
      - /var/www/html/themes
      - /var/www/html/sites
    restart: always
Once the Drupal container is up and running, navigate to the site and follow the installation instructions.
Configure Drupal modules
The instructions below provide the steps to enable the modules that are required to enable the RESTful web service.
-
Login to the Drupal site.
-
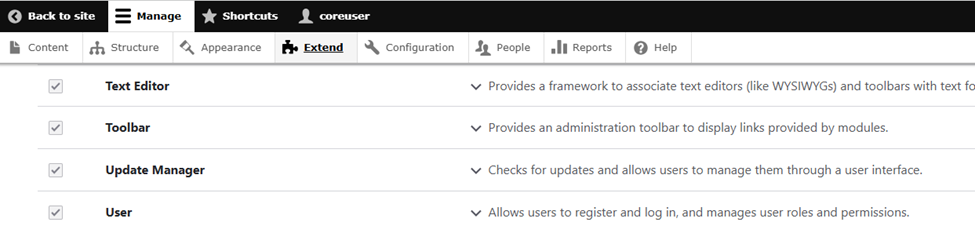
Click Manage > Extend and scroll down to Update Manager; click the checkbox next to it and click the Install button to enable the Update Manager.
-
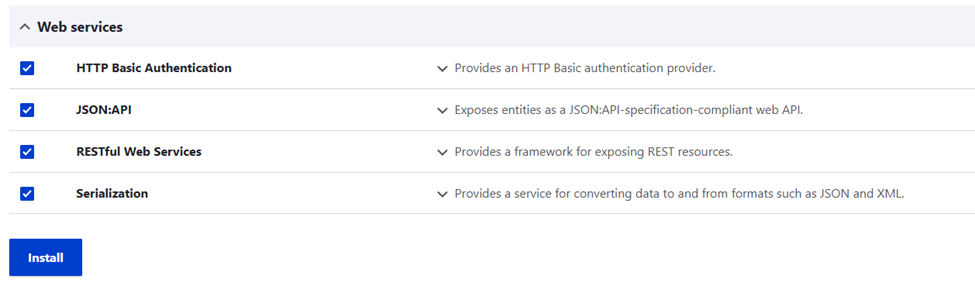
Scroll down to the Web services section and install the modules below:
-
Select the checkboxes next to HTTP Basic Authentication, JSON:API, RESTful Web Services, and Serialization.
-
Click Install.
-
-
Open the Drupal container terminal and execute the following command to enable the REST UI:
composer require 'drupal/restui:^1.22'

-
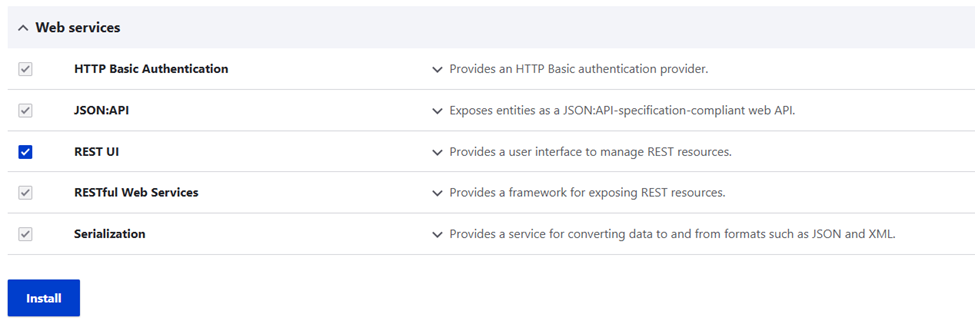
Go back to the Drupal site, click Manage > Extend and scroll down to the Web services section. Click the checkbox next to REST UI and click Install.
-
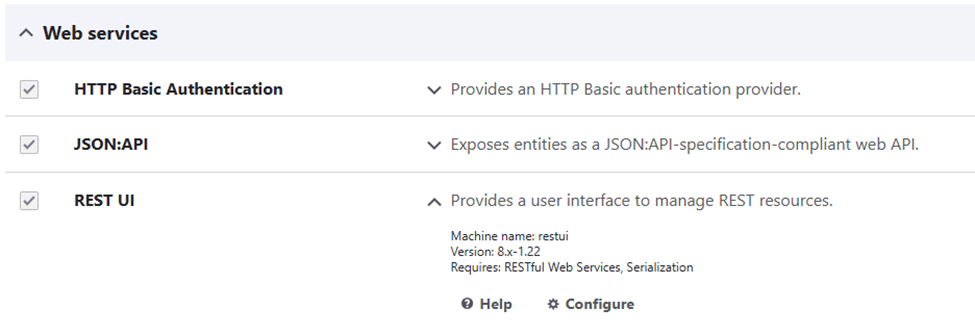
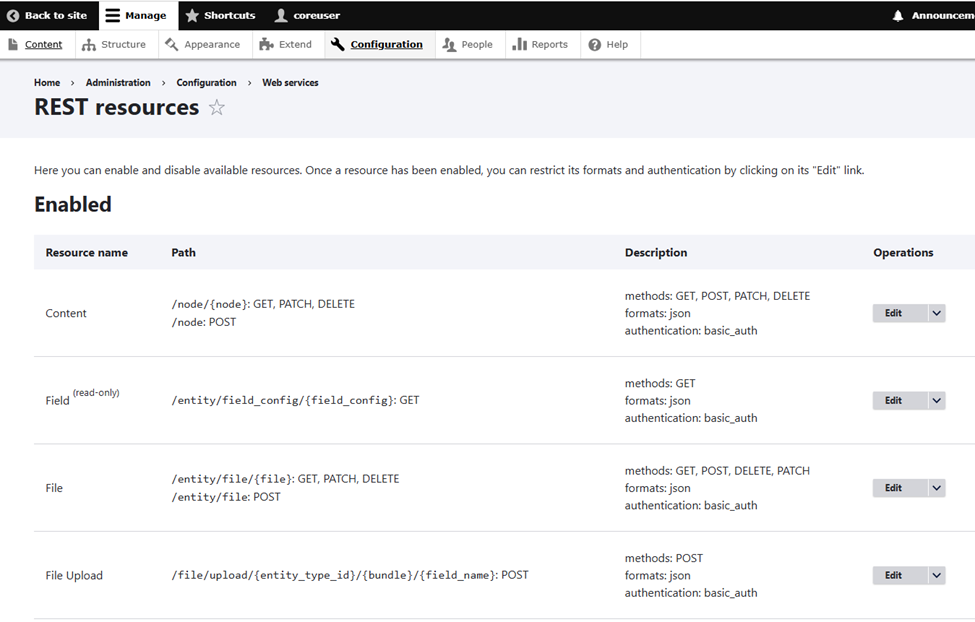
Scroll down to the Web services section REST UI, click the description to expand it, and click Configure.
-
You will be redirected to REST resources page where you configure the resources below:
-
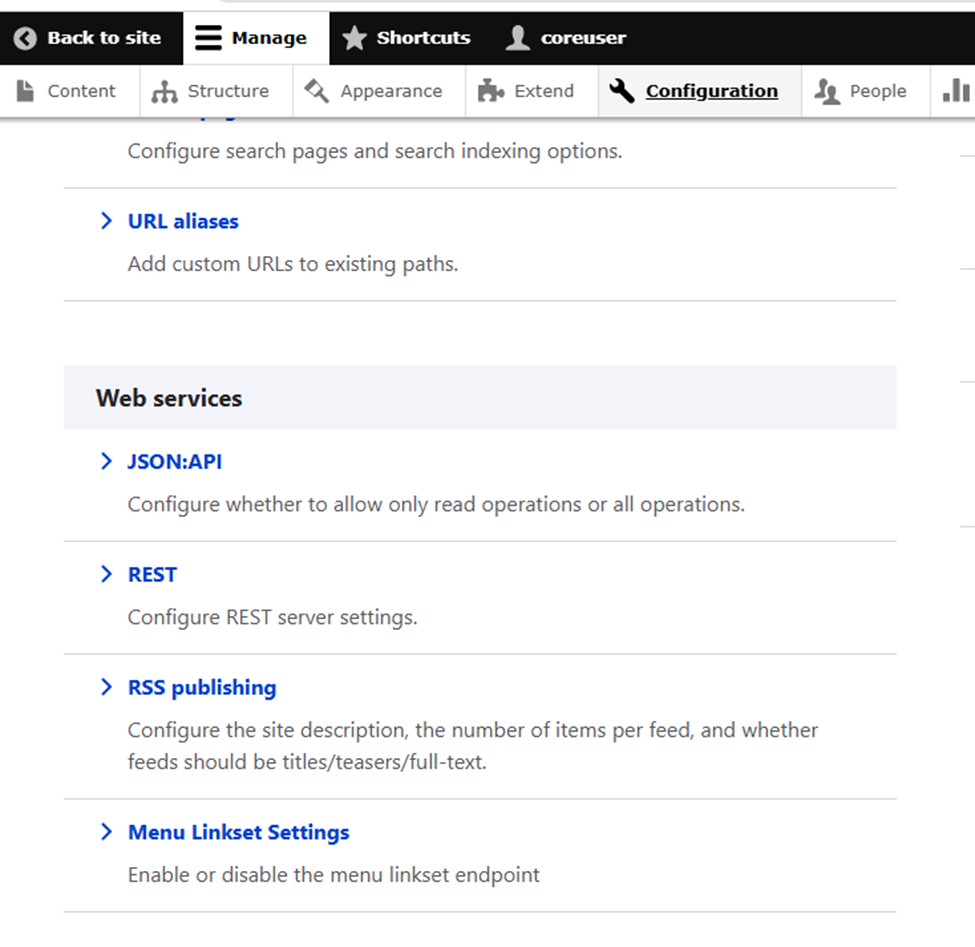
Click Configuration then scroll down to Web services and click JSON:API.
-
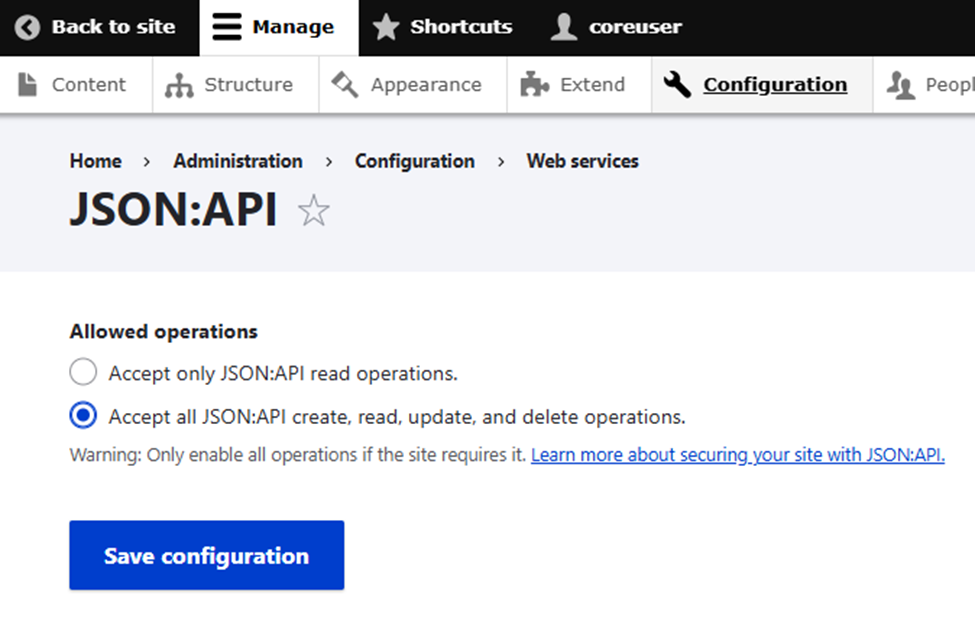
Select Accept all JSON:API create: read, update, and delete operations then click Save configuration.
Configure Drupal fields
The steps below provide the steps to set up the fields that will act as the directory in RPI.
-
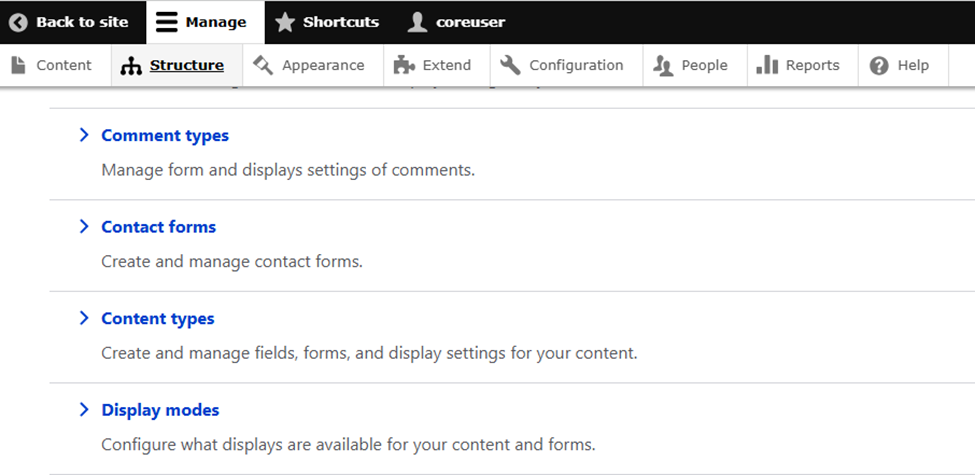
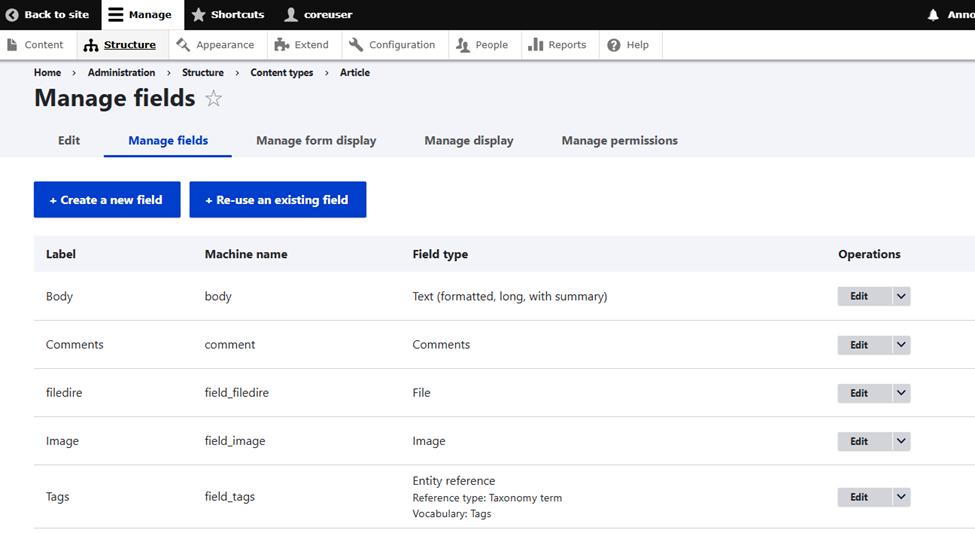
On the Drupal site, click Manage > Structure and click Content types.
-
Click Manage fields to the right of Article.

-
Click Create a new field.
-
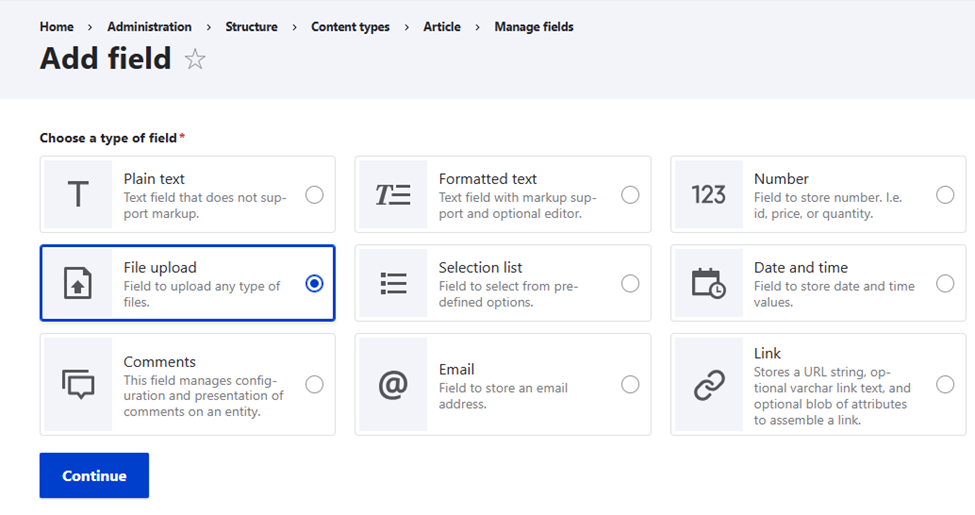
Select File upload and click Continue.
-
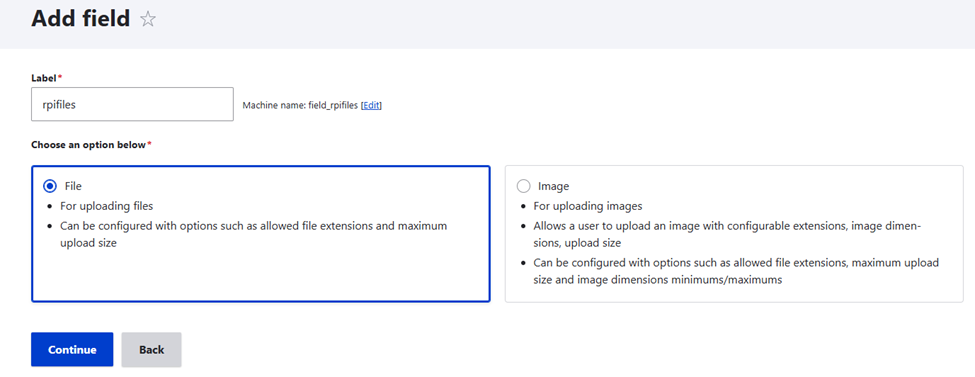
Set the Label and select either File or Image and click Continue.
-
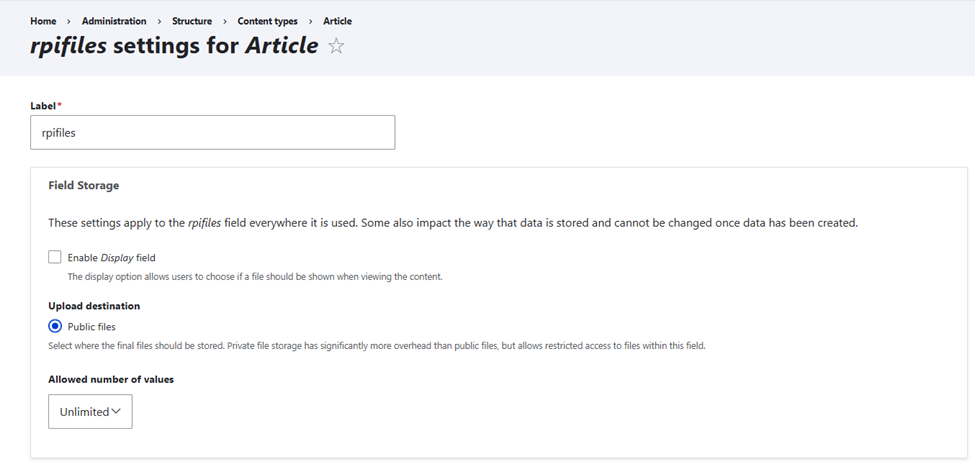
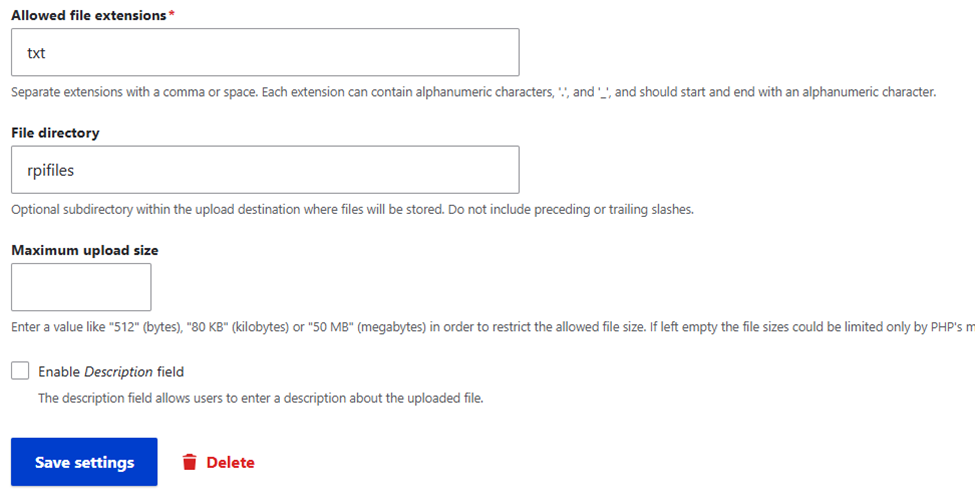
Set the Allowed number of values to Unlimited and the Allowed file extensions this field will accept. Set also the File directory. Click Save settings.
-
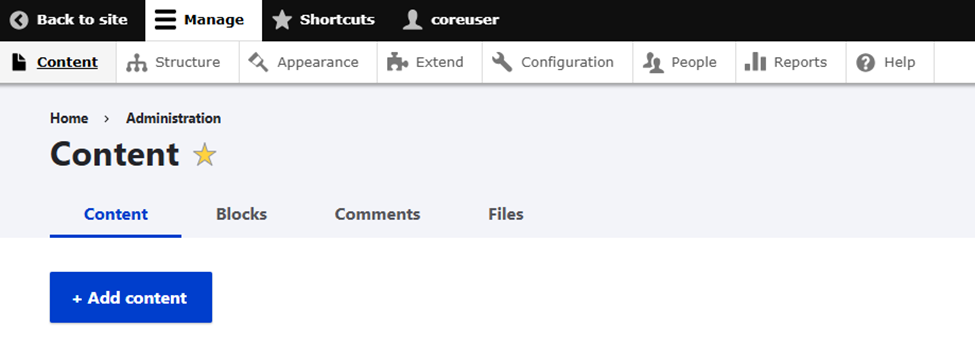
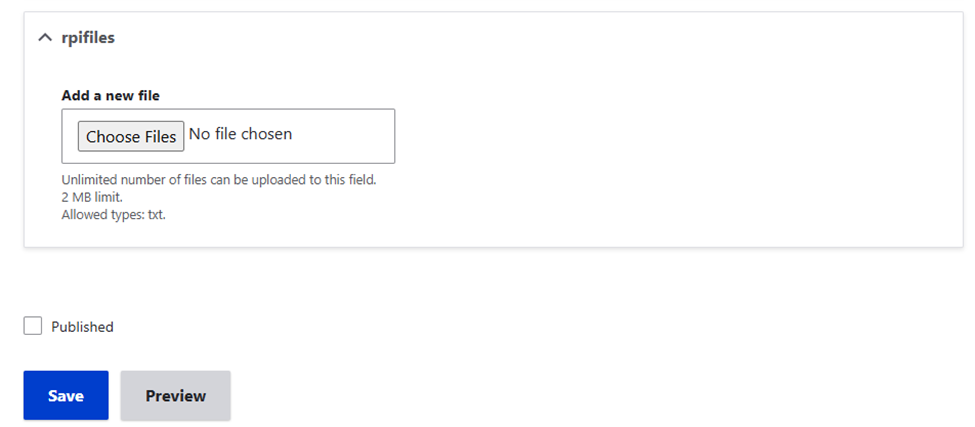
In order for the directory to display in RPI, you will need to create an initial file upload. On the Drupal site, click Manage > Content and click Add content.
-
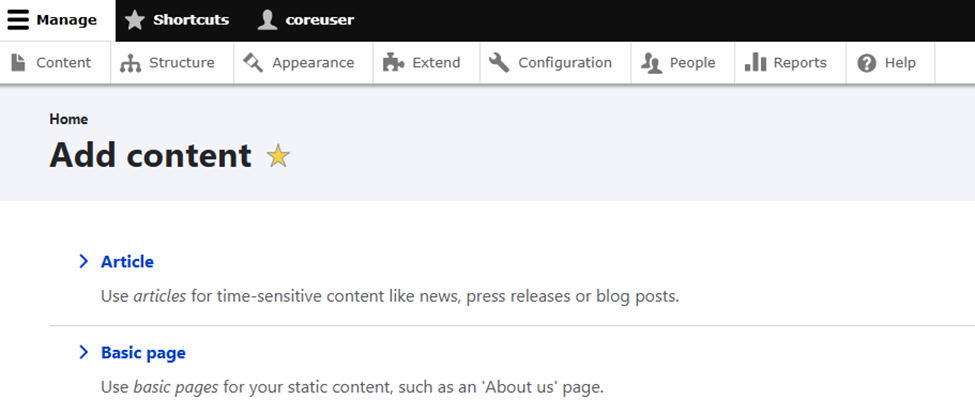
Click Article.
-
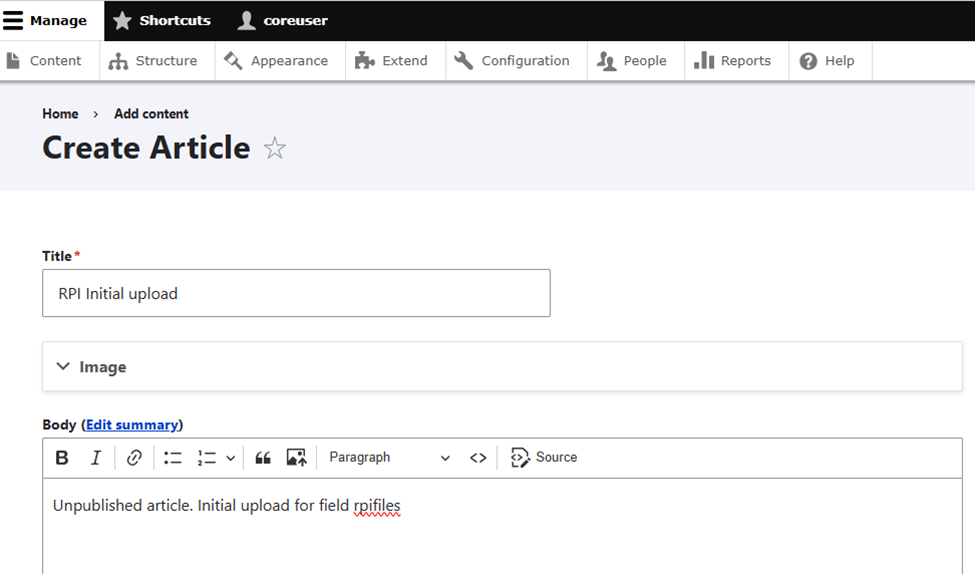
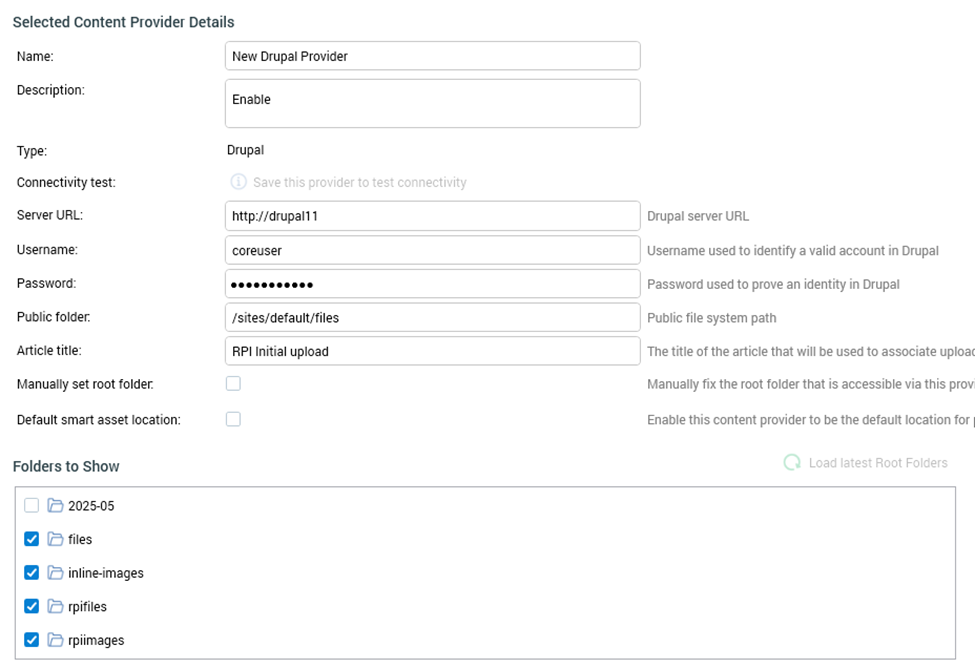
Set the Title and select a file to upload for the newly created field rpifiles. Take note of the article title, as you will need this to configure the Article title in the Drupal channel configuration. Click Save.
Drupal public file system path
In order to set up the Public folder in the Drupal channel config, you need to get the Drupal public files system.
-
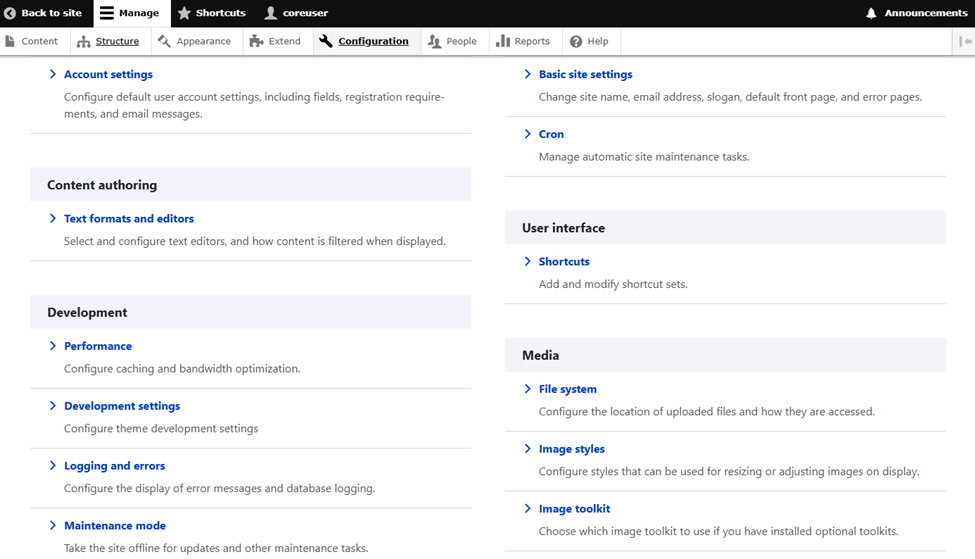
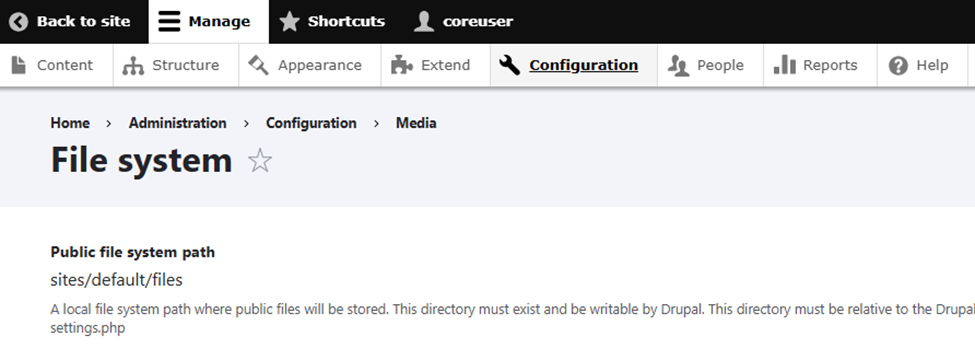
In Drupal site, click Manage > Configuration. Scroll down to the Media section and click File system.
-
In the File system page, take note of the Public file system path.
Additional resources