Overview
Audience blocks allow you to nest audiences within one another.

In this way, you can minimize your audiences’ complexity and re-use common patterns of logic.
Note:
-
If creating an audience at an auxiliary database that does not support embedded audience execution, a validation error is raised in the audience in which an embedded audience is sited.
-
If an audience block’s configured audience contains one or more selection rules using placeholder attributes, the placeholder values applied at the embedded audience are used at outer audience execution.
Adding an Audience Block to an Audience
You can nest an existing audience within an audience by dragging an audience block from the Audience Blocks section within the toolbox.
Doing so creates a new, unconfigured audience block within the workspace.
By default, the new audience block is named “Audience”. If an audience block with that name already exists within the current audience, the newly-created audience block is named “Audience 2” (note that, if required, the numerical value can be incremented accordingly).
The new audience block is selected automatically.
No restrictions are placed upon the inclusion of an audience block anywhere within an audience. It may be preceded and/or followed by other blocks.
Following the addition of an audience block, an asterisk is appended to the audience’s name displayed within the current tab, indicating that unsaved changes now exist.
Configuring an Audience Block in the workspace
You can select an audience with which to configure the audience block directly in the workspace by:
-
Dragging and dropping an audience from the toolbox onto an existing audience block in the workspace.
-
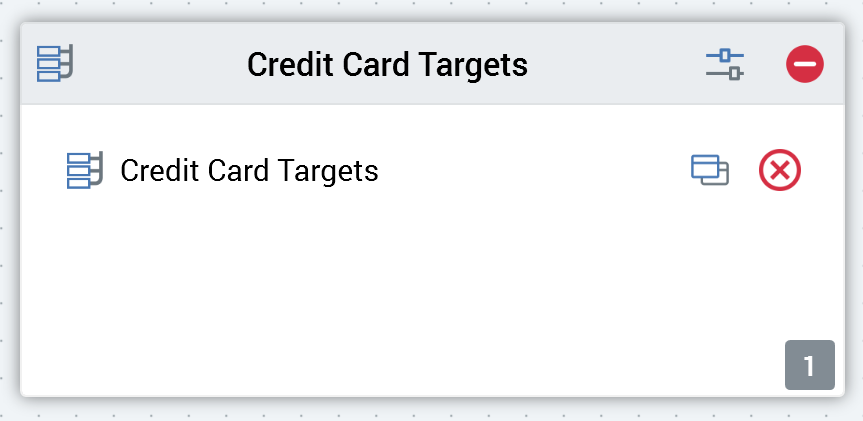
Browsing for an existing audience by invoking the File System Dialog directly from an audience block in the workspace. from the toolbox onto the empty workspace to create a new audience block.
Provision of a valid audience is mandatory; in addition, the selected audience’s audience definition must match the current audience definition.
Having configured an audience block with an audience, you can clear the audience using the button provided. You can also open the latest version of the audience, in another Audience Designer instance, using the Open Latest Version button.
Note that you cannot configure an audience block with the current audience. Similarly, if the current audience is included elsewhere in a hierarchy of nested audiences, a validation error is raised.
The current audience becomes invalid if it contains an audience block configured with an audience based upon a different audience definition.
Configuring an audience block using the Audience Block Builder
When invoked to configure an audience block, the Audience Block Builder contains General and Outputs tabs.
The General tab is documented elsewhere in the Audience Designer documentation. An additional property is exposed:

-
Audience: you must configure the block with an audience file. You can browse for an audience, or populate the property using drag and drop. You can also initiate the creation of a new audience. Having selected an audience, inline Open Latest Version, View Insights and Clear buttons are displayed.
The Outputs tab displays a read-only list of the nested audience’s outputs. You cannot add, delete, re-order or apply filters to the outputs. However, you can configure metadata in respect of each output.

