

Overview
A cell list block allows you leverage a pre-existing cell list file in an audience. A cell list allows you to divide a series of input records into discrete cells, based on a number of supplied dimensions. For more information, please see the Cell List Designer documentation.
Like a split, a cell list block is also used to split an audience into a series of discrete outputs. The rules that define how the split is to be effected are contained in a cell list. A cell list block is configured with a cell list, allowing the rules defined therein to be applied in the context of an audience. If required, a cell list can be used to configure multiple cell list blocks across several audiences.
Adding a cell list block to an Audience
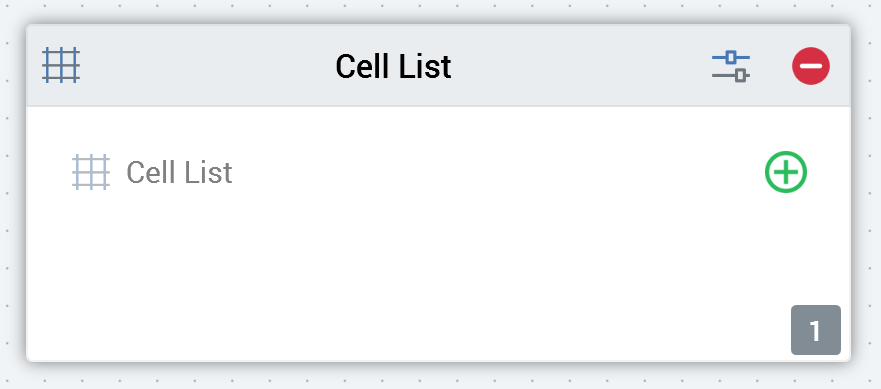
You can add a new cell list block to an audience by dragging a Cell list from the Audience Blocks section within the toolbox. Doing so creates a new, blank cell list block in the Audience Designer workspace.
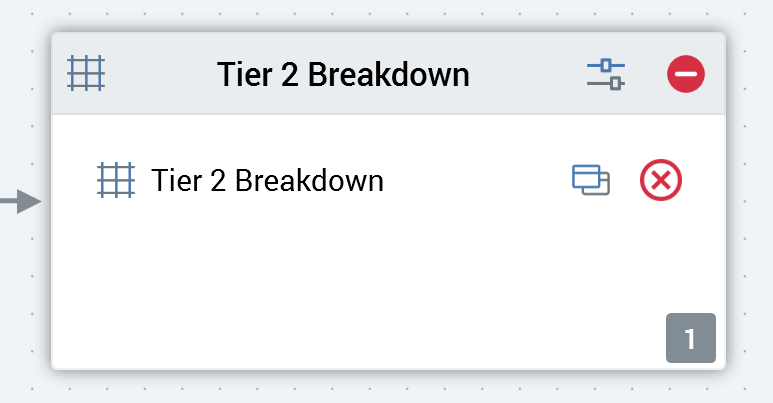
By default, the new cell list block is named Cell list. If a cell list block named Cell list already exists within the current audience, the newly-created cell list block is named Cell list 2 (note that, if required, the numerical value can be incremented accordingly). The new cell list is selected automatically.
You can also drag an existing cell list from the toolbox and drop it onto the workspace to create a cell list block. Doing so pre-configures the cell list block with the cell list in question. The new cell list block is given the same name as the cell list upon which it is based. If a block with this name already exists, an integer (which can be incremented) is appended to the new block’s name to ensure its uniqueness.
Following the addition of a cell list block, an asterisk is appended to the audience’s name displayed within the current tab, indicating that unsaved changes now exist.
Configuring a cell list block in the workspace
A single cell list block property, Cell list, can be managed directly in the workspace.
Selecting the Cell list property displays the Choose Cell List File System Dialog, which is limited to display cell lists only. You can choose a cell list from an accessible folder in the RPI file system, and then select OK or double-click the file to select it. Doing so populates the block’s Cell list property. You can also cancel the File System Dialog.
You may also populate the Cell list property by dragging an existing cell list from the toolbox and dropping it directly onto the field.
The selected cell list must not be configured with the current audience, and its audience definition must be compatible with the current audience’s audience definition.
Having specified a cell list, you can clear it. You can select Open latest version to view the template in the Cell List Designer.
Configuring a cell list block using the Audience Block Builder
When invoked to configure A cell list block, the Audience Block Builder contains General and Outputs tabs.
The General tab is documented elsewhere in the Audience Designer documentation. An additional property is exposed:

-
Cell list: you must configure the block with a cell list file. You can browse for a cell list, or populate the property using drag and drop. You can also initiate the creation of a new cell list. Having selected an audience, inline Open Latest Version and Clear buttons are displayed.
The Outputs tab displays a read-only list of the cell list’s outputs. You can configure metadata in respect of each output.