Overview
Typically, there will be several ways to describe the hierarchical structure of an organization. Some common hierarchy types include:
-
Geography: subdividing the organization by geographical location – e.g. North America and EMEA; within North America, USA, and Canada.
-
Product/Service Line: subdividing the organization by the types of product or service that it offers: for example, Banking and Insurance; within Banking, Savings Accounts and Credit Cards.
Note that, in RPI’s implementation of organizational hierarchies, the elements they contain are known as “nodes” (e.g. “USA” is a node in the Geography hierarchy).
It is possible to link an interaction to one or more hierarchy nodes.
The Hierarchies section occupies the top of the Organization configuration interface.

It contains the following elements: Toolbar, Hierarchies list, and Hierarchy details panel.
Toolbar
The hierarchies toolbar contains the following:

-
Add: invocation of this option adds a new hierarchy to the bottom of the hierarchies list. The new hierarchy’s default name is "New Hierarchy". If "New Hierarchy" already exists, it is named "New Hierarchy 2" (note that this number can be incremented if required). The new hierarchy is selected automatically and its default structure displayed in the hierarchy details panel:
-
Top Level Node
-
Node
-
Node 2
-
-
Remove: invocation of this option removes the selected hierarchy from the hierarchies list. It is protected by an "Are you sure?" dialog.
-
Toggle View Mode: if the hierarchy structure displayed in the hierarchy details panel is shown in hierarchy mode, invocation of this option switches display to treeview mode. If the hierarchy structure is displayed in treeview mode, invocation switches its display to hierarchy mode.
-
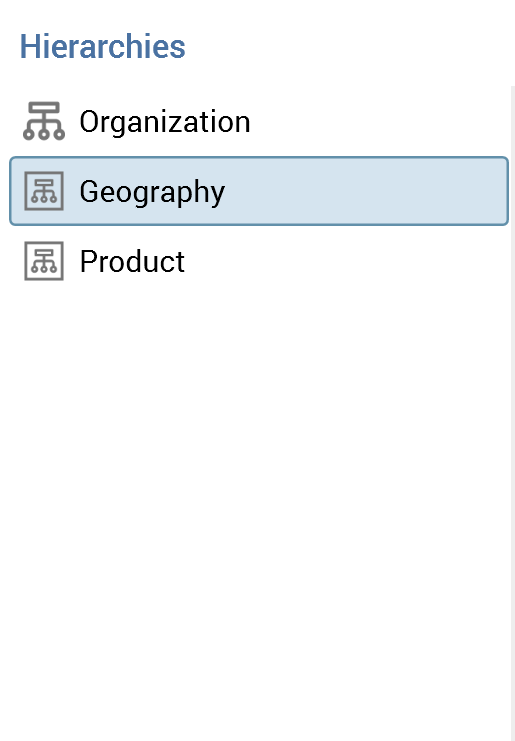
Hierarchies list
The hierarchies list is shown below the hierarchies toolbar, and to the left of the hierarchy details panel.

It contains the following list entries:
-
"Organization": this list entry, the first shown, represents the organization as a whole. You can select it to gain access to organization-level properties in the configuration tab set. Selecting Organization clears the hierarchy details panel and replaces its contents with an informational message (“Currently configuring the Organization”). The Organization list entry is differentiable from hierarchies via the use of a distinct icon.
All existing hierarchies are listed below the Organization. Selecting a hierarchy displays its details in the hierarchy details panel. The overrideable hierarchy (within which customization of the organization’s base settings can be carried out) is denoted by display of a "star" icon vs. the list entry.
Hierarchy Details panel
The hierarchy details panel displays details of the hierarchy selected currently in the hierarchies list. Its contents are displayed in one of two modes:
Hierarchy mode
This is the default mode.

Display of the hierarchy details panel in hierarchy mode is only available when the number of leaf nodes shown is less than or equal to 8. If the number of leaf nodes exceeds this limit, an informational message is shown, and you are advised to switch to treeview mode.
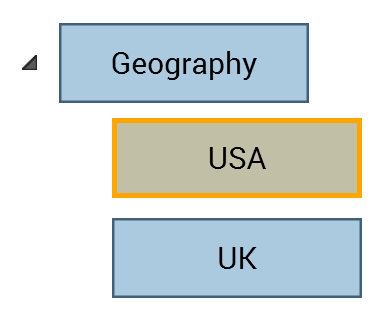
Each hierarchy node is shown as a block. Child nodes are shown below their parent. A selected node is shown as follows:

When you hover over a selected node, a toolbar is displayed:
-
Add Sibling Node: this option is not available at the top node in the hierarchy. Invocation creates a node to the right hand side of the selected node at the current hierarchy level. The new node is named "Node". If "Node" already exists anywhere within the organization, it is named "Node 2". Note that this numerical value can be incremented if required.
-
Add Child Node: creates a new child node at the right hand side of the hierarchy level below the selected node. The new node is named "Node". If "Node" already exists anywhere within the organization, the new node is named "Node 2". Note that this numerical value can be incremented if required.
-
Remove Current Node: this option is not available at the top node in the hierarchy. Invocation is protected by an "Are you sure?" dialog and removes the selected node and all its children. If an interaction is linked to the removed node, a new link is created between the interaction and the removed node's parent.
Treeview mode
This mode displays nodes as "metallic" blocks in an otherwise traditional treeview style.

Within the tree, parent nodes contain child nodes. All parent nodes are shown as expanded by default. You can roll up an expanded node if required (you can also expand a rolled up node).
When you hover over a node, a toolbar is displayed to its right:

-
Add Sibling Node: this option is not available at the top node in the hierarchy. Invocation creates a node at the same level of the hierarchy as, and immediately below, the current node. The new node is named "Node". If "Node" already exists anywhere within the organization, the new node is named "Node 2". Note that this numerical value can be incremented if required.
-
Add Child Node: creates a new child node at the hierarchy level below the selected node, after all existing child nodes. The new node is named "Node". If "Node" already exists anywhere within the organization, the new node is named "Node 2". Note that this numerical value can be incremented if required.
-
Remove Current Node: not available at the top node in the hierarchy. Invocation of this option is protected by an "Are you sure?" dialog and removes the selected node and all of its children. If an interaction is linked to the removed node, a link is created between the interaction and the removed node's parent. If you remove a leaf node such that number of leaf nodes displayed is less than or equal to 8, you are then able to switch display of the hierarchy details panel to hierarchy mode.
Configuration tab set
The configuration tab set is displayed below the hierarchies list and hierarchy details panel. It is named in accordance the currently-selected hierarchy or node. The tabs shown are accordant with the item selected:
-
Hierarchy:

-
Node:

Each tab is described in detail below.
General tab
The General tab facilitates configuration of the selected item’s Name and Description.

It is displayed when a hierarchy is selected in the hierarchies list, or when a node is selected in the hierarchy details panel.
The General tab contains the following fields when displayed for both a hierarchy and a node:
-
Name: mandatory, and a maximum of 100 characters. The name of a hierarchy or node must be completely unique within the organization. This rule does not apply in respect of a hierarchy’s top-level node, which is always the same as the name of the hierarchy itself.
-
Description: optional, and a maximum of 1000 characters.
Linked Nodes tab
The Linked Nodes tab allows you define relationships between nodes in different hierarchies.

Take an example of an organization with Geography and Product/Service Line hierarchies:
-
Geography: subdividing the organization by geographical location – e.g. North America and EMEA; within North America, USA, and Canada.
-
Product/Service Line: subdividing the organization by the types of product or service that it offers: for example, Banking and Insurance; within Banking, Savings Accounts and Credit Cards.
By default, an interaction that is attached to the USA node will also be able to be attached to both the Savings Accounts and Credit Cards nodes. However, if an explicit link is created to Savings Accounts from USA, it will no longer be possible to attach the interaction to the Credit Cards node.
It is possible to associate users with organizational hierarchy nodes using organization node user groups; using this mechanism it is possible to restrict access to financial information as per the previous example. Please see the User Groups configuration documentation for further information.
The Linked Nodes tab is only displayed when a node is selected in the hierarchy details panel.
The Linked Nodes tab contains the following:
Toolbar
The toolbar exposes the following options:
-
Add a new Linked Node: invocation of this option displays the "Link Hierarchy Nodes" Hierarchy Explorer.
The Explorer contains the text "Link nodes to [CurrentNodeName] From the [CurrentHierarchy] hierarchy".
A treeview representation of the organization’s hierarchies is displayed (the current node’s hierarchy is not shown, as it is not permitted to link a node to another node within the same hierarchy). Within the treeview, each hierarchy is shown as a separate tree. Hierarchies are displayed horizontally across the Explorer.
By default, all hierarchy nodes are shown as expanded. You can roll up and expand nodes as required.
Having selected the node to which you wish to link the current node, you can invoke OK; this adds a new linked node to the bottom of the grid.
If you attempt to add a node that is already present in the grid, a message is displayed "This node has already been linked. Please select a different node to link before selecting OK.").
You can also invoke Cancel, which removes the Hierarchy Explorer from display.
-
Remove the selected Linked Node: this option is only available when a linked node is selected in the grid. Its invocation is protected by an "Are you sure?" dialog and removes the selected node from grid.
Grid
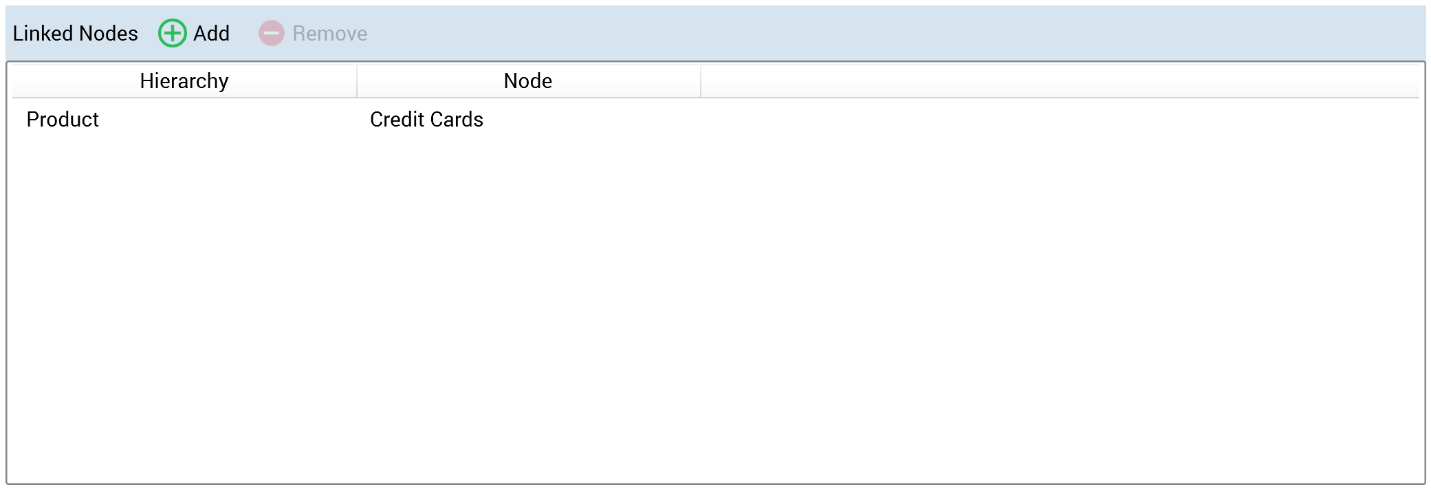
The grid contains the following columns:
-
Hierarchy: a read-only representation of the hierarchy from which the node was sourced.
-
Node: a read-only representation of the name of the linked node.
When saving, a validation error is raised if a link has been created from the current node to a node from another hierarchy and one or more ancestor or descendent nodes from the other hierarchy.
Once a link has been created from the current node to a node in another hierarchy, it is necessary to define explicitly all other nodes in the other hierarchy to which the current node links.
If there are no links from the current node to another hierarchy then no restrictions will be imposed in linking an interaction linked to the current node to nodes within the other hierarchy.

