

Overview
You can invoke the Reporting Hub in the following ways:
-
From a File Type or Tasks widget: typically, you might access such at your Home Page dashboard. More information on widgets can be found in the Dashboard Designer documentation. The Tasks widget exposes the following options:
-
Open Reporting Hub
-
Interactions Report
-
Interaction Triggers Report
-
Realtime Report
-
Published Content Report
-
Realtime Details Report
-
Each option allows you to open the interface in question in a separate tab in RPI.
-
From the Reporting Hub option within the quick access menu’s Reporting section: the other options above are available as sub-options within Reporting Hub.
Access to the Reporting Hub is controlled via the Reporting Hub functional permission. If none of the user groups of which you are a member are associated with this permission, you will not be able to able to create and manage reports in the Reporting Hub.
Reporting Hub basics
Displayed within a separate tab, the Reporting Hub consists of:
-
An unnamed top section
-
Native Reports
-
Recent Reports
-
Recent Dashboards
-
Folder
Top section
The top section in the Reporting Hub displays four options:
Create New Report
-
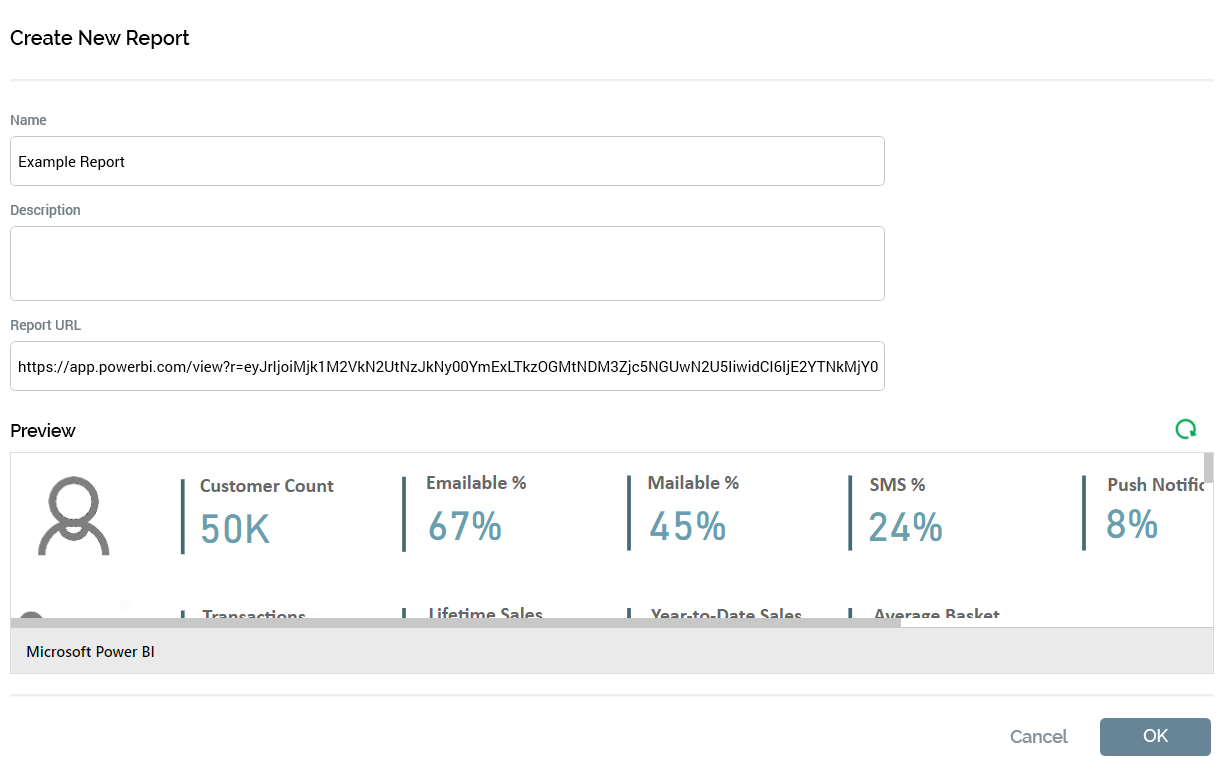
Create New Report: selecting this button displays the Create New Report overlay, in which you can specify a new report's details:
-
Name: this mandatory property can be a maximum of 100 characters in length.
-
Description: this optional property can be a maximum of 1000 characters in length.
-
Report URL: this mandatory property allows you to define the report's URL, which must be well formed.
-
Preview: a preview of the report is shown on leaving the URL field, having provided a well-formed URL therein.
-
Refresh: this button causes the preview to be reloaded.
-
OK: selecting this button displays the Save the new Report File System Dialog, in which you can save the report to the RPI file system. Reports are saved with a "Report" file type.
-
Cancel: selecting this button displays an "Are You Sure?" dialog, before removing the Create New Report overlay (if requested).
-
-
Open Existing Report: this button allows you to choose an existing report to view or edit. Selecting it displays the Open Existing Report File System Dialog, in which you can choose a report and double-click it, or select OK, to open it in a Report Viewer tab.
-
Create New Dashboard: selecting this button allows you start the process of creating a new dashboard. For more information, please see the Dashboard Designer documentation.
-
Open Existing Dashboard: this button allows you to choose an existing dashboard to view or edit. Selecting it displays the Open Existing Dashboard File System Dialog, in which you can choose a dashboard and double-click it, or select OK, to open it in a Dashboard Viewer tab.
Native Reports
This section provides access to a series of built-in reports.
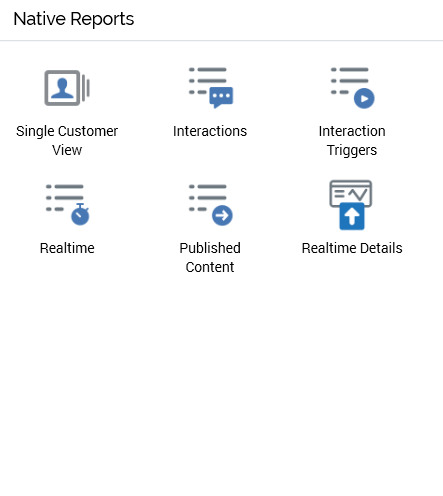
Selecting a button therein displays the report in question in a separate tab in the RPI interface.
Recent Reports
This section provides access to reports that have been recently accessed or saved. A separate tab provides access to each. Double-clicking a report displays it in a new Report Viewer tab. The following context menu options are available at a recent report:
-
View Information
-
Open Latest Version
-
Open File Location
Recent Dashboards
This section provides access to dashboards that have been recently accessed or saved. A separate tab provides access to each. Double-clicking a dashboard displays it in a new Dashboard Viewer tab. The following context menu options are available at a recent dashboard:
-
View Information
-
Open Latest Version
-
Open File Location
Folder Search
A standard Folder Search component, limited to show only report and dashboard and Report files only. More information on Folder Search can be found in the Framework documentation.
Report Viewer
The Report Viewer interface allows you to view a single RPI report.
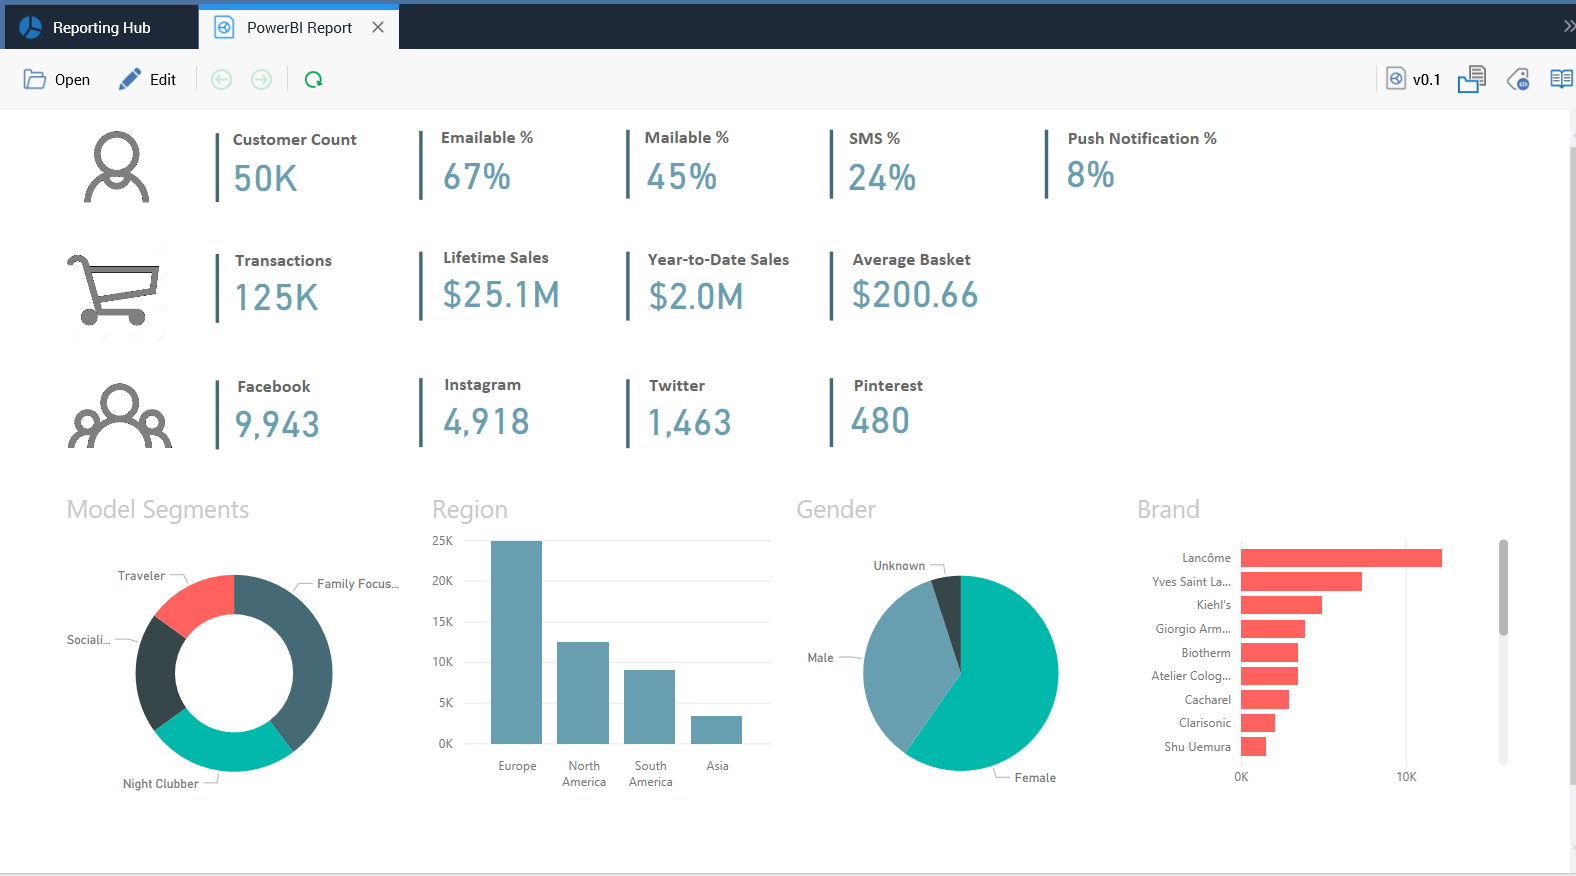
It contains a toolbar and displayed report. The toolbar exposes the following options:
-
Open: this button allows you to open an existing report. Selecting it displays the Open Existing Report File System Dialog. You can choose a report and double-click it, or select OK, to open it in the current Report Viewer instance.
-
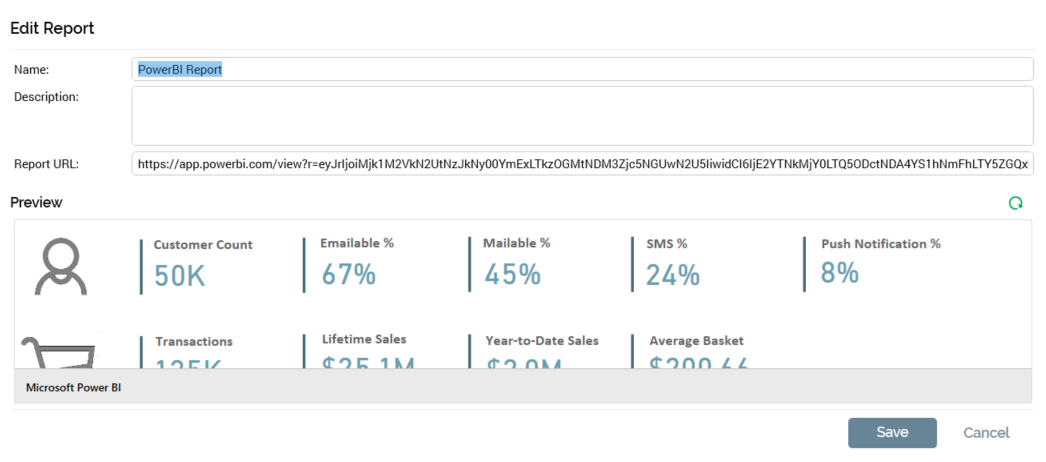
Edit: this button allows you to edit the currently-displayed report's properties. Selecting it displays the Edit Report overlay. The following properties can be edited:
-
Name
-
Description
-
URL
-
The overlay also contains a preview. You can select Save to persist any changes you have made or Cancel to remove the overlay from display. After editing a report, the report displayed in the Report Viewer is refreshed.
-
Back/Forward: these buttons can be used to navigate having selected links within the displayed report.
-
Refresh: reloads the displayed report.