Overview
This section describes how to create and configure RabbitMQ as a queue provider.
RabbitMQ is the only supported queue provider for personalized content queues. Refer to the Personalized content queue section below for configuration details.
Please follow the steps below:
-
In a web browser, go to Erlang downloads.
-
Locate and select the installer for Windows. In this case, download the 64-bit installer. Erlang 25.3 is the latest supported version for RabbitMQ 3.12.4.

-
Once the installer has finished downloading, run the .exe file with administrator privileges.
-
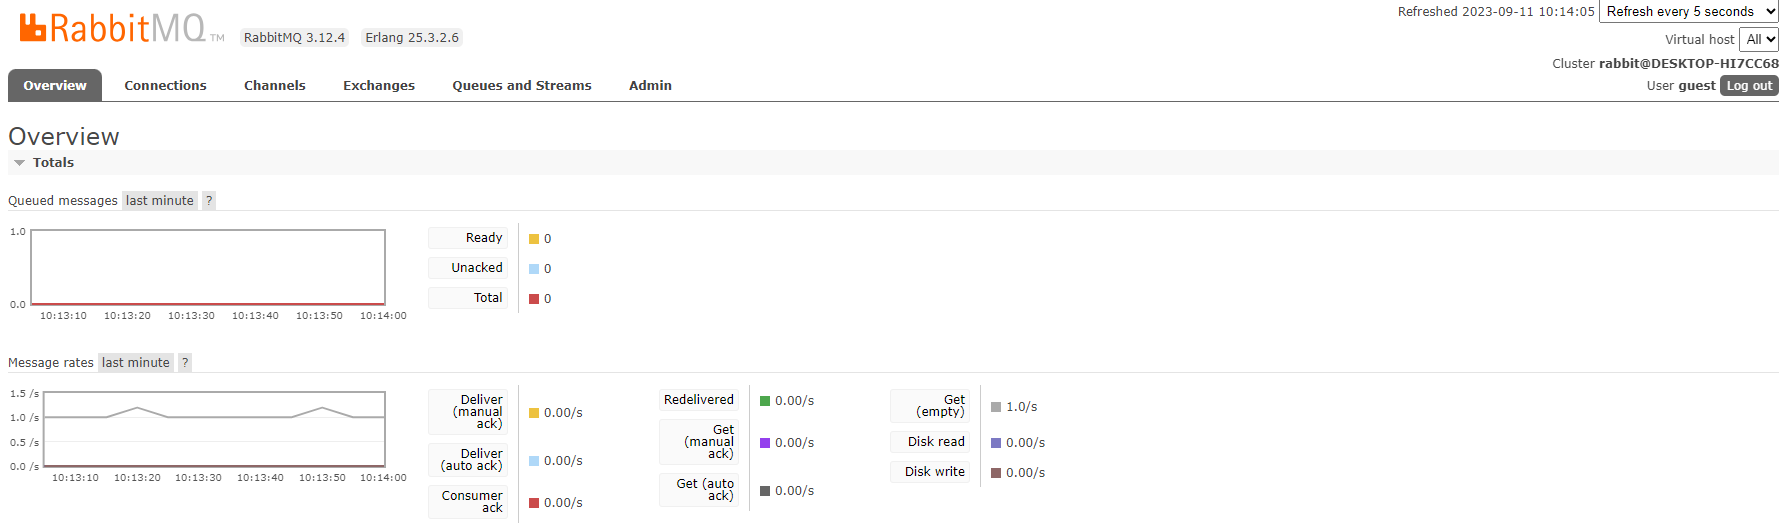
After the installation of Erlang, navigate to RabbitMQ in a web browser.

-
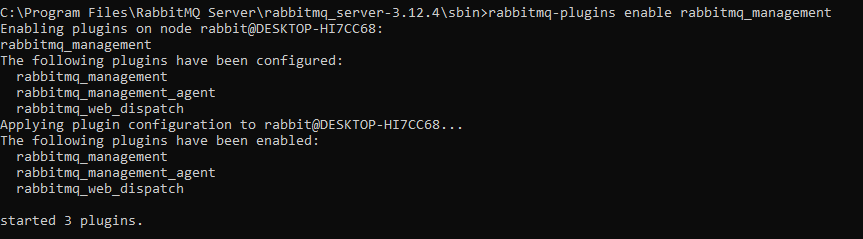
After installing RabbitMQ, open a command prompt at
C:\Program Files\RabbitMQ Server\rabbitmq_server-3.12.4\sbinthen executerabbitmq-plugins enable rabbitmq_management.
-
Log in to RabbitMQ with the default credentials:
-
Username: guest
-
Password: guest
-
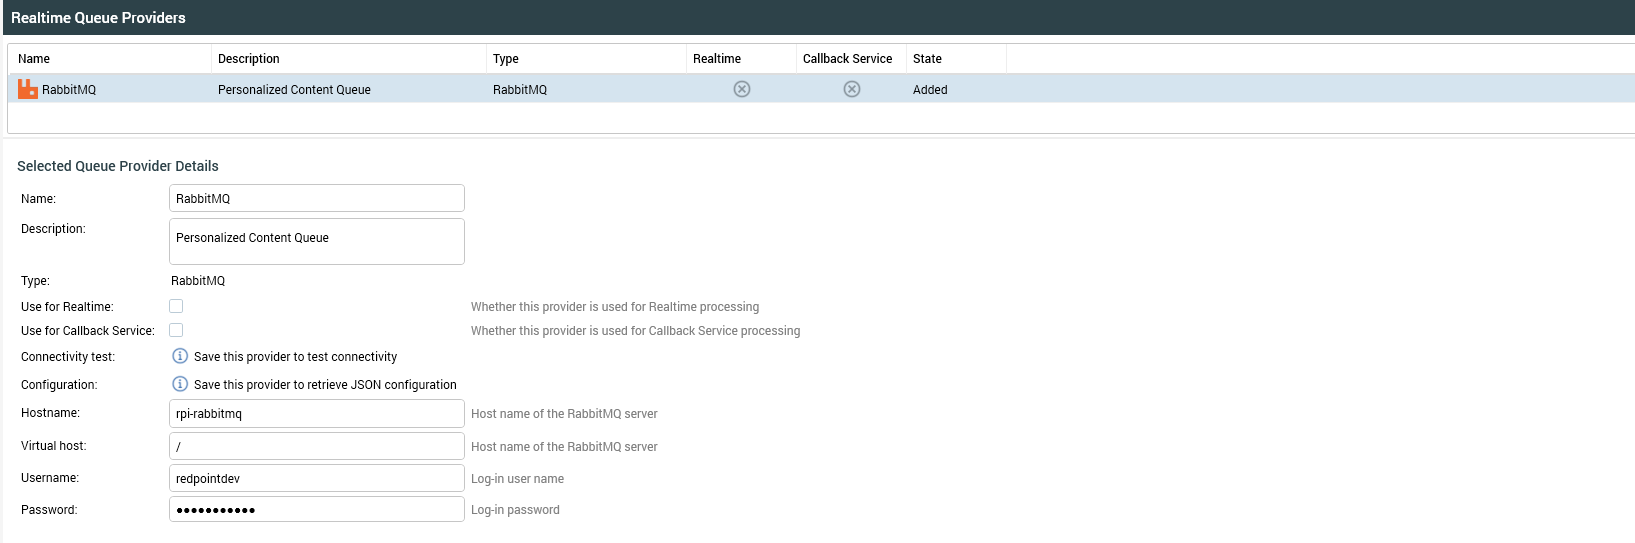
Personalized content queues
RabbitMQ is currently the only supported queue provider for personalized content delivery. You can either use an external (BYO) RabbitMQ broker or the default RabbitMQ instance provisioned by the Helm chart. If you're already using a different queue provider (e.g., Amazon SQS for Realtime), RabbitMQ will run in parallel specifically for personalized content.
To use the built-in RabbitMQ (via Helm Chart), open your values.yaml file and locate the realtimeapi.queueProvider.rabbitmq section. Set queueProvider.rabbitmq.internal: true and specify your username and password. If you prefer using an external broker, set queueProvider.rabbitmq.internal: false and provide the rest of the connection details.
queueProvider:
  rabbitmq:
    internal: true
    hostname: rpi-rabbitmq
    virtualHost: "/"
    username: redpointdev
    password: <my-secure-password>
Once RabbitMQ is running (internal or BYO), log in to the RPI Client and configure the personalized content setup. The hostname for the built-in RabbitMQ instance is always rpi-rabbitmq while web console access is available at https://rpi-rabbitmq-console.example.com. You can retrieve the actual console URL by inspecting your configured ingress endpoints.