

Overview
Selection rules are used to define criteria in order to select records in the database. Of the three types of selection rules, standard selection rules are the the most feature-rich type, used to target records in a SQL database.
You can use selection rules as a building block in many other features of RPI, such as audiences, Smart Assets, etc.
The video below walks through the creation of a standard selection rule. This process is documented in detail below.
Open the Rule Designer
In this use case, we’re a retailer that’s running a sale on women’s clothing in our New York stores. We’re going to create a selection rule that targets customers that would be eligible for the sale. The first step in building a selection rule is navigating to the Rule Designer.
To get to the Rule Designer:
-
From the RPI home page, go to the quick access menu and select Audience > Rules.
-
Choose Standard Selection Rule.
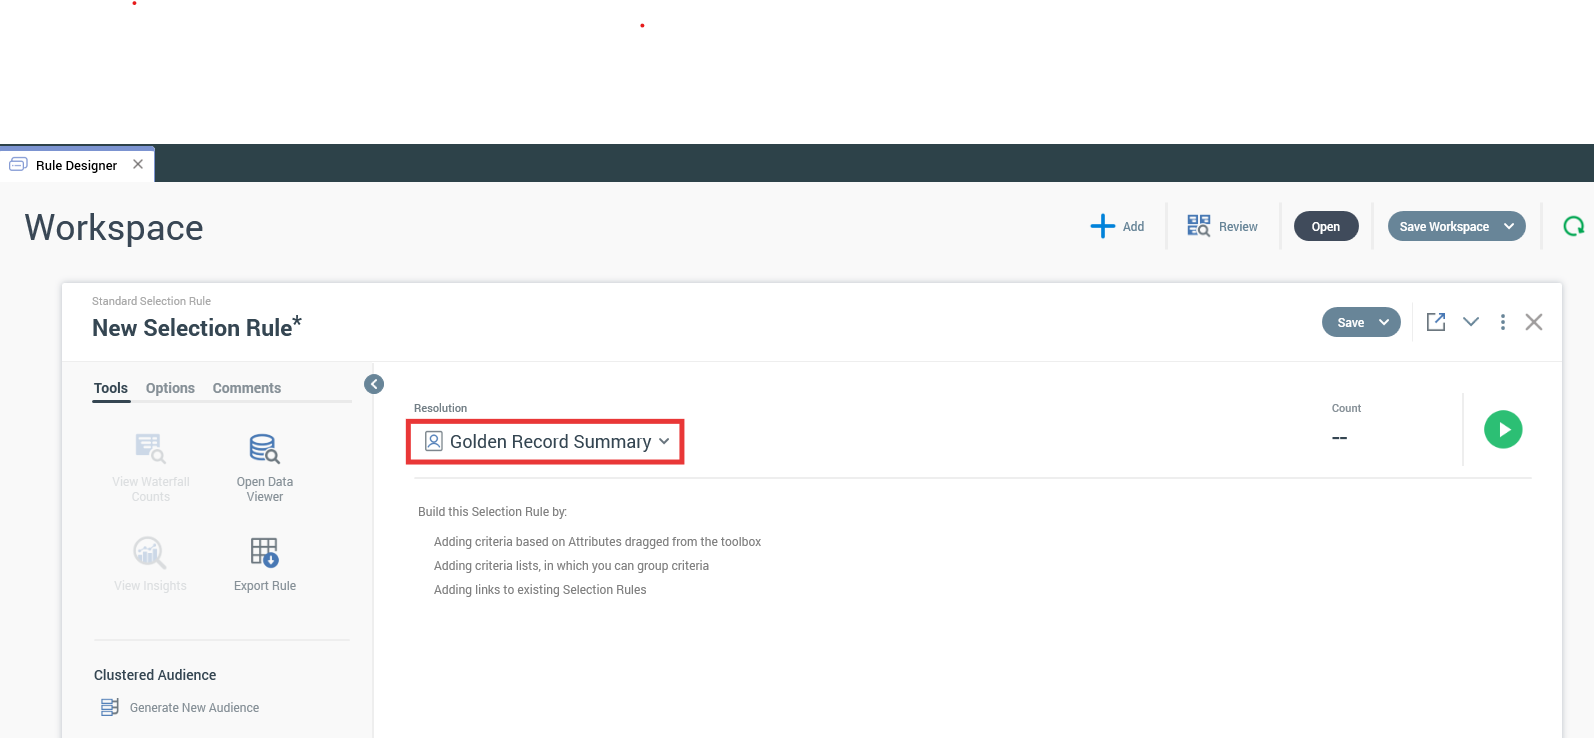
The Rule Designer is now open with an empty workspace. We’re going to build the selection rule one attribute at a time in the following sections.
Setting the Resolution
The first thing to do is set the resolution of the selection rule. The resolution determines the database table we’re pulling records from. For our rule, we’re going to leave it as the default, which in this case is Golden Record Summary.
You can use attributes that pull records from different database tables than the table set by the resolution, however you must create a join between those two database tables.
Add criterion
Selection rules are typically built using one or more criteria, which are composed of attributes. You can have a valid selection rule without any criteria, but that will simply include all records in the database set by the resolution. To narrow it down, we’ll add criteria.
To add criteria:
-
Search for the attribute using the file search to the right of the toolbar.
-
Drag the attribute you want to use from the file search onto the workspace. This prompts the Choose Criterion Type popup to appear.
-
Select Compare to List.
-
Choose the value(s) you want to include in your criterion by choosing the value from the list on the left, and selecting Add.
-
Select Finish.
-
Select the green play button to show how many records are included in your rule.
-
Repeat steps 1-6 for however many criteria you need for your rule.
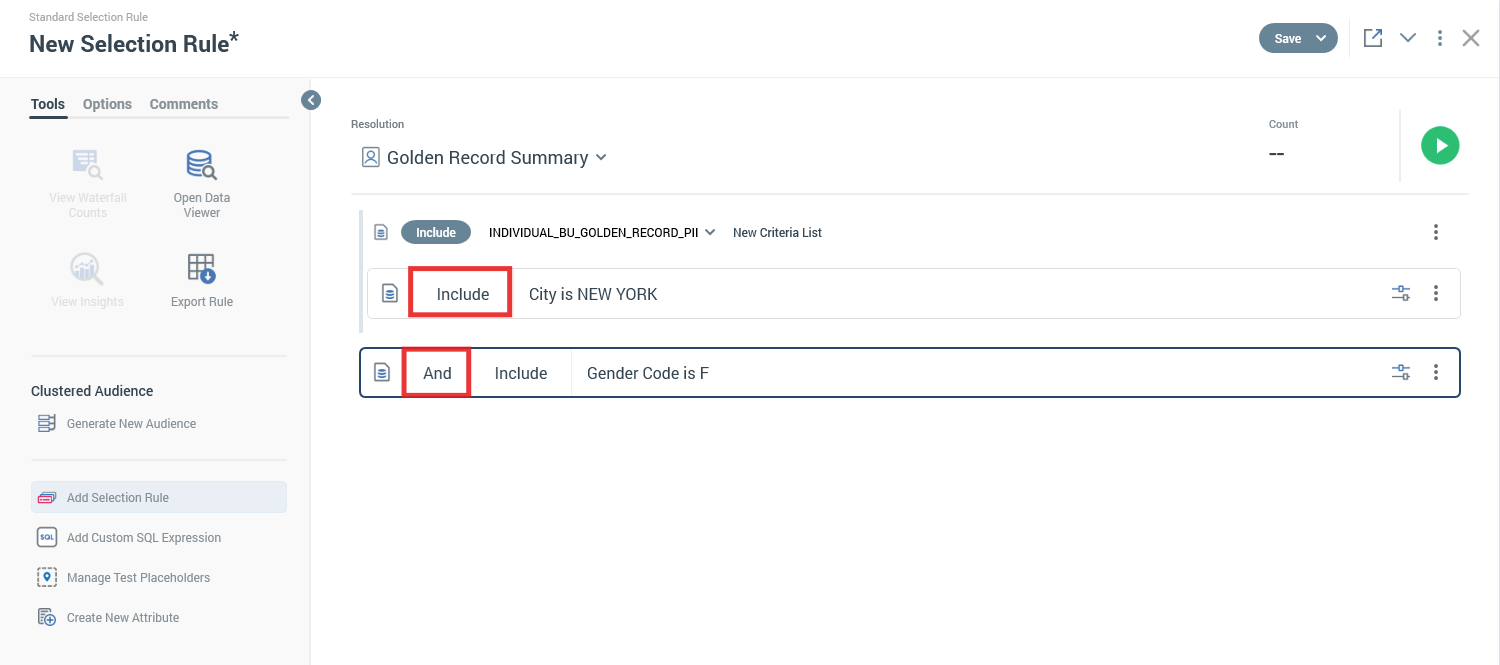
By default:
-
Criteria are set to “Include” the value(s) you chose. You can change this to “Exclude” by selecting the word Include.
-
When using multiple criteria, they are connected by “AND” logic. You can change this to “OR” by selecting the word AND.
Finalize your selection rule
Now that our selection rule is configured, all we need to do is name and save the rule to make it ready to use.
To name and save the rule:
-
Select the default name “New Selection Rule*” and enter a unique name for the rule.
-
Select the Save button from the toolbar.
-
Choose a location to save your rule.
-
Select Save.
Your selection rule is complete and ready to use.
Learn more
The Rule Designer is incredibly versatile with a host of useful tools you can use while building your rule and after you’re finished creating the rule. To learn more about the additional functionality of the Rule Designer, check out the Rule Designer documentation.