

Using SendGrid Channel in RPI Interaction
-
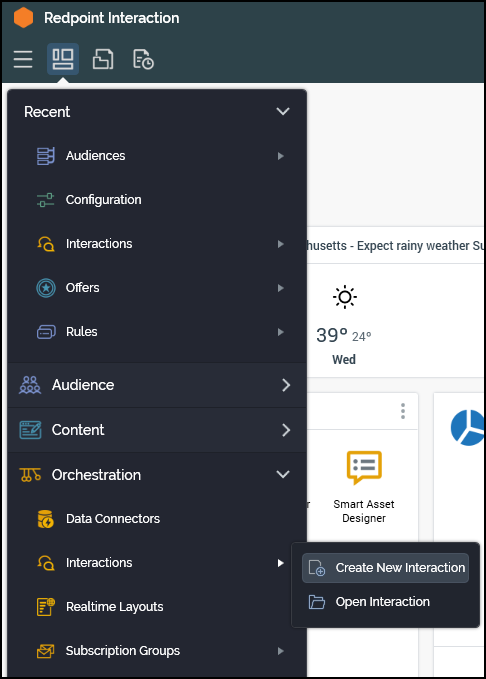
Use the options menu in RPI to navigate to Orchestration>Interactions>Create New Interaction. This launches a blank interaction that will execute a previously designed audience.
-
Name the new interaction appropriately.
-
There are 3 elements required in an interaction to successfully send an email through SendGrid.
-
Workflow Control: example uses a Manual Control.
-
Targeting Block: example uses a Batch, which will use a previously configured audience.
-
Fulfillment Block: example will use an Offer and will be where channel will be selected.
-

-
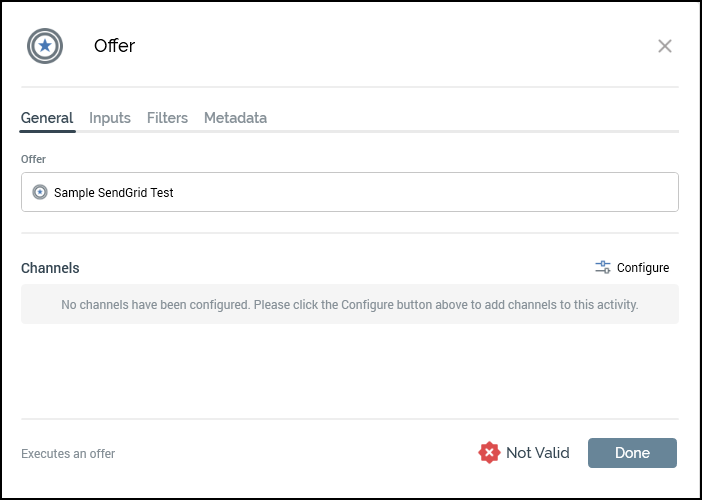
Within the Offer block, the user will need to assign an offer that was previously configured.
-
Under Channels, select Configure.
-
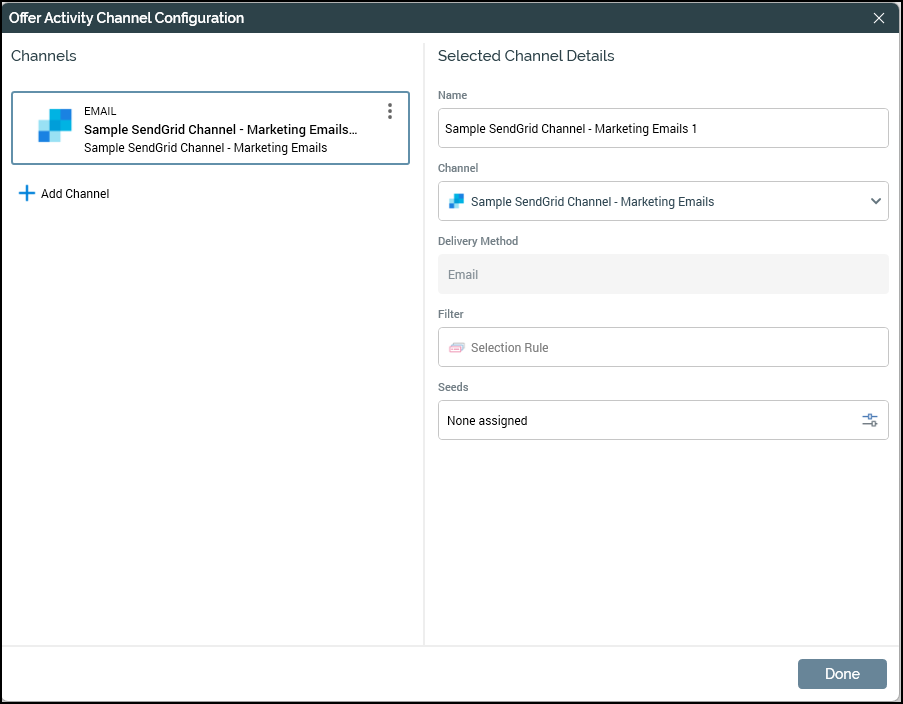
Select Add Channel and choose the proper channel from the drop down.
-
Select Done.
Once these steps are complete, the user is now able to send messages from RPI through to SendGrid.