Create or modify a segment
Overview
This topic walks you through how to…
Manually construct a new segment from scratch
If you started with Redpoint IQ, optionally make manual adjustments to your segment
Check out the video below for a brief walkthrough of creating a segment from scratch.
Manually build a new segment
Select one of the workflow entry points, such as Build a Segment on the Audience page.
Hover over the default name, “Untitled Segment” name and select the pencil icon to name the segment and add a description (optional). You can name the segment now, or at any point in the workflow before you finalize the segment.
The segment will indicate that it’s Invalid until you name it.
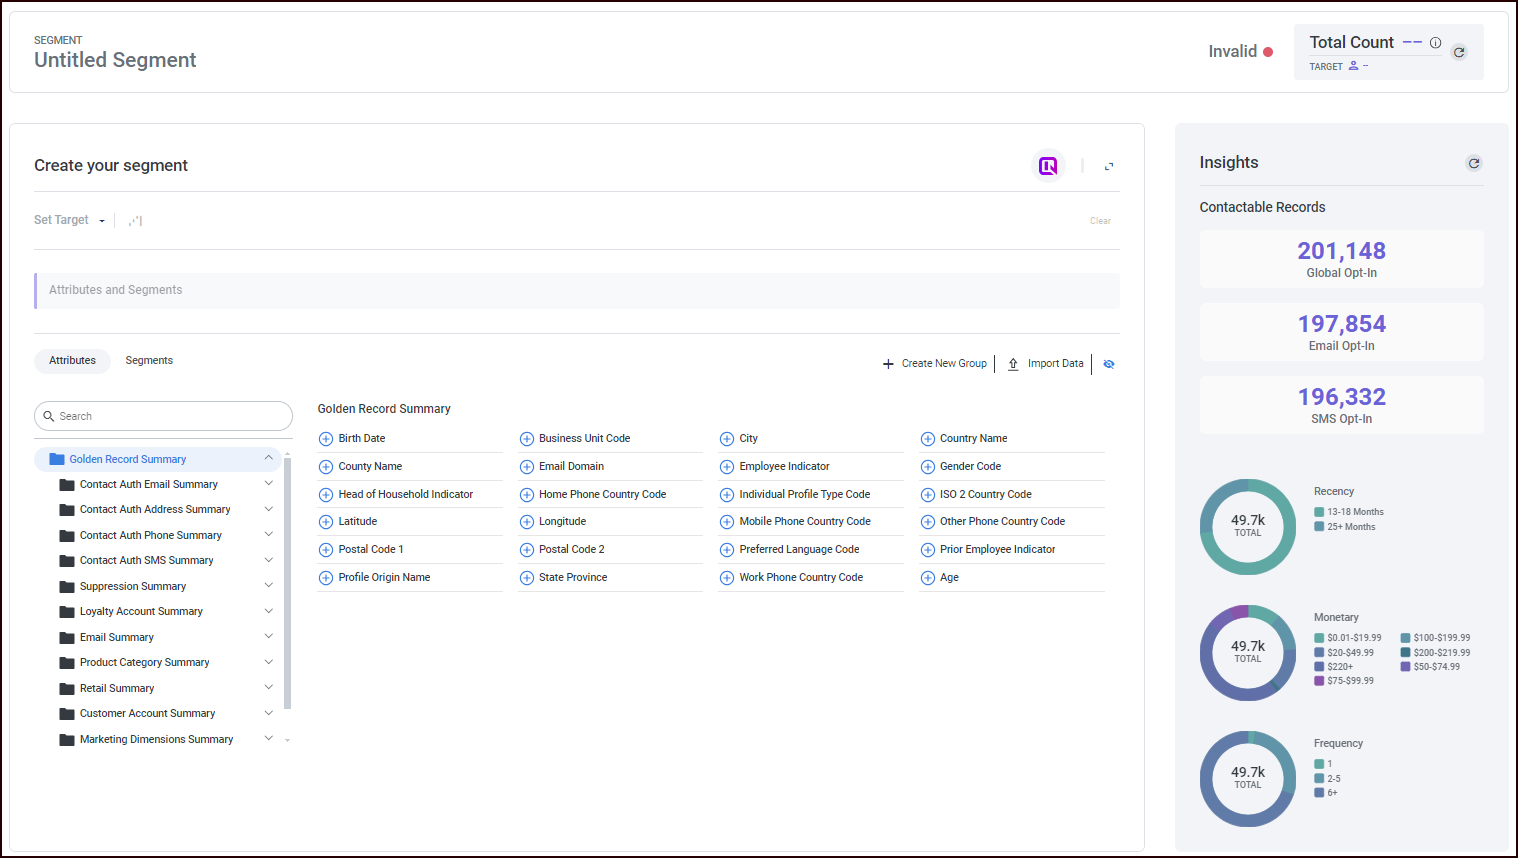
You can add attributes and/or other segments to define your segment as well as optionally use groups to refine your criteria.
Add attributes
Adding attributes is optional. A segment is built using any combination of attributes and/or segments. You may or may not need to use attributes to build your current segment.
In the Attributes file picker area, choose a folder that holds your attribute of interest. The attributes contained in the folder are displayed. You can also search for a keyword to find an attribute more quickly.
Choose one or more attributes by selecting the plus icon
 next to the attribute. A popup is displayed.
Select a Criterion Type from the dropdown list. The popup will change depending upon the criterion type chosen.
Select the values for the chosen criterion type and select Add. The added criterion is displayed in the criterion list.
Repeat step 2 to add as many attributes as you need.
Select the refresh button
 in the upper-right portion of the page to update the Total Count, which shows the number of records that match the criteria you’ve added.
You can also analyze your segment, including viewing waterfall counts and insights about your segment or comparing your current segment to other existing segments.
You’ll also see whether all of your criteria are valid.
Add segments
Adding segments is optional. A segment is built using any combination of attributes and/or segments. You may or may not need to use additional segments to build your current segment.
Select the Segments button to display your previously-defined segments.
Select the plus icon
 next to the segment to add it to the segment you’re building.
Select the refresh button
 in the upper-right portion of the page to update the Total Count, which shows the number of records that match the criteria you’ve added.
You can also analyze your segment, including viewing waterfall counts and insights about your segment or comparing your current segment to other existing segments.
You’ll also see whether all of your criteria are valid.
Refine your criteria
By default, all of the decision criteria below must be met is selected from the conditions dropdown (which translates to an
Andbetween each of your attributes and segments); however, you can select at least one of the decision criteria below must be met (which translates to anOrbetween each of your attributes and segments) from the decisions dropdown.To further refine your criteria, you can select Create New Group, and then drag-and-drop your attributes or segments into the group, and choose Include/Exclude and All/Any as needed.
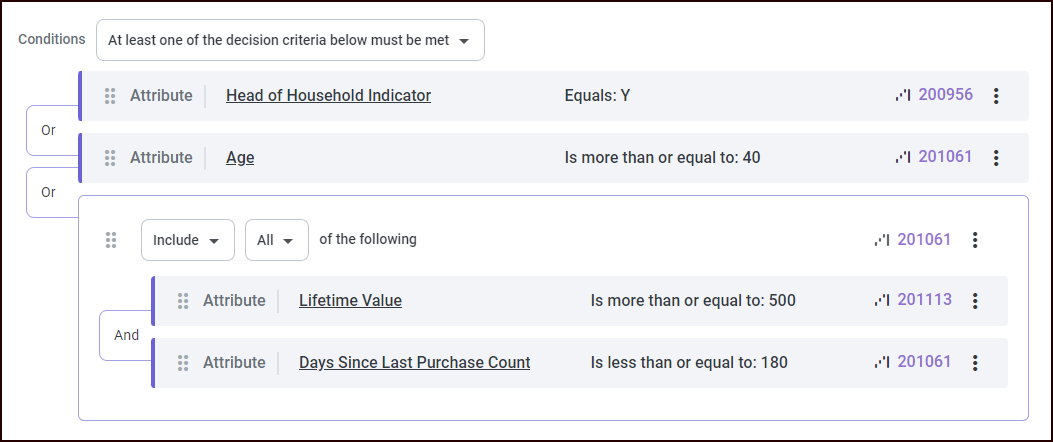
You can move an attribute or segment up or down in the list or into or out of groupings by dragging it by the double-vertical-ellipses on the far left of the attribute/segment.
You can select the vertical ellipsis menu on the right to Edit or Remove that criterion.
Set a Target
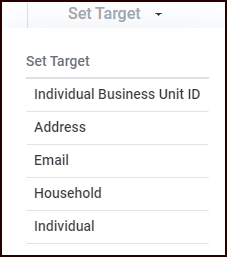
Optionally set a Target by making a selection from the Set Target pulldown menu.
Target options are based on your organization's defined dedupe settings, with the default generally being an Individual record, but this can be customized at any time if there is a more appropriate default setting (e.g., you could select Household if you wanted to send direct mail to only one member of a household).
Finalize your segment
When you've finished adding and refining the criteria for your segment, select Next. The Summary step is displayed.
Check the information to make sure you have defined your segments correctly. You can still go back in the segment definition workflow and make changes by selecting Previous.
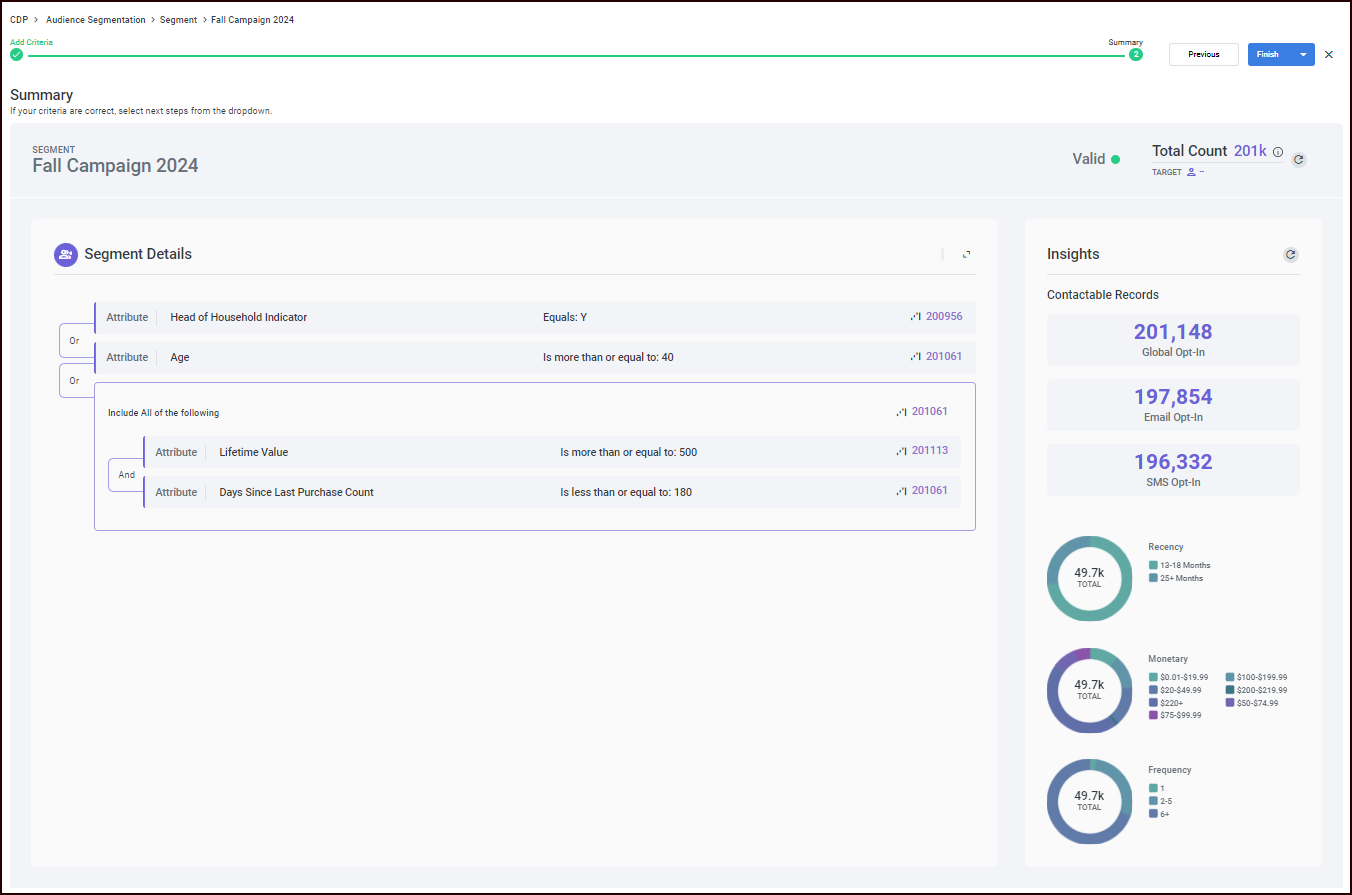
If you haven’t named your segment yet, you need to do so before you can finish creating it. You can also still edit the segment name and/or description by hovering over the name and selecting the pencil icon.
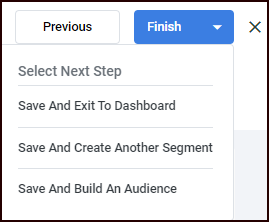
When you're certain that your segments are correctly defined, select a next step from the Finish button dropdown menu.
If you want to abandon the segment, you can select the X to the right of the Finish button.
