

Overview
The Create Index tool accepts a single input file and generates an indexed data set. You can then query the indexed data set to quickly count and extract records meeting your criteria. If the input data contains latitude and longitude data, you can create a spatial index, enabling circle queries. You can also create a polygon subsystem, enabling both circle and polygon queries.
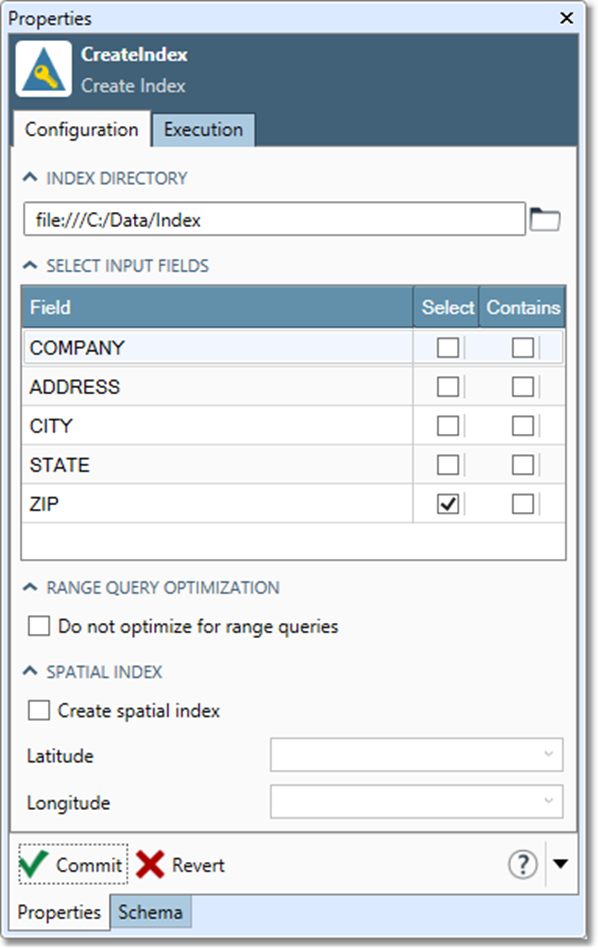
Create Index tool configuration parameters
The Create Index tool has a single set of configuration parameters in addition to the standard execution options.
|
Parameter |
Description |
|---|---|
|
Index directory |
Destination directory for index files. |
|
Field select |
Input fields to be indexed. |
|
Contains |
If selected, create index for use with the Contains or Endswith query terms. |
|
Do not optimize for range queries |
If selected, suppresses the creation of bitset trees. |
|
Create spatial index |
If selected, create a spatial index using specified Latitude and Longitude fields. |
Configure the Create Index tool
-
Select the Create Index tool.
-
Go to the Configuration tab on the Properties pane.
-
Select the

-
In the Select input fields grid, check the Select box next to each Field you want to index. Any field that you want to use in a query term must be indexed.
-
Optionally, check the Contains box next to each Field you want to index for use with the Contains or Endswith query terms. Creating this index is resource-intensive, so do not enable this option unless need it.
-
Optionally, if the input data contains latitude and longitude data, you can check the Create Spatial Index box, and then select the Latitude and Longitude boxes to specify latitude and longitude fields. Latitude and longitude fields:
-
Must be numeric.
-
Must be expressed in degrees.
-
Longitude values should be negative for the Western hemisphere.
For example, a typical coordinate in North America would be:
Latitude = 41.53 Longitude = -105.48
-
-
Optionally, select Do not optimize for range queries. This suppresses the creation of bitset trees, which are used to optimize performance of queries involving ranges or inequalities, but which are slow to build and result in large index files.
-
Optionally, go to the Execution tab, and then set Web service options.
If you intend to query the data set using the Circle, Polygon, or DynPolygon query terms, you must create a spatial index. If you intend to query the data set using the Polygon term, you must also create a polygon subsystem.
Creating a polygon subsystem
A polygon subsystem is an indexed data set used for performing queries containing Polygon terms. It is created and stored separately from a data set's main index.
To create a polygon subsystem, you'll need:
-
A second Create Index tool (other than the one used to create the main index).
-
A Polygons subdirectory located directly under the main indexed record set. For example:
C:\Data\Polygons.
An input table containing two fields: KEY and SPATIAL. The KEY field is a text field containing the name of each polygon. The SPATIAL field contains the corresponding named polygons.
You can use the Spatial Input tool to read polygon files in TAB format, or other input tools as necessary. If your input data has a non-text key field, or the key field is not named KEY, you must rename and/or retype it to conform to the required schema. For example, a polygon file might contain ZIP Codes as keys, with polygons defined as the bounding polygon of each ZIP Code. In such a case, you would rename the ZIP field to KEY, rename the ZIP polygon field to SPATIAL, and then index the KEY field.
To create a polygon subsystem:
-
Select the Create Index tool.
-
Go to the Configuration tab on the Properties pane.
-
Select the

-
In the Fields from input grid, check the Select box next to the
KEYfield. -
Optionally, set Report options and web service options on the Execution tab.