

Overview
A model scoring block allows you to leverage the results of execution of a Redpoint Automated Machine Learning (AML) model in an audience.
A model scoring block is configured with a model project. Model projects are managed within their own dedicated designer. Each model project contains a reference to an AML model.
For more information on model projects, please see the Model Project Designer documentation.
Adding a model scoring block to an Audience
You can add a new model scoring block to an audience by dragging a model scoring block from the Audience Blocks section within the toolbox and dropping it onto the Audience Designer workspace. Doing so creates a new, unconfigured model scoring block within the workspace.
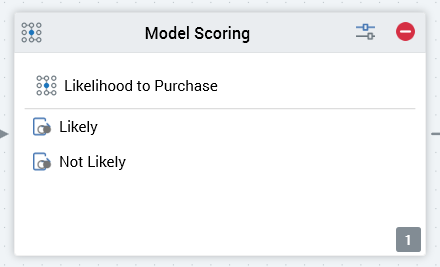
The new model scoring block is selected automatically and, by default, is named “Model Scoring”. If a model scoring block with this name already exists within the current audience, the newly-created model scoring block is named “Model Scoring 2” (note that, if required, the numerical value can be incremented to ensure uniqueness).
Following the addition of a model scoring block, an asterisk is appended to the audience’s name displayed within the current tab, indicating that unsaved changes now exist.
Adding a model scoring block by dropping a model project
You can create a model scoring block by dragging a model project file from the toolbox and dropping it directly onto the Audience Designer workspace.
The new model scoring block is named by default in accordance with the name of the model project. If a model scoring block of that name already exists within the current audience, the newly-created model scoring block is named “[Model Project] 2” (note that, if required, the numerical value can be incremented to ensure uniqueness).
The new model scoring block's Model project property is set to the project that was dropped onto the workspace.
Following the addition of a model scoring block, an asterisk is appended to the audience’s name displayed within the current tab, indicating that unsaved changes now exist.
Configuring a model scoring block in the workspace
A model scoring block has a single unique property that can be configured directly within the workspace:
Model project: you must configure the block with a model project file. You can browse for a model project, or populate the property using drag and drop. You can also initiate the creation of a new model project file.
The model scoring block's outputs are also listed at the block, but are set in the Audience Block Builder’s Outputs tab.
Configuring a model scoring block using the Audience Block Builder
When configuring a model scoring block, the Audience Block Builder contains General, Output Options, and Outputs tabs.
The General tab is documented elsewhere in the Audience Designer documentation. An additional property is exposed:

-
Model Project: you must configure the block with a model project file. You can browse for a model project, or populate the property using drag and drop. You can also initiate the creation of a new model project file.
The contents of the Output Options tab are as follows:
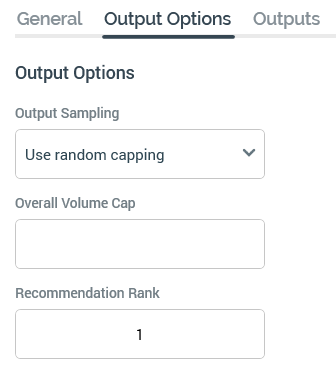
Details of the Output Sampling and Overall Volume Cap properties can be found in the Split block documentation. One additional property is shown:
-
Recommendation Rank: this property is only shown when the model project with which the block is configured is based on an AML Recommender model. It allows you to specify which of the ranked recommendation results returned by the model should be used by the block. An integer property, it defaults to the value 1, and accepts a range of values from 1 to 99. At execution, targeted records' model band membership is determined using recommendation accordant with the Recommendation Rank specified.
The Outputs tab allows you define how the block’s data will be segmented. It is similar to the Split block equivalence, as documented in the Split block documentation.
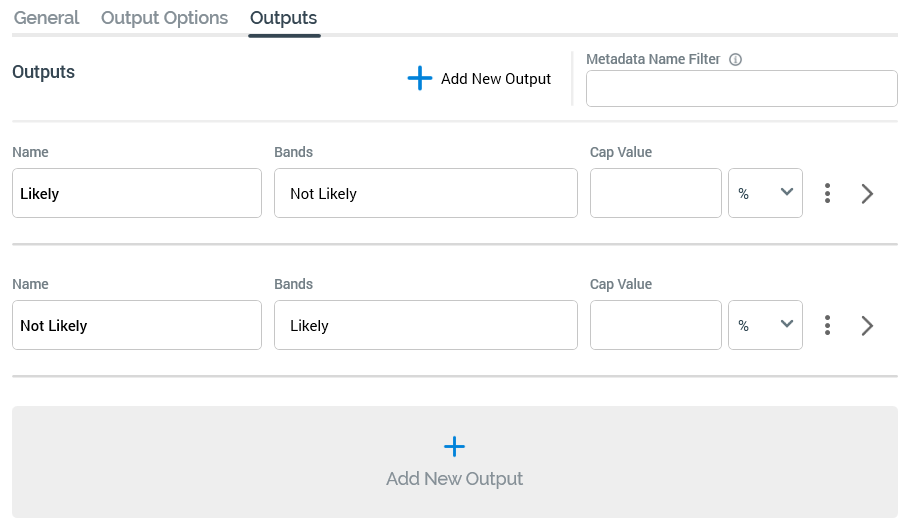
Its functionally mirrors its Split block peer, with the latter’s Selection Rule property being replaced by the following:
-
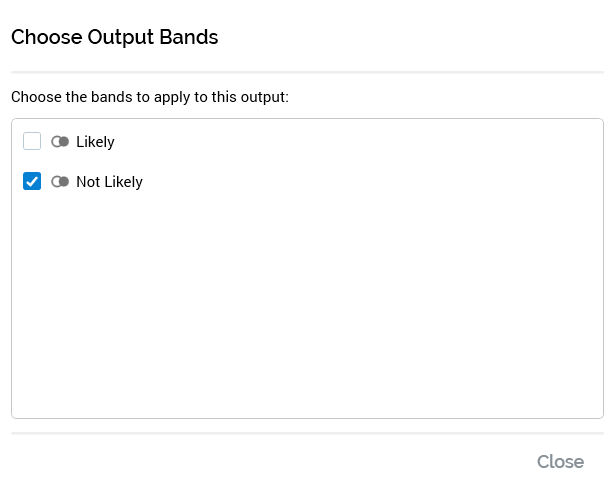
Bands: this property allows you to define that records that fall within the selected model project bands are to be included in the output. If the selected model project contains no bands, the text “N/A” is shown. Otherwise, “[n] band(s)” is displayed (where [n] is number of bands selected for the output). You can select the same to select bands to assign to the output using the Choose Output Bands dialog.
Note that provision of outputs at a model scoring block is mandatory.