

Create New User
You can initiate the creation of a new user by selecting Create new User in the Configuration Workbench toolbar.
Note that you cannot create a new user if configuration setting UsersFolderID is not set.
Create New User tab
Creation of a new user is carried out in the Create New User modal dialog.
The dialog contains a tab set, within which are displayed two tabs–Create New User and Group Membership.
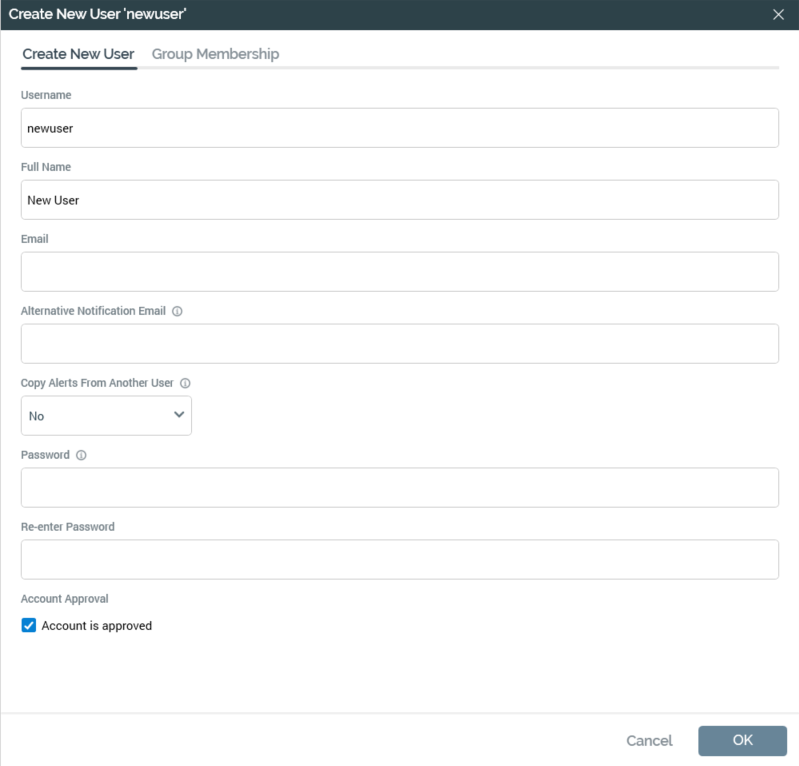
The Create New User tab allows you to specify the following user properties:
-
Username: defined at user creation and may not be amended afterwards. It is the mechanism by which a user is identified within RPI; as such, it is mandatory and must be unique across all tenants. Username may be a maximum of 256 characters. Its value defaults to newuser.
-
Full Name: the user’s full name. Full name defaults to New User, is mandatory and may be a maximum of 256 characters.
-
Email: the email address to be used when sending messages to the user. The value supplied must be a valid email address, is mandatory, must be unique within the RPI server installation (across all tenants hosted there) and may be a maximum of 200 characters.
-
Alternative Notification Email: this property allows you to specify an optional email address, to which alert notifications will be sent instead of to the address supplied at the Email property. The same restrictions apply as at Email, and, in addition, the same email address cannot be specified at both properties.
-
Copy Alerts from Another User: this dropdown allows you to optionally copy the alert preferences configured for an existing user to the new user. It exposes values “No” (the default) and “Yes”. When set to “Yes”, the User field is displayed to the right of the property. On creation of a user having copied alerts, on logging in as the same, the user's alert preferences are the same as the user from whom they were copied.
-
User: this dropdown property is displayed when Copy Alerts... is set to “Yes”. It allows you to select an existing user from whom to copy alert preferences to the new user. The property is blank by default, and lists all users configured at the current RPI tenant. For each, the following are displayed: “[username] ([Full Name], [Email])”.
When the property is shown, selection of a user is mandatory. If not selected, the following warning is displayed at the top of the Create New User dialog:
-
Password: must comply with the current password policy. An information icon is shown to the right of the property label; hovering over it displays a synopsis of the current policy in a tooltip:

If the supplied password does not match the policy, a warning is raised.
-
Re-enter password: must match the supplied Password.
-
Account is approved: checkbox that turns the user account on or off. A user may not sign in if his or her account is not approved. By default, an account is approved.
Group membership tab
The Group Membership tab allows you to select the user groups to which you wish to attach the user:
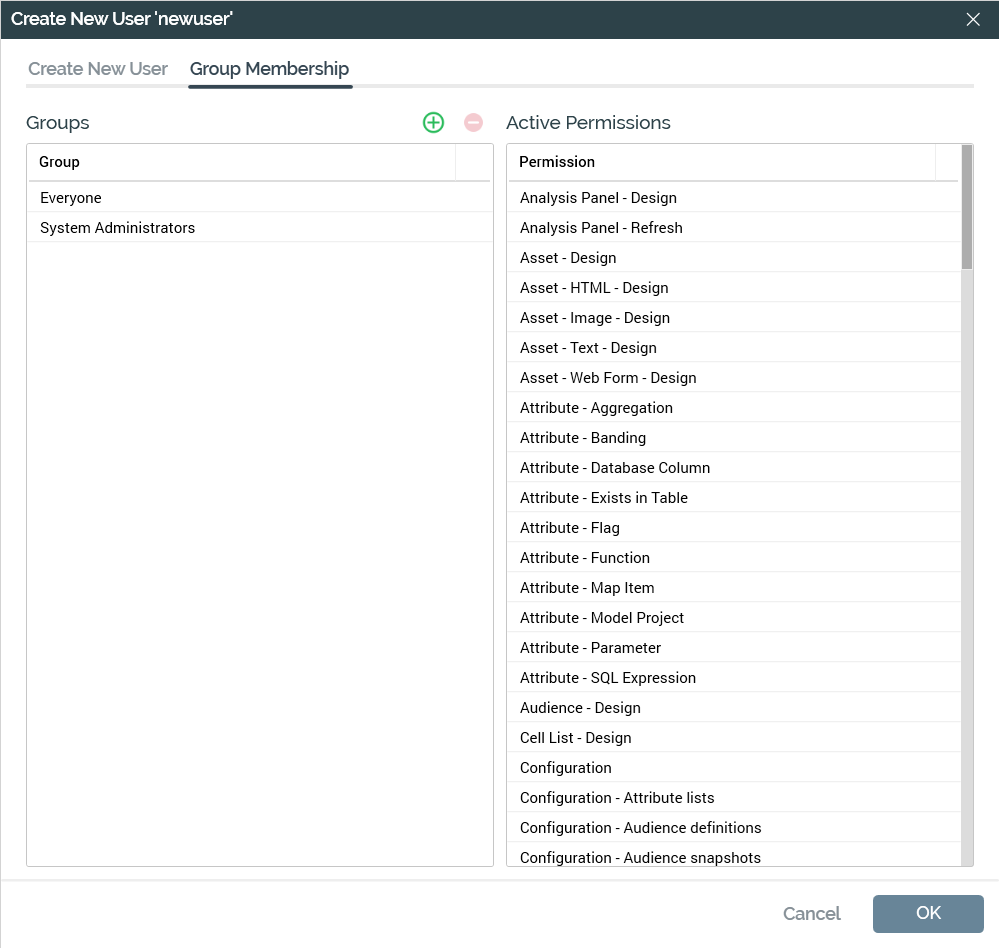
The Member of Groups list displays the user groups with which the user is associated in alphabetical order.
By default, all users are associated with the Everyone user group.
A toolbar within the list gives access to the following options:
-
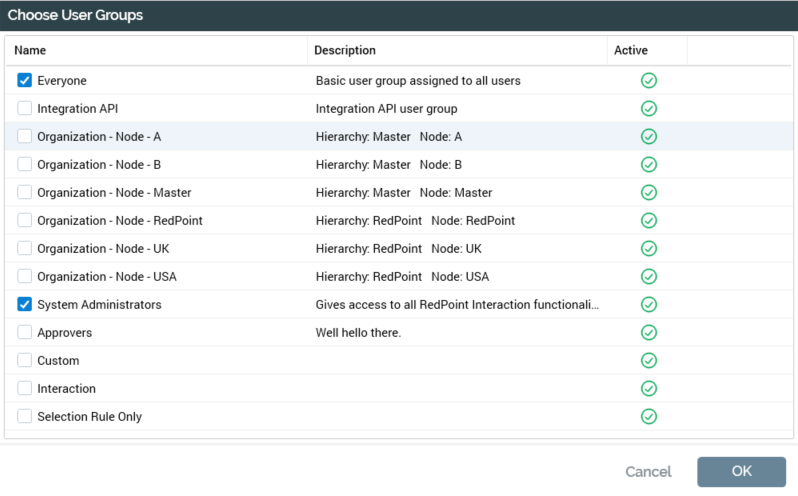
Add user to group: invokes the Choose User Groups dialog. The dialog lists all user groups alphabetically in a grid and facilitates their selection. Note that you can only add a user to the System Administrators group if you yourself are a system administrator. For each user group, the following properties are displayed. All are read-only unless otherwise indicated.
-
Selected indicator: an updateable checkbox. Its checked state reflects whether the user is associated with the group.
-
Name
-
Description
-
Active
-
You can select OK to associate the user with the selected user groups. Afterwards, the selected user groups are listed in alphabetical order in the Groups list in the Create New User dialog. Note that you may also cancel the Choose User Groups dialog.
-
Remove user from selected groups: this option is available when one or more groups are selected in the Groups list. Selecting it removes the groups from the user. Note that you cannot remove the Everyone user group.
Active Permissions list
The Active Permissions list displays all permissions associated with the user.
You can select OK to finish creation of a new user. Doing so causes the data you have entered to be validated; if any validation issues exist, they are displayed as warnings and you must resolve them before the user can be created. If no validation errors are present, the new user is saved to the operational database (note the contrast with other configuration interfaces, within which the Save button is used to persist changes).
Following its creation, the new user is displayed, in an appropriate alphabetical position, within the existing user list in the User Management interface.
Following the new user's creation a folder is created within the Users folder in the RPI file system (itself defined via a configuration setting (UsersFolderID)) and is named in accordance with the supplied username. If such a folder exists already, a parenthesized integer is appended to the new folder’s name (if necessary, this integer can be incremented). The new folder inherits the user group folder permissions of its parent folder.
A new user is automatically assigned membership of the Everyone user group.
You may also cancel creation of the new user. Doing so removes the Create New User dialog from display (displaying an “Are You Sure?” dialog first, if you set any of the new user’s properties).
Manage Existing User
You can initiate the management of an existing user by double-clicking a user in the existing users list. Management of an existing user is carried out in the Manage User modal dialog.
The dialog contains a tab set, which contains two tabs–User Details and Group Membership–and a Status panel at the bottom.
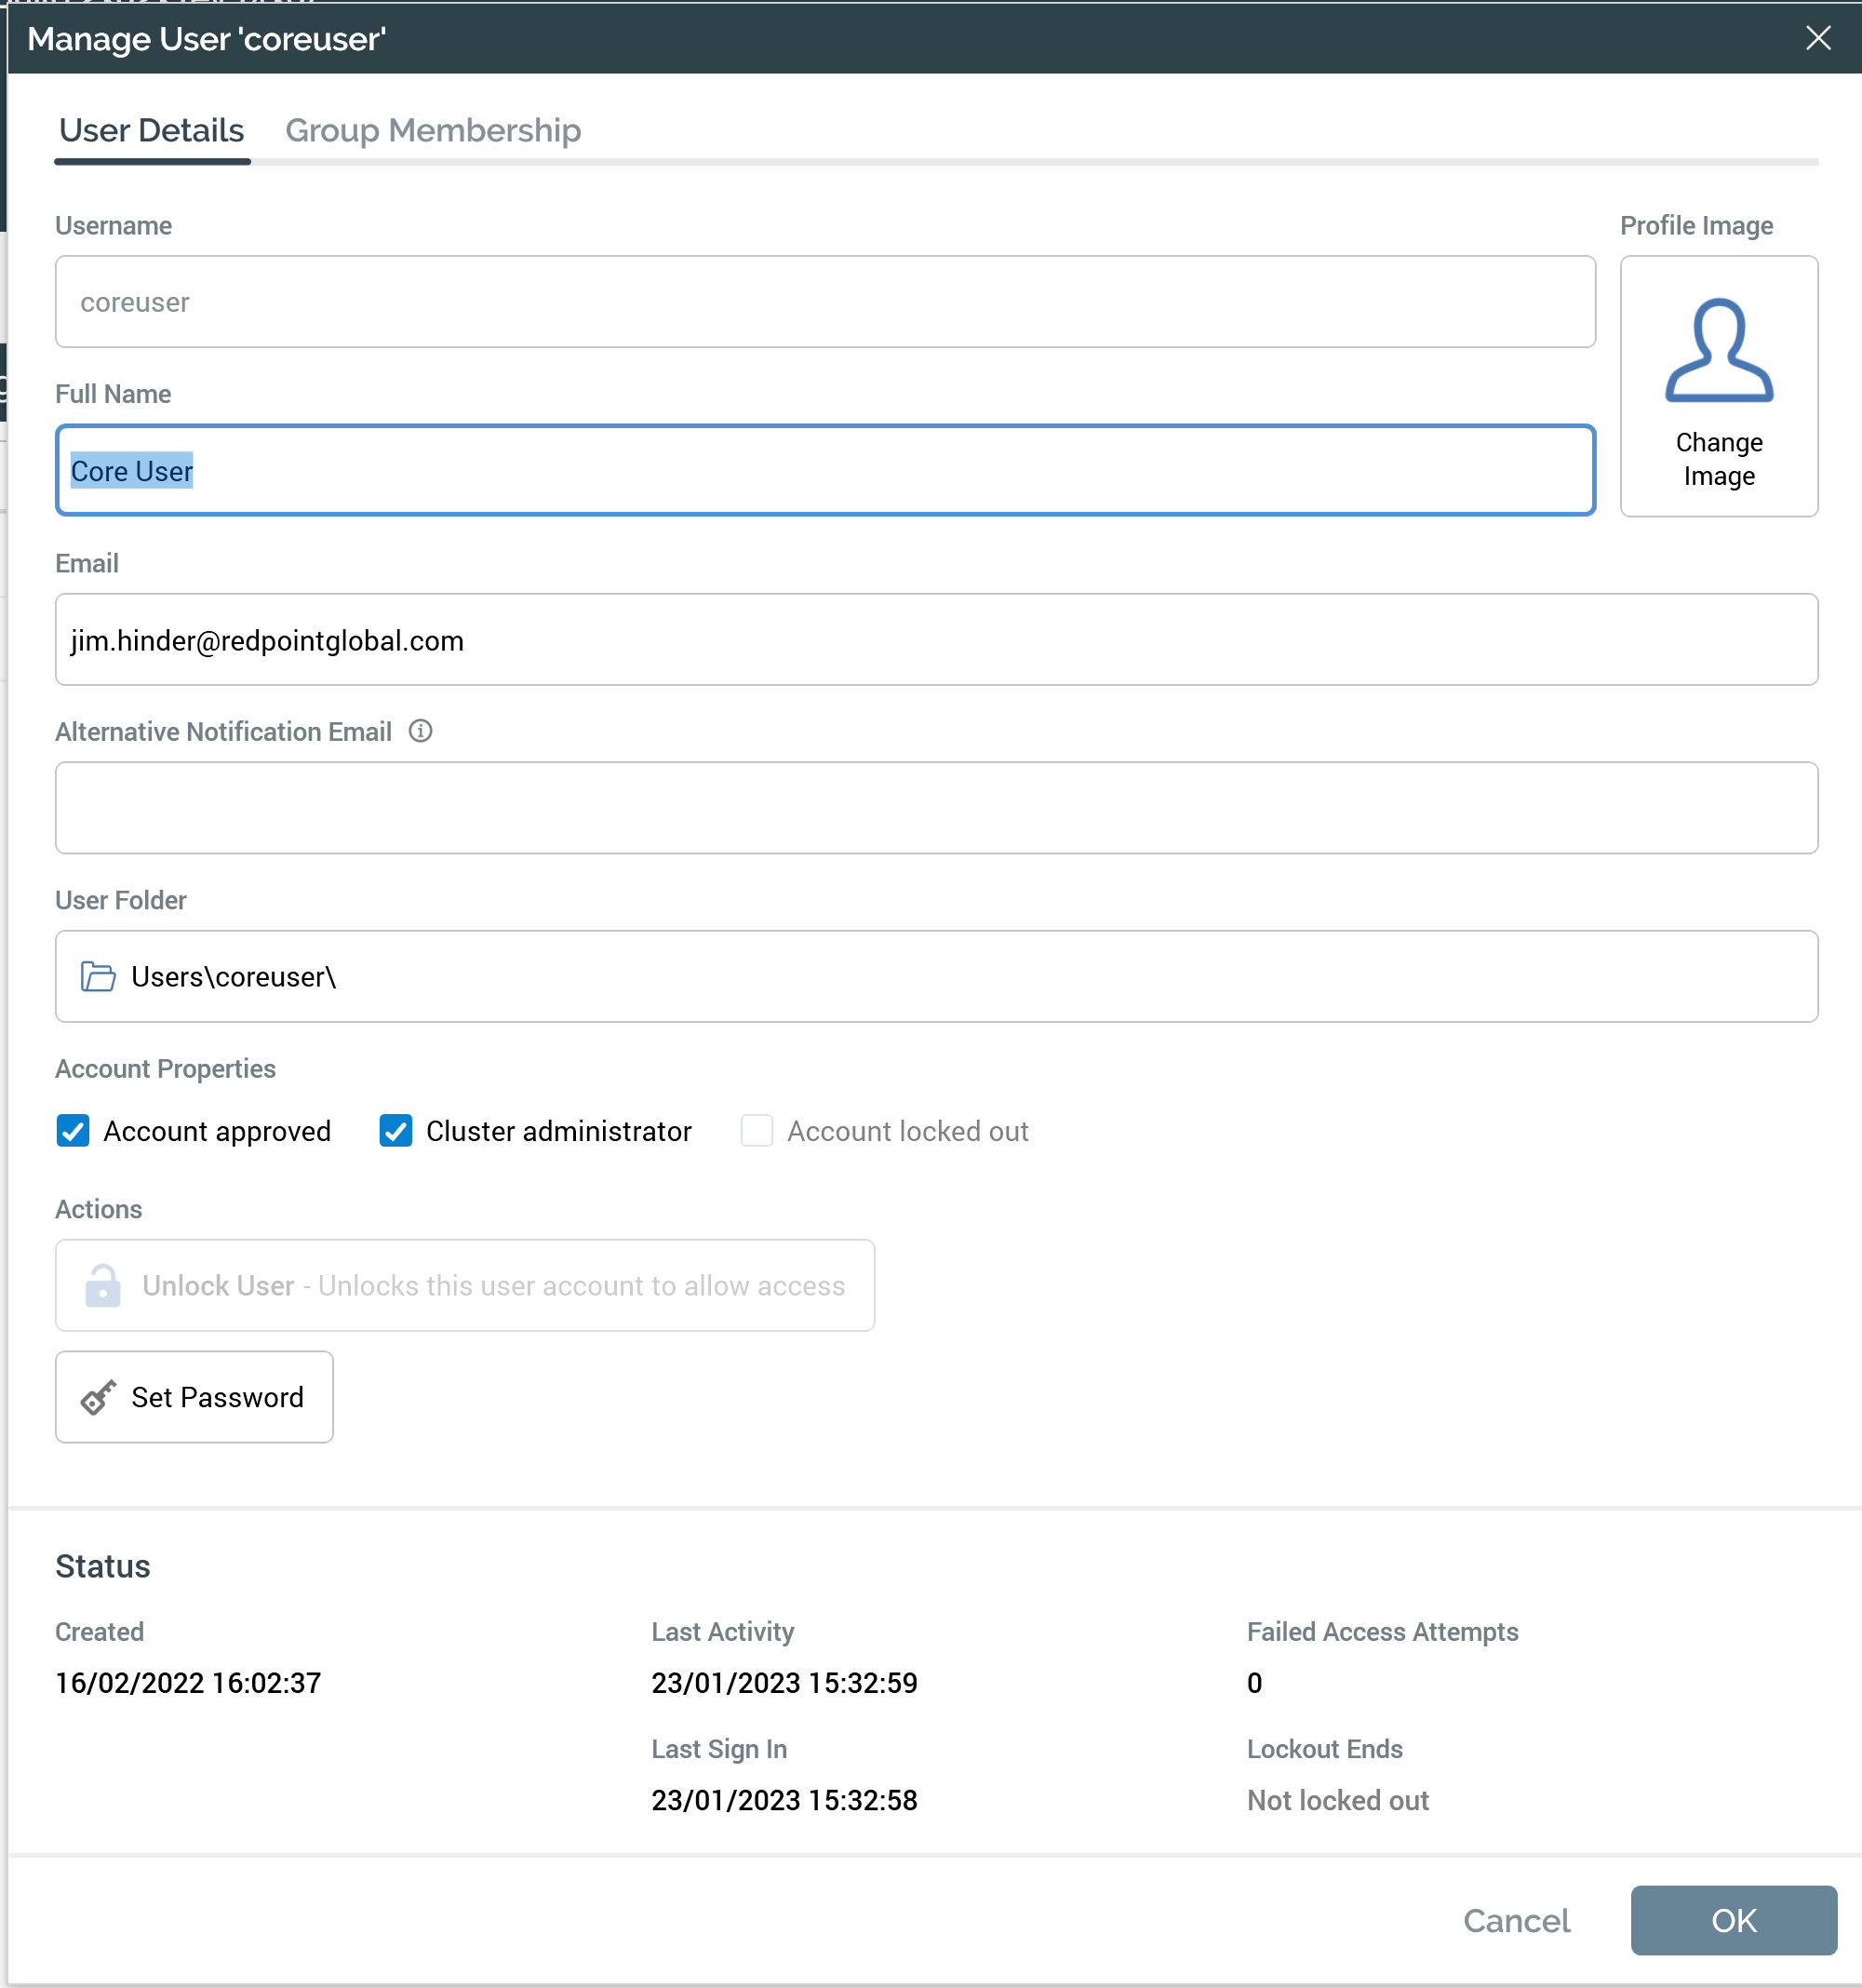
The User Details tab displays a user's properties.
All properties are writeable unless otherwise advised.
-
Username: read-only; a user's username is defined at creation and, once chosen, cannot be updated.
-
Full Name
-
Profile Image: you can assign an image to an existing user. The image is displayed in the default Home Page and is used when displaying pulses in pulses widgets and the Pulses Window. A default user image is shown initially. You can change this image: this displays the Choose Profile Image Windows file system dialog (only image files are shown by default). You can select an image (an attempt to select a non-image file results in display of a warning message). You can cancel the dialog, which retains the original image. Following selection of an image, it is displayed in the Manage User dialog, and is resized automatically to icon size.
-
Email
-
Alternative Notification Email
-
User Folder: as created alongside the user. The full file system path is shown. If desired, you can overwrite the default folder by browsing for another via the Choose Folder dialog; if you do so, only folders to which you have access are shown. If you select a folder to which the user being managed does not have access, a warning message is displayed. You can also clear the user folder. User folder is mandatory.
-
Account Properties section:
-
Account approved: this checkbox allows you to specify whether the user account is approved. If not approved, a user is not able to log in.
-
Cluster administrator: this checkbox allows you to specify that the current user is a cluster administrator. Cluster administrators can:
-
View cluster-level logs (i.e. those not related to a specific tenant).
-
Configure queue listener providers.
-
Log in when a system is in maintenance mode.
-
-
Account locked out: a read-only checkbox; a user's account can only be unlocked using the Unlock user button.
-
-
Actions: exposing the following buttons:
-
Unlock User: available if a user's account is locked. Selecting this button unlocks the user's account.
-
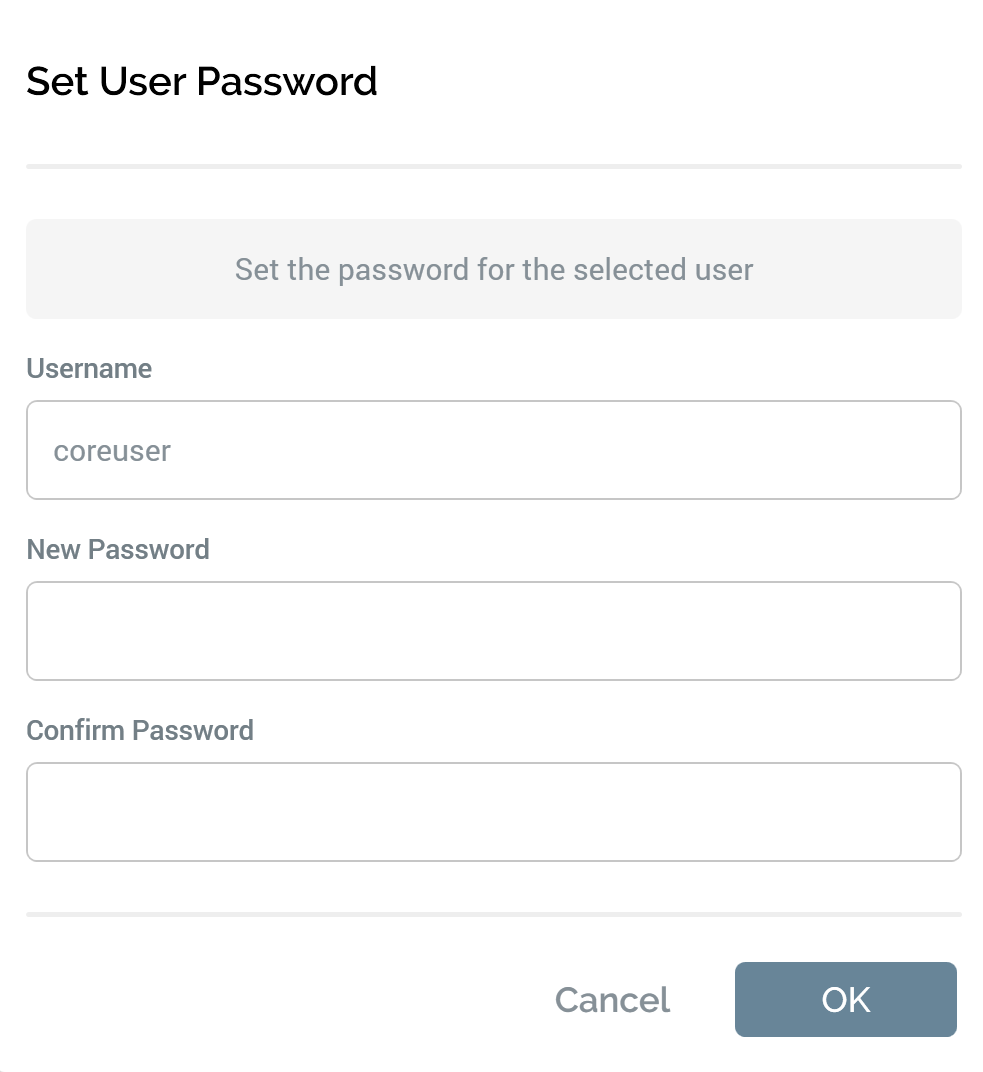
Set Password: allows the user’s password to be using the following dialog:
-
Please see Create New User for details of the Group Membership tab.
A read-only Status panel is displayed at foot of the dialog, and displays the following:

-
Created: the date and time of the user's creation.
-
Last activity: the date and time at which activity by the user was last recorded.
-
Last login: the date and time at which the user last logged into RPI.
-
Failed access attempts: a count of the number of failed attempts to sign in by a user is maintained. This count is set to 0 when a user successfully logs in, or when he or she is locked out.
-
Lockout ends: if a user enters incorrect credentials more than the number of times defined by cluster configuration setting
MaxFailedAccessAttemptsBeforeLockout, her or his account is locked out for a time period defined by settingDefaultAccountLockoutTimeSpan. After this period the account is unlocked, and the user may sign in once again. The Lockout ends property displays the date and time at which a locked out user's account is scheduled to be unlocked.
You can select OK to finish updating the user's record. Doing so causes the data you have entered to be validated; if any validation issues exist, they are displayed as warnings and you must resolve them before the user can be updated. If no validation errors are present, the user's details are updated within the operational database (note the contrast with other configuration interfaces, within which the Save button is used to persist changes). The user's updated details are displayed within the users list in the User Management interface.
You may also cancel updating the user. If you cancel having made changes, a dialog queries whether wish to save the changes made to the user.
-
Yes saves changes made to the user and closes the Manage User dialog.
-
No loses changes made to the user and closes the Manage User dialog.
-
Cancel retains the Manage User dialog on display.
Delete User
You can select a single user in the users list and invoke its deletion using the Delete Configuration Workbench toolbar button.
If you are logged in as a cluster administrator, a context menu is displayed when the user selected for deletion is associated with more than one tenant:
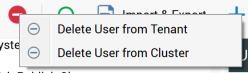
The following options are available:
-
Delete User from Tenant: selecting this option deletes the selected user from the current tenant.
-
Delete User from Cluster: invocation of this option deletes the user from all associated tenants and the RPI cluster itself.
Both options are protected by an Are You Sure? dialog.
If you are not logged in as a cluster administrator, the context menu is not shown, and the user is deleted from the current tenant.
If the user selected for deletion is only associated with a single tenant, they are also deleted from the cluster.
Note that you cannot delete the currently-logged in user.
Add Existing Users
You can add users that already exist at the RPI cluster, who have not been granted access to the current tenant, by selecting the Add Existing Users button at the Users configuration interface. Doing so displays the Add Existing Users dialog.

The dialog contains two tabs: Add Existing Users and Group Membership.
Add Existing Users tab
This tab lists existing approved users that have not already been added to the current tenant. For each, the following are displayed (all read-only unless otherwise indicated):
-
Checkbox: checking this property specifies that the user be added to the tenant when the Add button is selected.
-
Username
-
Full Name
-
Email
Group Membership tab
This tab allows you to select user groups that will be assigned to users being added to the tenant.
The Groups list displays all user groups defined at the current tenant. The Active Permissions list displays all functional permissions associated with the selected user group.
Two buttons are shown at the bottom of the dialog:
-
Cancel: selecting this button removes the dialog from display.
-
Add: this button is unavailable when no users have been selected in the Add Existing Users tab. Invocation adds the selected user(s) to the tenant. All newly-assigned users are assigned to the user groups selected in the Group Membership tab.