

Overview
You can use Redpoint Interaction (RPI) to activate audiences to Instagram so the corresponding audience members can be targeted to (or suppressed from) receiving ads and content.
This page describes how to configure your Instagram channel within RPI and then process records out of RPI through to Instagram.
Business Login for Instagram is a custom, manual Facebook Login flow that makes it easier for you to onboard Instagram users who still need to configure their account for API access.
In order to make their account accessible to our APIs, Instagram users must first convert their account to a Professional account, create a Facebook Page that represents their business, then connect that Page to their account.
A Business Login for Instagram simplifies this process by allowing Instagram users to complete all of these steps in a single window instead of having to complete them in the Facebook and Instagram apps.
These directions will work within RPI v6.x as well as v7.x.
Prerequisites
-
Basic Knowledge of Facebook/Meta
-
Basic Knowledge of Instagram
-
App ID
-
App Secret
-
Redirect URL
-
Account Name
-
Configured Facebook/Meta Account
-
Understanding of RPI Interface
-
An audience file for upload (refer to Cloud storage providers and for details)
Once all the required prerequisites have been fulfilled, follow the steps below.
Obtain required Instagram information
A Developer Account is required and must be configured correctly to allow RPI to pass data through to Facebook/Meta.
Within Facebook:
-
Sign up for a Facebook App account.
-
Create Developer Account within Facebook Account.
Within Instagram:
-
Sign up for an Instagram Account.
-
Create Business Login for Instagram.
Create a new Facebook/Meta channel
The steps in this section need to be completed within the RPI UI to create a new Facebook/Meta channel.
-
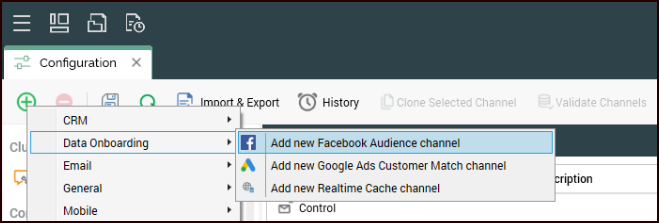
Navigate to Configuration>Channels.
-
Select the green plus button
.
-
Navigate to Data Onboarding>Add new Facebook Audience channel.
-
Name the Channel appropriately for given client and/or resolution level.
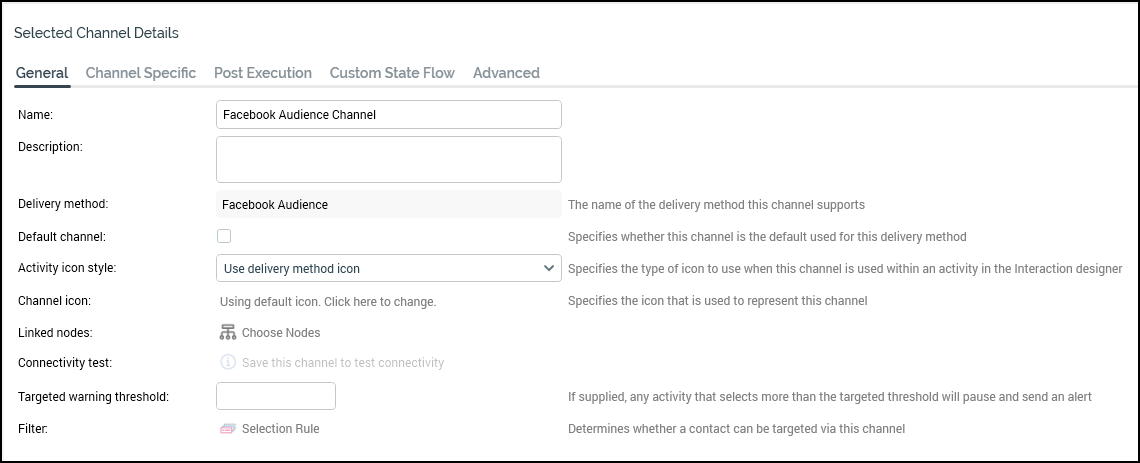
-
Select the Channel Specific tab for the new channel.
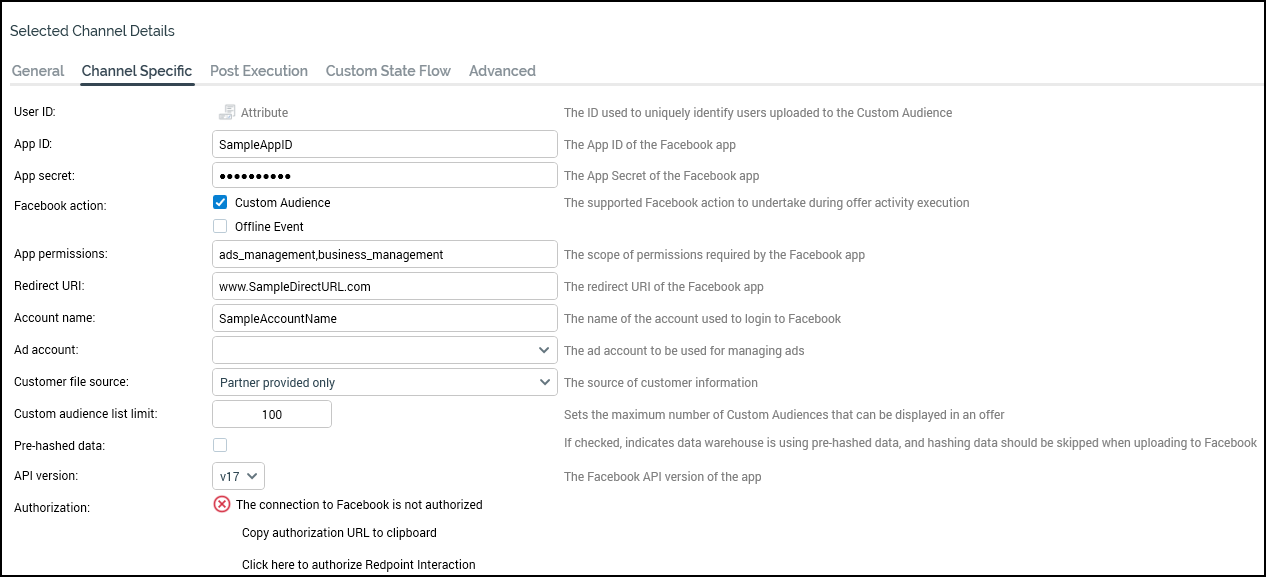
-
Update the following settings:
-
Map the User ID to your customer or prospect identifier attribute, e.g.,
PID,CustomerKey,ProspectKey, etc. -
Enter your Facebook App ID.
-
Enter the Facebook App secret (available in the app portal under Settings>Basic).
-
Enter the Website URL into the Redirect URL.
-
Enter the Facebook Account name (This must match the name of the user account authorized to use the Facebook App).
-
In the Authorization section, select Click here to authorize Redpoint Interaction to open the web browser.
-
Enter the credentials for the account authorized to use the Facebook App and once authorized, copy the URL and paste it into the Verification URL text box (in RPI channel) and select Get Access Token to complete the authorization.
-
Once authorized (as indicated by the green check mark), choose Ad Account.
-
Select Create new job to test this channel and confirm the test completes successfully.
-
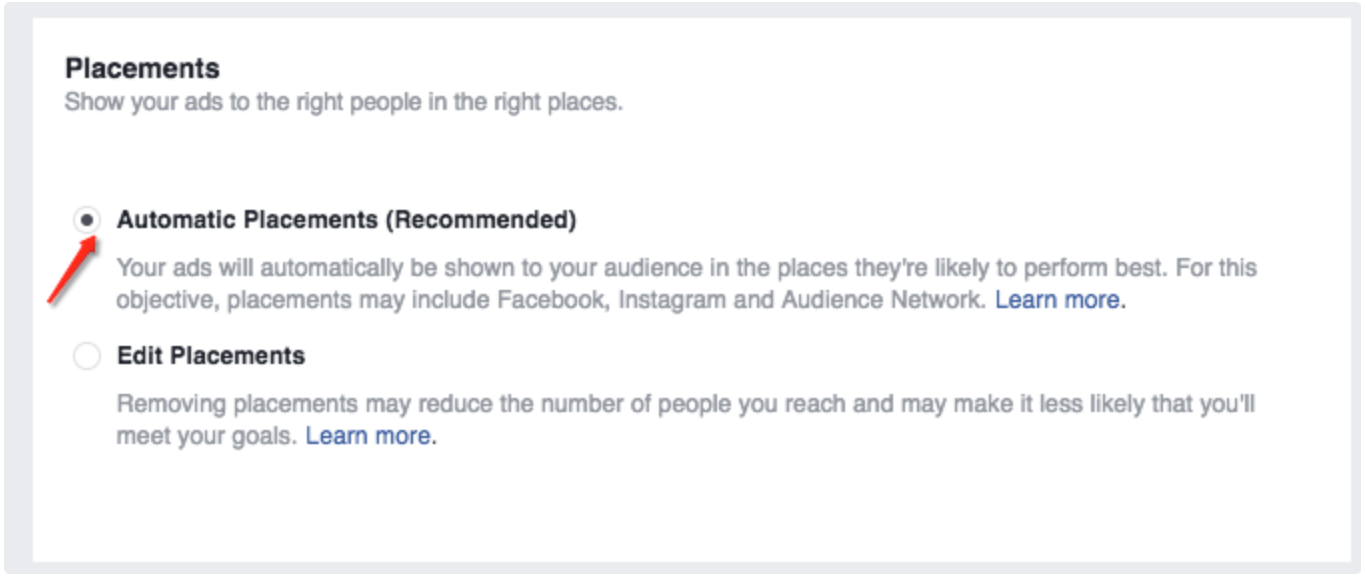
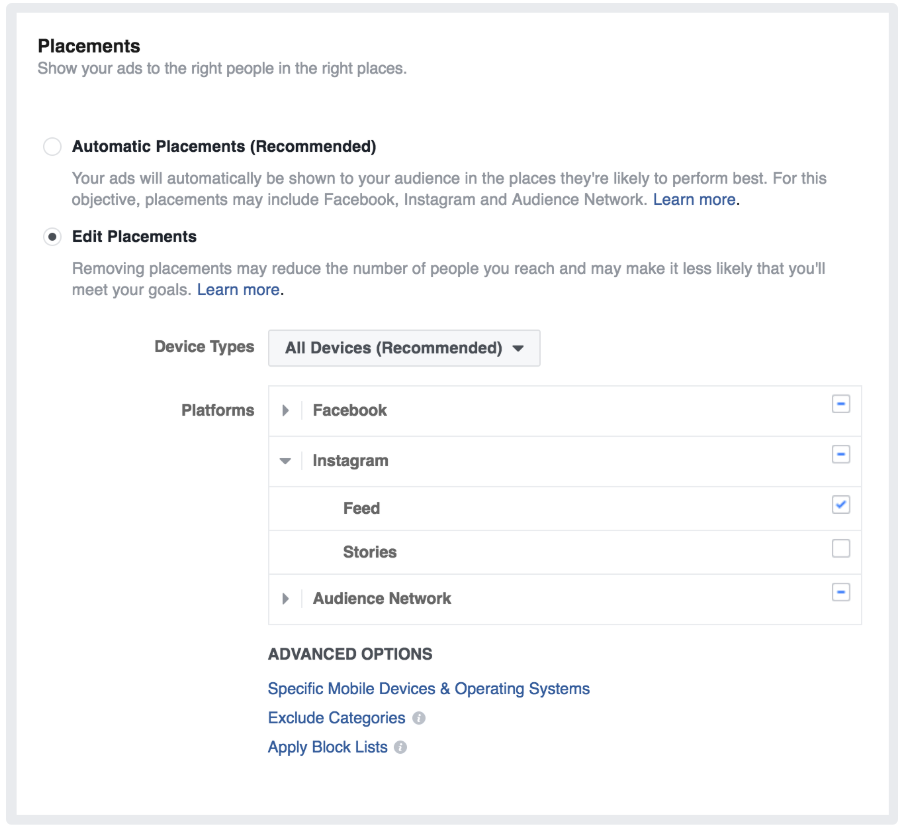
Edit Ad Placement
After you output your user list into an Instagram Custom Audience, open Facebook/Instagram Ads Manager to edit ad placement. By default, Facebook will choose to display within Instagram Ads.
-
Automatic Placements (default)
-
Edit Placements
Refer to Using Facebook in RPI.