

Overview
Interactions allow you to deliver a targeted message, such as an offer, to a select audience. Interactions are entirely customizable, allowing you to include multiple channels, multiple touch points, and more.
The steps on this page represent a simple interaction with a single trigger, audience, and offer. This example can be modified as needed to fit your use case.
The video below walks through the process detailed on this page.
Prerequisites
The following prerequisites are needed before creating an interaction.
-
Audience: you’ll need to create an audience in advance to use in your interaction.
-
Offer: an interaction requires the use of at least once pre-built offer.
-
Connector setup: when configuring your offer in the interaction, you’ll need to choose the channel connector you want to use for the offer. These connectors should have been set up during the implementation of RPI, but if you need assistance setting up a new connector, check out our resources or contact support@redpointglobal.com.
Open the Interaction Designer
In this use case, we’re going to build an interaction to send an email offer promoting our upcoming sale. The target of the email offer is customers who are subscribed to our loyalty program. The first step in building an interaction is navigating to the Interaction Designer.
To get to the Interaction Designer:
-
From the RPI home page, go to the quick access menu and select Orchestration>Interactions>Create New Interaction.
-
Choose Empty Interaction.
The Interaction Designer is now open with an empty workspace. We’re going to build the interaction one component at a time in the following sections.
Configure the trigger
The first component we’ll need for this interaction is a trigger. Since the sale is happening next week, we’ll want to schedule the email to send out to our customers.
The steps below are the minimum requirements for configuring the trigger. You may wish to further configure the trigger beyond what is described in these steps.
To configure the trigger:
-
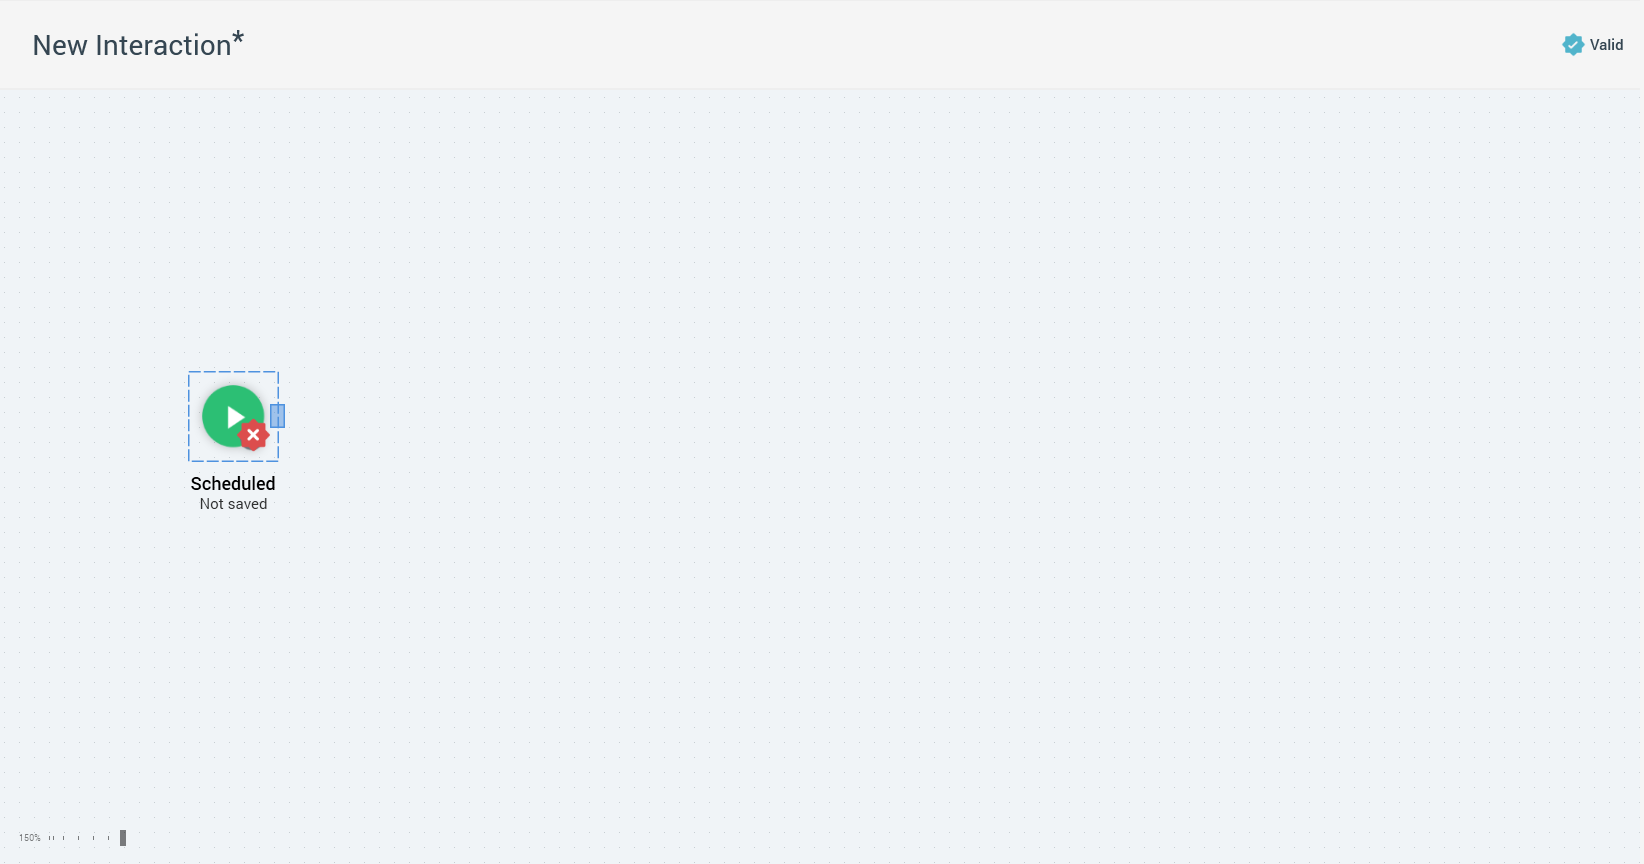
From the Workflow Controls menu to the right of the workspace, drag the Scheduled trigger onto the workspace.
-
Select the Scheduled icon and choose Show Configuration Panel.
-
From the Scheduled Date field, choose a date and time you’d like to send your initial offer and select Close on the calendar widget.
-
Select Done.
Configure the Batch Audience
Next, we need an audience for our messaging. This sale is for loyalty members only, so we’ll need to target that group.
The steps below are the minimum requirements for configuring the Batch Audience. You may wish to further configure the Batch Audience beyond what is described in these steps.
To configure the Batch Audience:
-
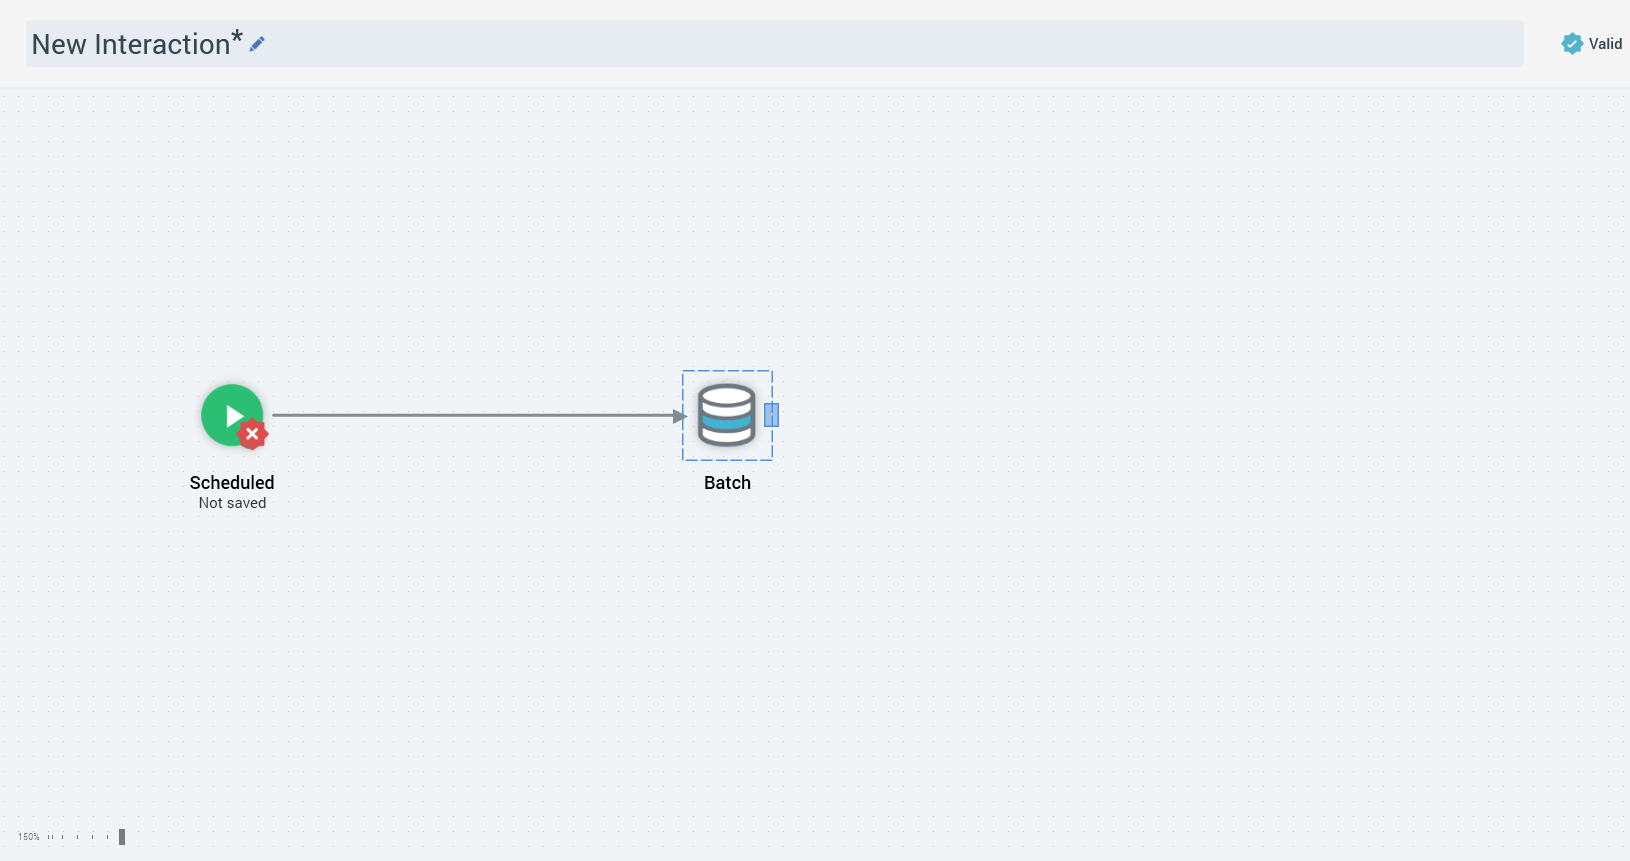
From the Targeting menu, drag Batch Audience over to the Scheduled trigger to create a connection between the two.
Left-click and hold the Batch Audience icon to drag it around the workspace to clean up the workflow design.
-
Select the Batch icon and choose Show Configuration Panel.
-
On the General tab, under Audience, select the audience you’d like to use in this interaction.
-
Select Done.
Configure the offer
Finally, we need to add an offer, which will be the email that we send to our chosen audience on the date set by the trigger.
The steps below are the minimum requirements for configuring the offer. You may wish to further configure the offer beyond what is described in these steps.
To configure the offer:
-
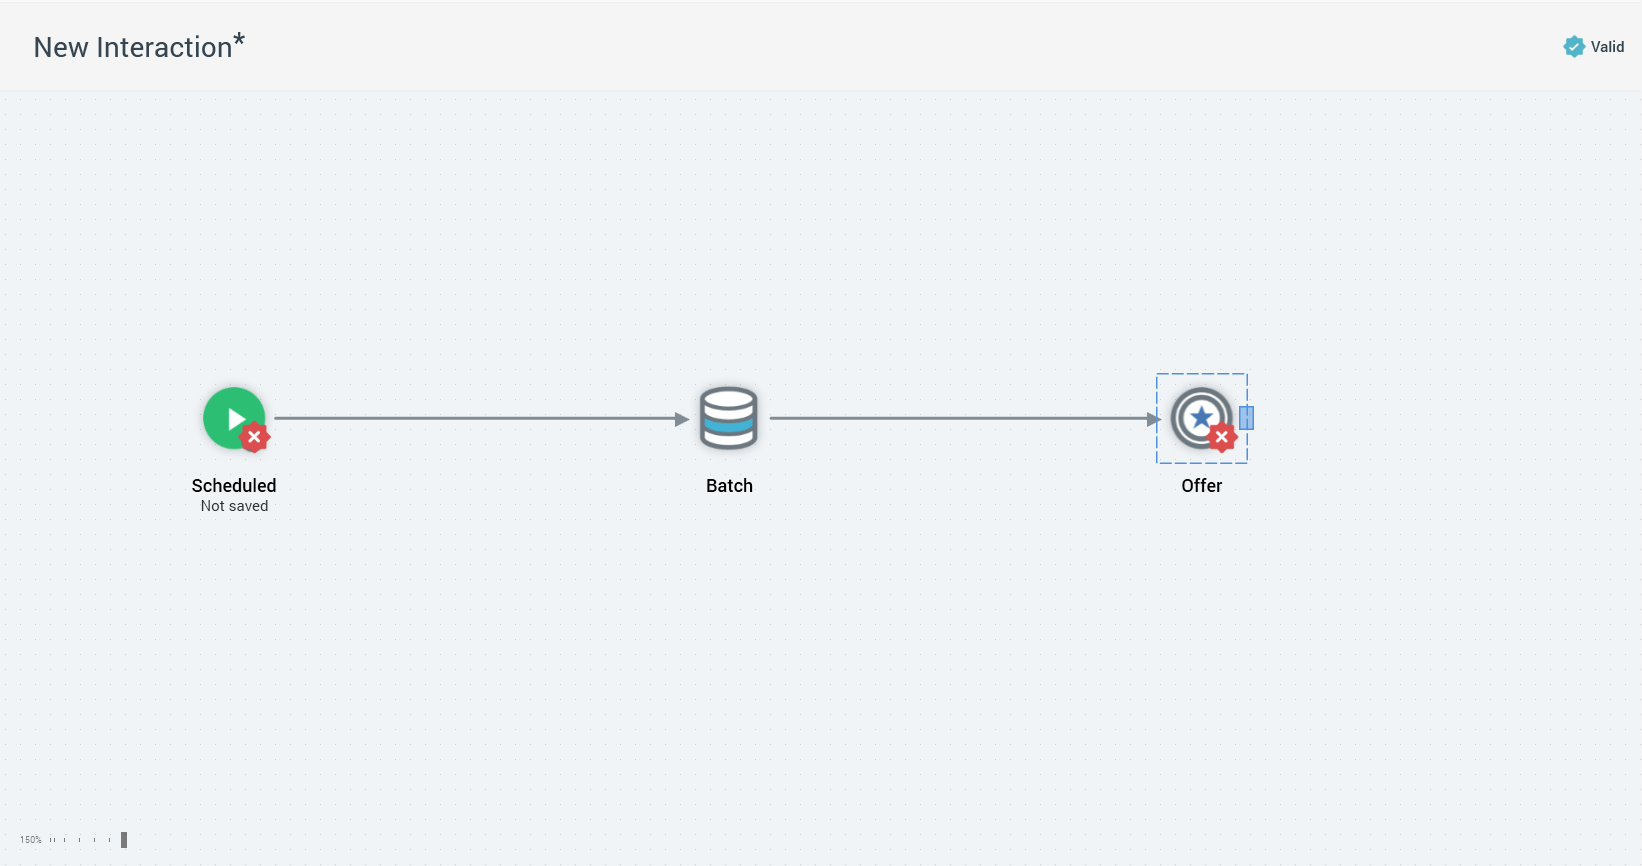
From the Fulfillment menu, drag Offer over to Batch Audience to create a connection between the two.
Left-click and hold the offer icon to drag it around the workspace to clean up the workflow design.
-
Select the Offer icon and choose Show Configuration Panel.
-
On the General tab, under Offer, select the offer you’d like to use.
-
Under Channels, select Configure.
-
Choose Add Channel.
-
From the Channel dropdown, select the channel you’d like to use to send the offer.
-
Select Done and then Done again.
Finalize your interaction
Now that our interaction is configured, all we need to do is name and save the interaction to make it ready to activate.
To name and save the interaction:
-
Select the default name “New Interaction*” and enter a unique name for the interaction.
-
Select the Save icon from the toolbar.
-
Choose a location to save your interaction.
-
Select Save.
Your interaction is complete and ready to activate.