

Overview
You can invoke the Model Project Designer in the following ways:
-
From the quick access menu’s Model Projects menu. The menu exposes the following options:

-
From a Tasks or File Type widget. Typically, these might be displayed at your Home Page. For more information on widgets, please see the Dashboard Designer documentation.
-
By double-clicking a model project file in the File System Dialog, or by highlighting a model project and selecting OK in the same context.
-
By viewing the latest version of the model project contextually – for example, from a model project block in the Audience Designer.
Note that access to the Model Project Designer is controlled via the Model Project – Design functional permission. If none of the user groups of which you are a member are associated with this permission, you will not be able to able to access the Model Project Designer.
Start page
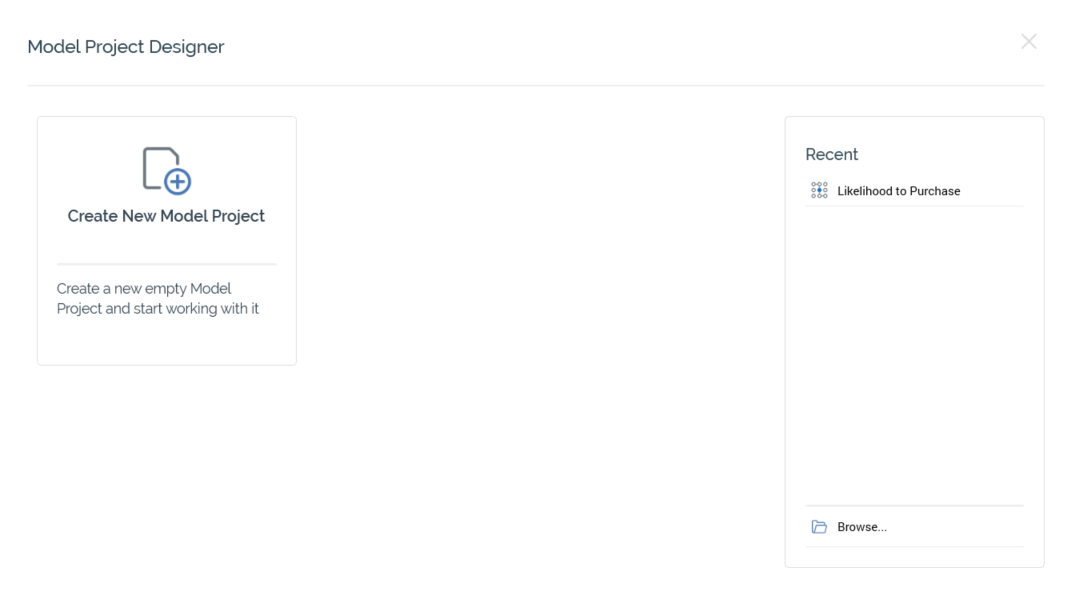
The Model Project Designer Start page is shown upon invocation of Model Projects at the quick access menu, and also on selecting Create new Model Project at the Model Project Designer toolbar. It contains the following:
-
Create New Model Project: Selecting the button displays a new, unconfigured model project in the Model Project Designer.
-
Recent: lists recently-accessed model projects, facilitating the opening of the same.
-
Browse: displays the Open Model Project File System Dialog, allowing you to select a model project to open.
A Cancel button is shown at the top of the Start Page. Selecting it removes the Start Page from display, and redisplays the Model Project Designer. The Cancel button is only shown on invocation of the Start Page by selecting Create new Model Project at the Model Project Designer toolbar.
Configuring a Model Project’s Name
A model project’s name is configured in the large property shown at the top of the Model Project Designer, below the toolbar. Provision of a name is mandatory, and the value provided may be a maximum of 100 characters. The model project’s name is the same as the filename under which it is saved within the RPI file system. As such, it must be unique amongst the model projects in the folder within which saved.
You can edit a model project’s name by selecting the property. Complete the edit by selecting off the property, or by hitting return.
Model Project Validation
Before a model project can be used, it must be valid.
A validation status indicator is displayed to the right of the model project’s name. When the model project is valid and contains no validation errors, the validation status indicator is shown as a blue checkmark with the word “Valid”.
Specific validation errors are outlined in the model project documentation. When one or more validation errors is present, a validation error indicator is shown as a red “x” icon with the words “Not Valid”.
Selecting the indicator lists the validation errors in a dialog:
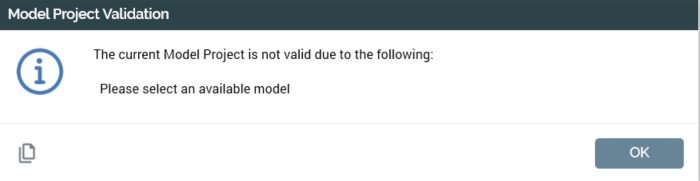
You can use the button at the bottom left of the dialog to copy the validation error details to the clipboard. You can close the dialog using the OK button.
Toolbar
The Model Project Designer toolbar exposes the following options:
-
Create new Model Project: selecting this button displays the Model Project Designer Start Page. A close button is shown to its top right; selecting it removes the overlay from display. If a model project containing unsaved changes is displayed at invocation of Create New, an "Are You Sure?" dialog is shown, from which you can:
-
Save the changes
-
Abandon the changes
-
Abandon creation of the new model project
-
-
Open an existing Model Project: invocation of this option displays the Open Model Project File System Dialog. You can navigate accessible folders in the RPI file system to locate the model project that you wish to open. Only model project files are shown. Having located a model project, you can select OK or double-click it to display it in the Model Project Designer. You can also select Cancel to close the File System Dialog without opening a model project. If a model project containing unsaved changes is displayed, you can:
-
Save the changes
-
Abandon the changes
-
Abandon opening the model project
-
-
Save the current Model Project: this option is unavailable when no outstanding changes are present within the model project. If the model project has not been saved, Save behaves like Save As.... If the model project has previously been saved, invocation of this option saves any model project changes to the existing model project file.
-
Save the current Model Project as...: invocation of this option displays the Save Model Project As… File System Dialog, allowing stipulation of the filename to which to save the new model project file.
-
Version number: the version number.
-
Follow/Unfollow File: please see the RPI Framework documentation.
-
File options: please see the RPI Framework documentation.
-
File Metadata: please see the RPI Framework documentation.
-
Linked Page options: please see the RPI Framework documentation.
Toolbox
The Model Project Designer toolbox exposes the standard RPI Folder Search component, which is constrained to display attribute, audience, and selection rule files only. Please see the RPI Framework documentation for more information.
Tab set
The Model Project Designer’s tab set exposes up to four tabs:
Model Details tab
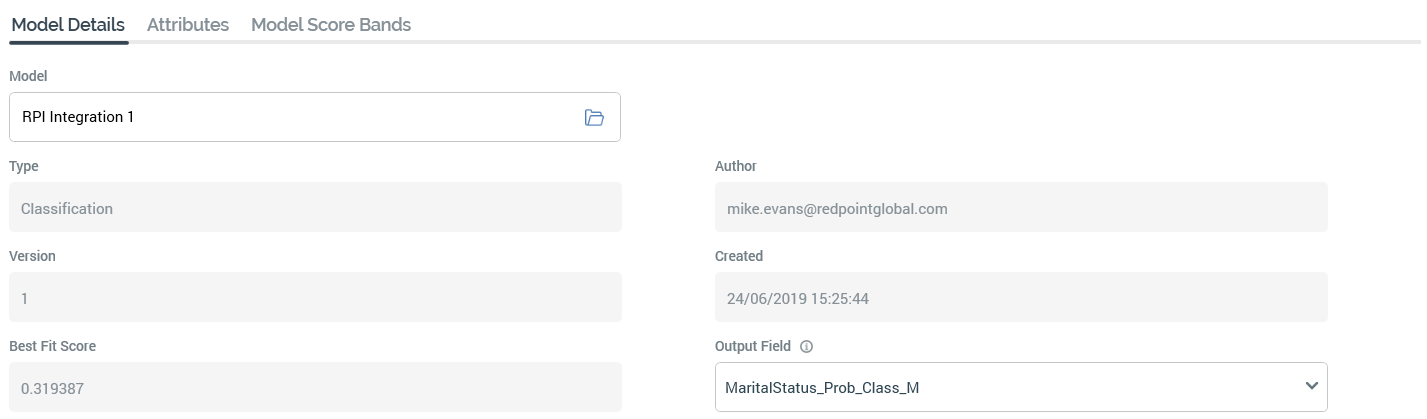
The Model Details tab is used to record details of the AML model to which the model project will connect. It contains the following:
-
Model: you must choose a model with which to configure the model project. Selecting the empty property displays the Choose Model overlay, which you can use to select an AML model. When you have selected a model, the Type, Author, Version, Created, Best fit score, and Output field properties are populated. The Choose Model overlay facilitates selection of an AML model. It contains a toolbar, list and OK and Cancel buttons.
-
Toolbar: allows the list of models to be filtered. It exposes the following filters:
-
Created from/to: these date/time fields default to today, 7 days, 00:00:00 and tomorrow, 00:00:00 respectively.
-
Name Filter
-
Author Filter
-
Model Type: a dropdown, exposing the following values:
-
Any model type (the default value)
-
Classification
-
Clustering
-
Regression
-
Recommender
-
-
Search: selecting the accompanying button refreshes the list of models.
-
-
List: the list is populated with models matching the currently-applied search criteria. The following read-only columns are shown:
-
Name
-
Model Type
-
Version
-
Best Fit Score
-
Created
-
Author
You can choose a model and select OK to select it; double-clicking a model within the list has the same effect.
-
-
OK: this button is available when a model is selected. Selecting it selects the model in question.
-
Cancel: selecting this button removes the Choose Model overlay from display. Note that selecting off the overlay has the same effect.
-
-
Type: this read-only property is displayed once a model has been selected. It is set to one of the following values:
-
Classification
-
Clustering
-
Regression
-
Recommender
-
-
Author: this read-only property is shown once a model has been selected. It displays the email address of the AML user who created the selected model.
-
Version: this read-only property is shown once a model has been selected. It displays the version number of the selected AML model.
-
Created: this read-only property is shown once a model has been selected. It displays date and time of the AML model's creation.
-
Best fit score: this read-only property is shown once a model has been selected. It displays the AML model's best fit score, which provides an indication of the selected model’s predictive efficacy.
-
Output field: this property is shown once a model has been selected. It allows you to select the score field to be used as the model's output (if more than one is available).
A dropdown is used to the facilitate selection of an output field. The dropdown is populated with the output fields exposed by the AML model.
If an AML Recommender model is selected, an additional Recommender Model Options section is also displayed:

It contains the following:
-
Recommendation Lookup Type: this dropdown property allows you to define the type of lookup to be performed when using the model. It exposes the following values:
-
No lookup required (the default)
-
Value list
-
Database table
-
-
Value List Lookup: this dropdown property is displayed when Recommendation Lookup Type is set to "Value list". It defaults to "No value list chosen". The property lists all currently configured value lists. Selection of a value list is mandatory when the property is displayed.
-
Database Lookup: these properties are displayed when Recommendation Lookup Type is set to "Database table". Table and Column choosers are provided and are not set by default. Selection of a table and column is mandatory when the properties are displayed. Note that, when using this option, entire records are retrieved from the selected table using the key provided, giving the model project access to all the fields contained therein.
-
Realtime Cache Duration: this mandatory integer property allows you to specify the number of hours for which data from the selected table will be stored in the RPI Realtime cache. If set to 0, nothing will be cached. It is displayed when Recommendation Lookup Type is set to "Database table" or "Value list”. The property defaults to 24 and accepts a range of values from 0 to 99,999.
Attributes tab
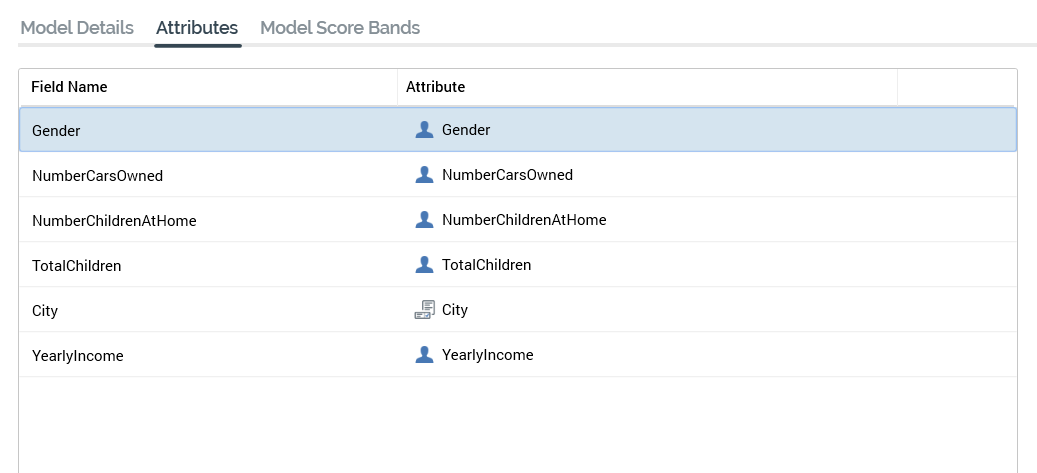
The Attributes tab allows you to specify the mapping of RPI attributes to expected model inputs.
The list of attributes shown therein is populated on selection of a model in the Model Details tab. Prior to selection, the following message is displayed:
The following columns are shown in the attributes list:
-
Field Name: a read-only field, which displays the name of the model input name defined at AML.
-
Attribute: this field must be populated with an RPI attribute file. Note that Model Project and Exists in Table attributes are not supported in this context. Parameter attributes are supported; if populated with a parameter attribute created from a cached attribute list, RPI Realtime can retrieve data to populate Realtime cache databasevalues during smart asset evaluation. You can populate the field using browse or drag and drop. Having done so, you can view information relating to the selected attribute in the File Information Dialog. You can also clear your selection.
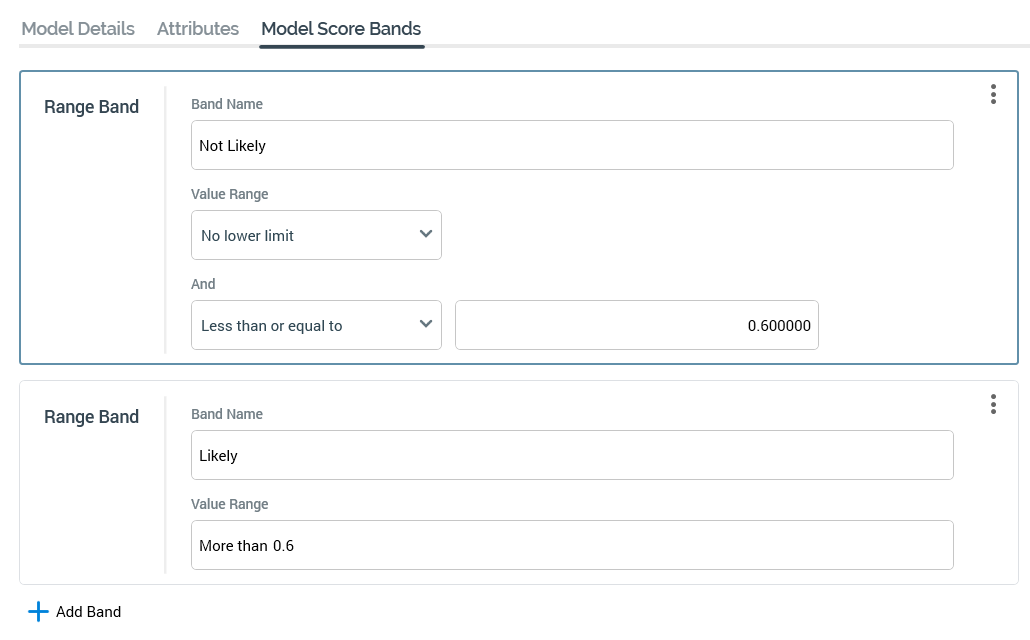
Model Score Bands tab
The Model Score Bands tab allows you to provide bands in order to categorize records in terms of their model scores. Provision of bands in a model project is optional—a model project without bands can be used to configure a Model Score Realtime decision. For more information, please see the Realtime Decisions documentation.
The tab contains a list of model score bands.
An Add Band button is displayed at the bottom of the list. Selecting it displays a sub-menu, which exposes the following:
-
Add Discrete Band: selecting this button adds a new discrete band to the list. A discrete band allows for the specification of specific values to define band membership.
-
Add Value Range Band: selecting this button adds a new discrete band to the list. A value range band allows you to specify a range of values to be used to determine band membership.
The list of bands is empty by default, and a message is displayed therein:
The list is used to display the bands associated with the model project. Discrete bands are shown as follows:

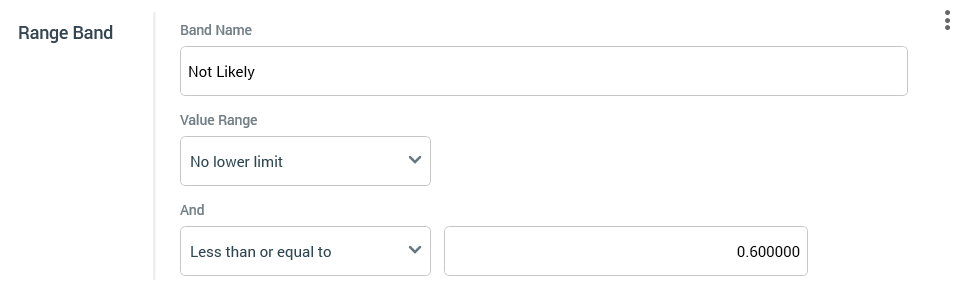
...and value range bands as follows:
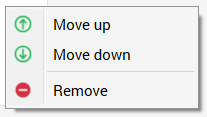
An Options menu is displayed to the right of a band, exposing the following:
Validation is employed to ensure that bands are configured with mandatory values and make logical sense.
On selection of a Cluster model, one model score band is added automatically per cluster generated by the same. Bands are named "Cluster n" (where n is an incrementing integer). Each band is mapped to single discrete value exposed by the model.
Decision Tree tab
The tab is only available at model projects created during the generation of clustered audiences. For more details on this feature, please see the Standard Selection Rules documentation.
The tab allows you to view details of the how clusters exposed by the model are defined, in terms of the proportion of records therein that exhibit certain attribute values.
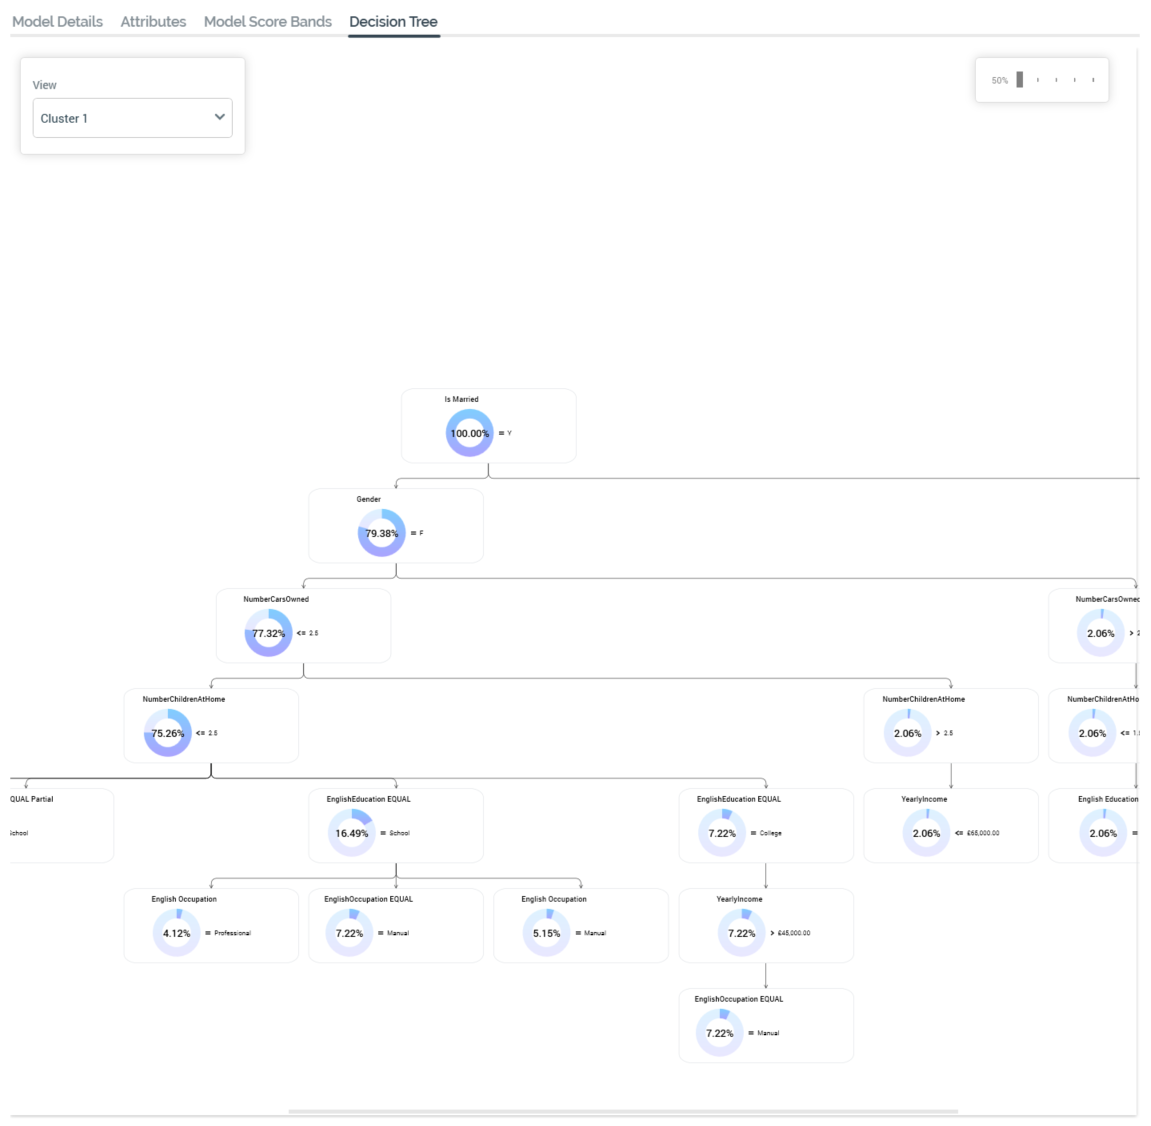
A View dropdown, displayed at the top left of the decision tree, allows you to choose the cluster you want to view.
A zoom control is provided to the top right.
Closing the Model Project Designer
You can close the Model Project Designer by closing the tab within which it is displayed, or by shutting down RPI itself. If you do so when the Designer contains a model project with unsaved changes, a dialog is shown, within which you can choose to do the following:
-
Save the changes and proceed with closing the Model Project Designer
-
Abandon the changes and proceed with closing the Model Project Designer
-
Cancel closing the Model Project Designer or RPI.