

Overview
The Settings page provides multiple configuration areas, each opened via a Manage, Edit, or Reset button.
Factory reset
This setting is visible only to Operators and Administrators.
Click Reset to open a confirmation dialog with a warning icon. Factory Reset erases all RIS data, rulesets, experiments, overrides, and configuration, returning the system to its initial state. This action cannot be undone.
A confirmation dialog requires explicit approval before the reset proceeds. The button shows a loading spinner while the reset is in progress.
Reset ruleset
Click Reset to open a confirmation dialog. Reset Ruleset returns the current matching ruleset to its default values without clearing other data (experiments, overrides, or activity history). This is less destructive than a full factory reset and is useful when you want to start over with matching parameters.
Roles
RIS “roles” are an internal concept and are unrelated to Snowflake roles, despite the name similarity. By default, everyone is an Operator. RIS roles are used to restrict some Snowflake users who have access to the app from performing specific functions within the app (that is, by assigning them to the Steward role).
RIS supports two user roles, each with distinct capabilities:
-
Data Stewards focus on match quality and rule tuning:
-
View dashboard activity
-
View production and quality metrics
-
Review production match results
-
Create and store overrides based on production match results
-
Create, configure, and run experiments
-
Review experiment-vs-production changes and choose case-by-case preference
-
Handoff experiment review to Operator for promotion
-
Review specific match cases and store overrides
-
Run production match jobs (full and incremental)
-
-
Operators are responsible for day-to-day system operations, and can do everything Stewards can do plus:
-
Monitor job progress and view logs
-
Manage user roles and system settings
-
Promote experiments to production (while a steward can review production/experiment deltas, an operator must sign off)
-
Factory reset the configuration
-
How role assignment works
By default, everyone is an Operator. If you want more access control, manage Roles in Settings > Roles.
Click Manage to open the Roles dialog.
When the RIS application is first installed, its internal roles management is disabled. This simply means that all Snowflake users with access to the RIS app are considered “Operators” and can do anything within the app.
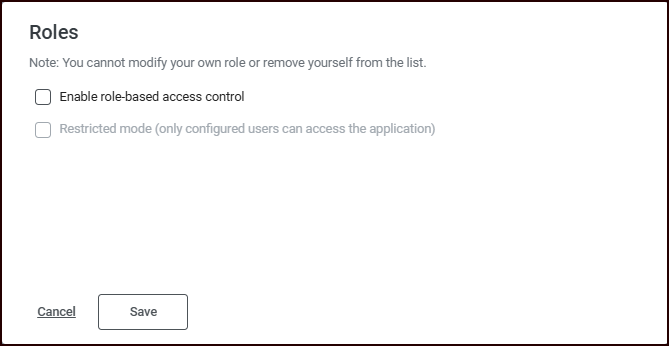
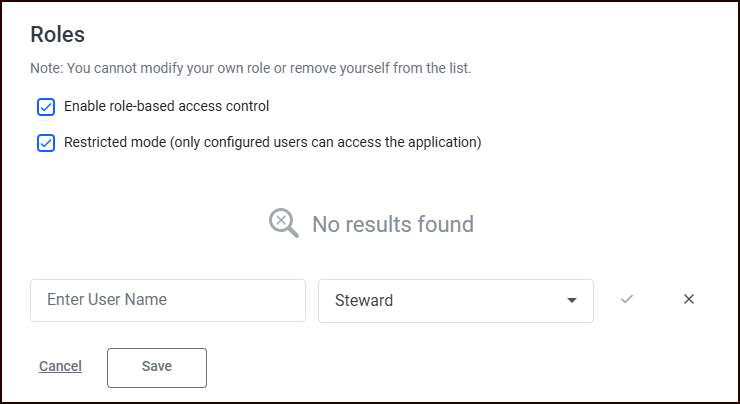
When you check “Enable role-based access control”, nothing changes immediately. You need to click Add User and explicitly put users in the Steward role if you don’t want them to be Operators.

After you click Add User, you can add other Snowflake users in your organization and select the role to associate with that user.

When Restricted mode is on, only users you put in the roles grid here are allowed to use the RIS app. Given that RIS users must already be granted a Snowflake role, this is redundant and we do not recommend it.
Key controls:
-
Enable role-based access control (RBAC): Activates RIS app role-based access control
-
Restricted mode: When enabled, enforces stricter permissions, where only configured users can access the application (not recommended)
-
User table: Shows all users with role dropdowns (Steward / Operator) and remove buttons
-
Add User: Enter a valid Snowflake account username (not an email) and select a role to add a new user
-
Change roles: Use the role dropdown next to each user in the roles table.
-
Remove users: Click the remove icon next to a user entry.
Only Operators can manage roles. You cannot change your own role.
Frequency limits
Frequency limits define per-field thresholds that suppress high-frequency values from matching. For example, if a phone number appears in more than 100 records, it is likely a business number and should not be used for matching individuals.
Click Edit to open the Frequency Limits dialog.
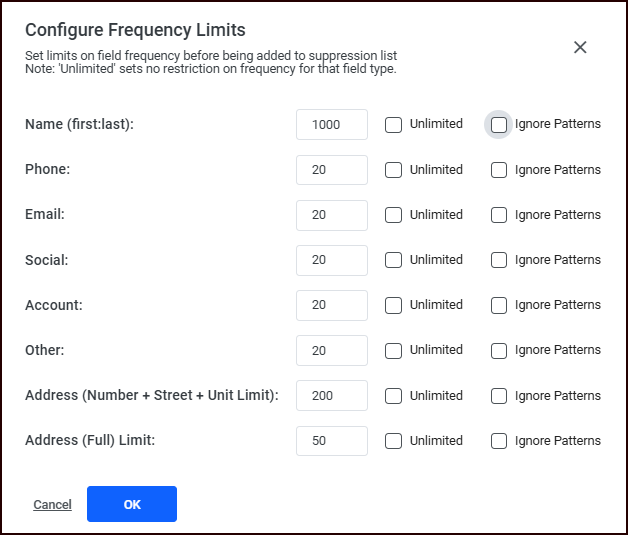
For each field type, you can configure:
-
Limit: A numeric threshold (values occurring more frequently are suppressed)
-
Unlimited checkbox: Removes the threshold for this field
-
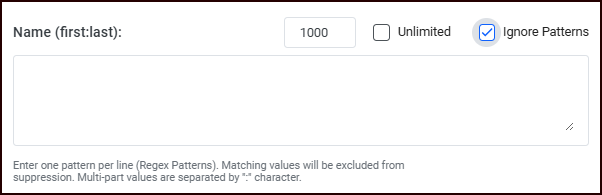
Ignore Patterns: Regex patterns for values that should not be suppressed even if they exceed the threshold
Click OK to save or Cancel to discard changes.
Review constraints
Click Manage to open the Review Constraints dialog.
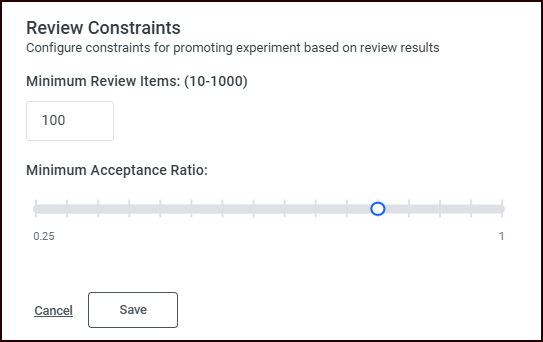
Two settings control when an experiment can be promoted:
-
Minimum Review Items: Number of items that must be reviewed before promotion is allowed (range: 10-1000, default: 100).
-
Minimum Acceptance Ratio: Slider from .25 to 1 (default: .8). The percentage of reviewed items that must favor the experiment for promotion to be allowed.
Click Save to apply or Cancel to discard.