

Overview
Experiments let you test configuration changes against the current production ruleset before committing them to production.
An experiment creates a modified copy of your production ruleset and runs it against the same data. The results are compared side-by-side with production results, allowing you to evaluate whether the changes improve match quality before promoting them.
The video below walks through the process of creating, running, and reviewing a manual experiment.
Step 1: Create a new experiment
Navigate to the Experiment page. If no experiment exists, you will see an empty state with a New Experiment button.
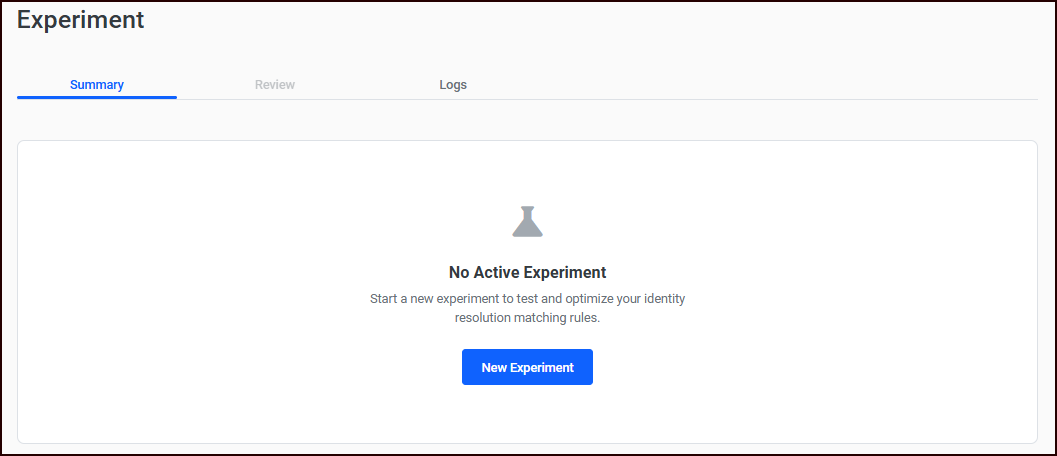
Click New Experiment to open the creation dialog.
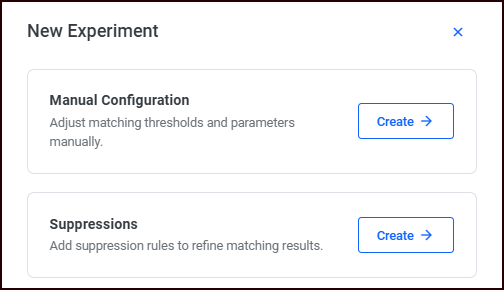
Choose one of two types:
-
Manual Configuration: Adjust tightness and matching parameters
-
Suppressions: Test the impact of suppressing specific data values
Creating a manual experiment
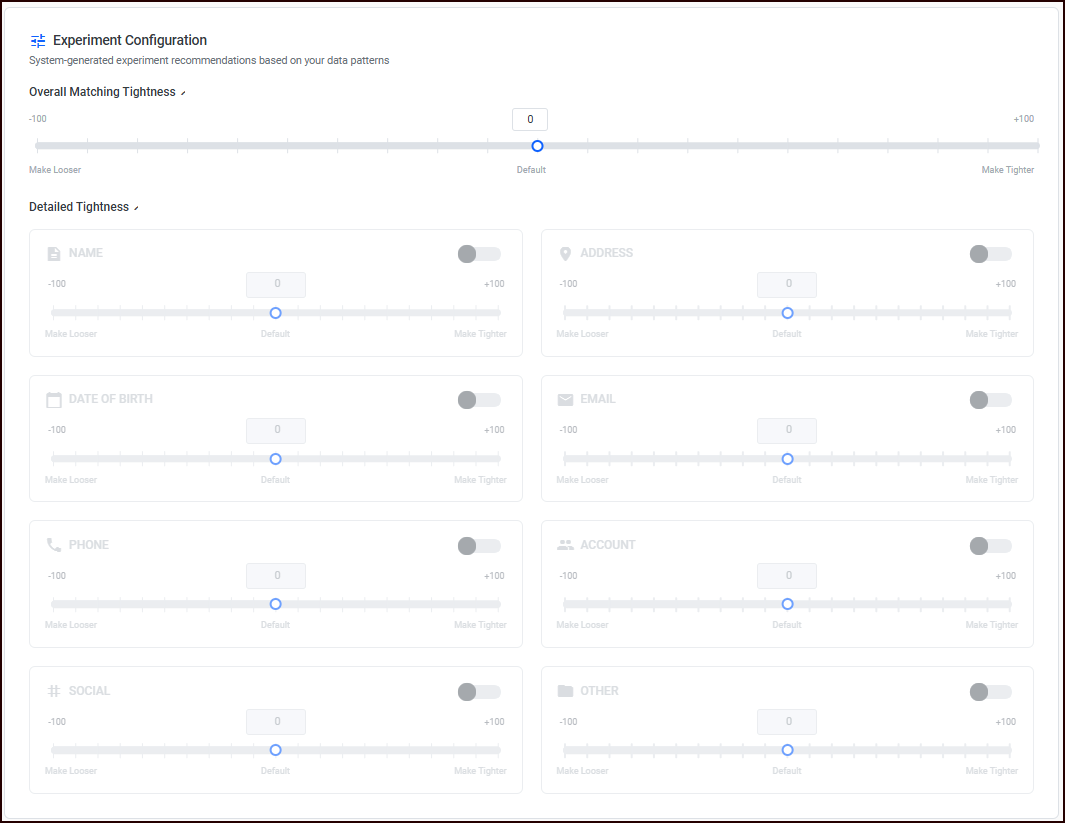
A manual experiment lets you fine-tune matching sensitivity. The configuration screen includes:
-
Overall Matching Tightness: A slider from -100 (looser) to +100 (tighter) that adjusts matching sensitivity relative to the current production settings.
-
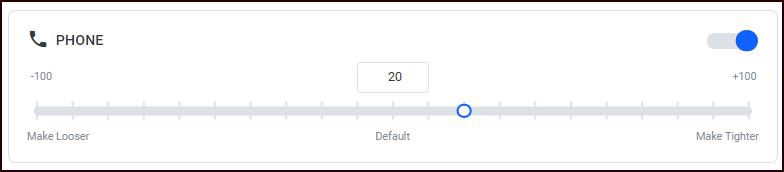
Detailed Tightness: Eight field-specific adjustment cards (Name, Date of Birth, Address, Phone, Email, Social, Account, Other). Each card has a toggle to enable it and a slider for the adjustment value.
-
Adjust grouping parameters:
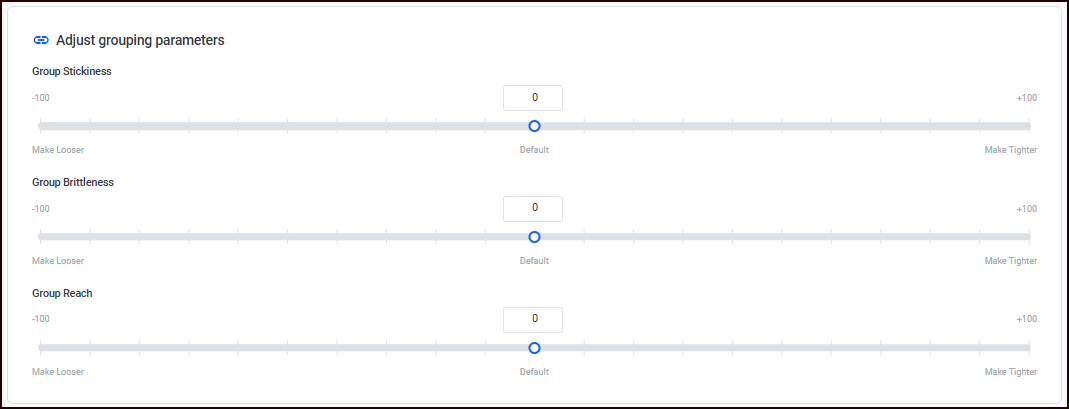
You can adjust the following sliders:
-
Group Stickiness: Controls how strongly records stay grouped together in the face of incompatible group members. Lower numbers keep larger groups together; higher numbers split groups apart. (-100 to +100)
-
Group Brittleness: Influences how many parts a group splits into when it must be split. Lower numbers causes splits to result in more fragments, higher numbers produce smaller numbers of larger clumps. For example, if A->B->C is chained, but A and C do not match, a lower number tends to produce a {A,B},{C} or {A},{B,C} grouping, but a higher number would produce a {A},{B},{C} grouping. (-100 to +100)
-
Group Reach: Controls the group-breaking algorithm’s treatment of “ropey” or “long chain” groups in which many records are chained together but a majority of them do not match each other. Lower numbers split long chains aggressively, and higher numbers are more forgiving. (-100 to +100)
-
-
Optional Rules: Four rules with a dual-checkbox pattern.
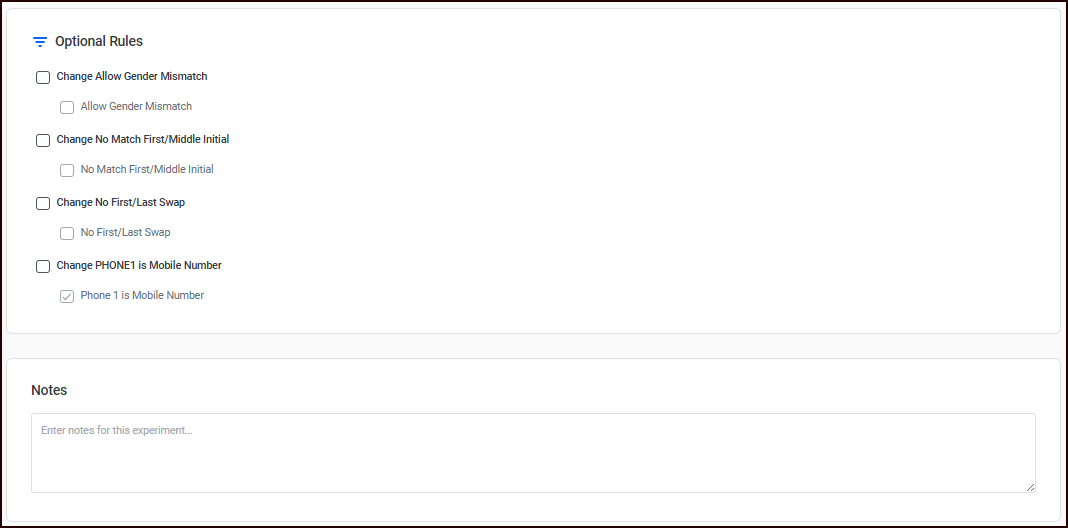
First check "Change [Rule Name]" to enable it, then set the rule value:
-
Allow gender mismatch
-
No match first/middle initial
-
Disable first/last name swap
-
Phone is mobile
-
-
Notes: Optional free-text field for documenting the experiment rationale.
To create the experiment:
-
Make your adjustments to the settings. Keep in mind that all adjustments are relative to the current production settings.
-
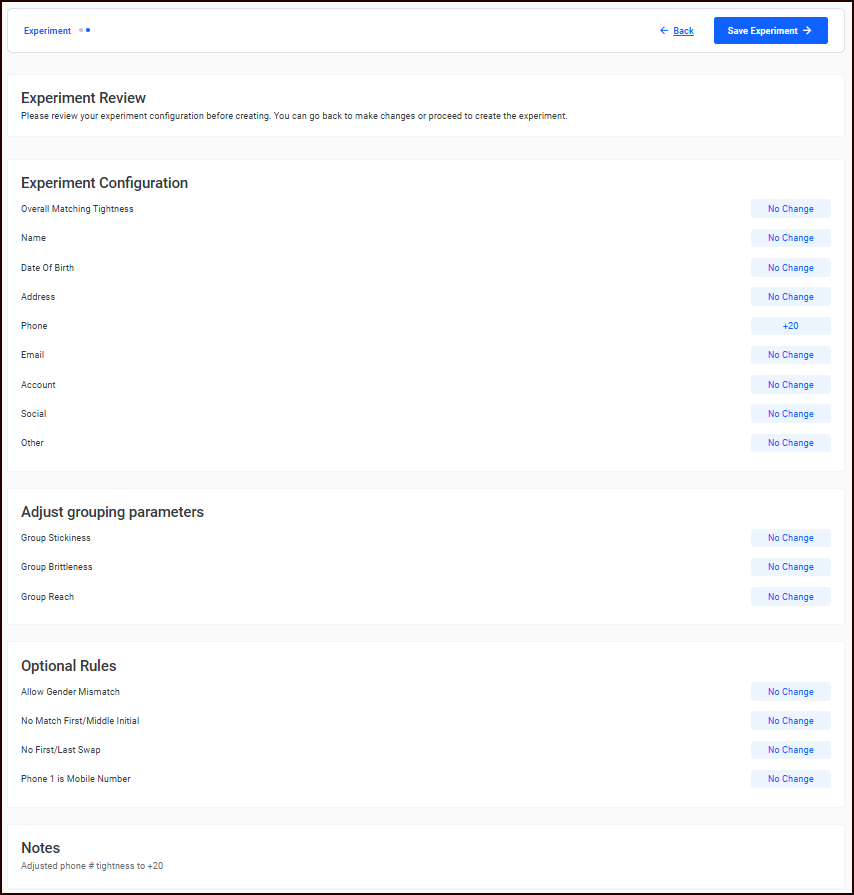
Click Confirm Experiment to review the adjustments you made.
-
Click Save Experiment to create the experiment.
-
Next, you’ll run your experiment.
Creating a suppressions experiment
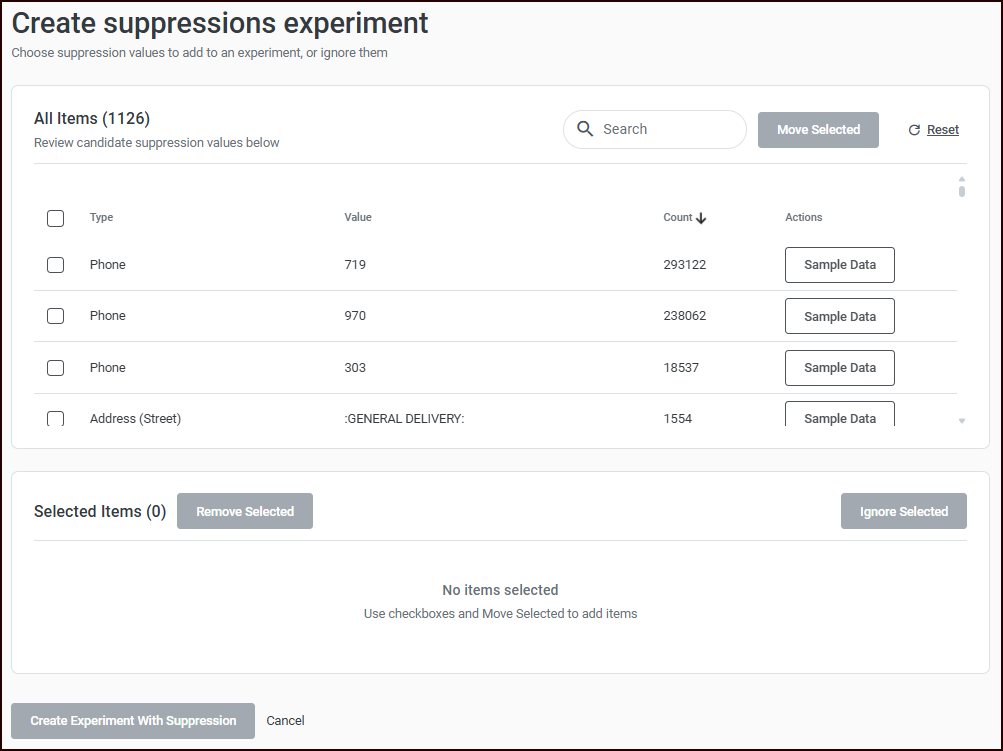
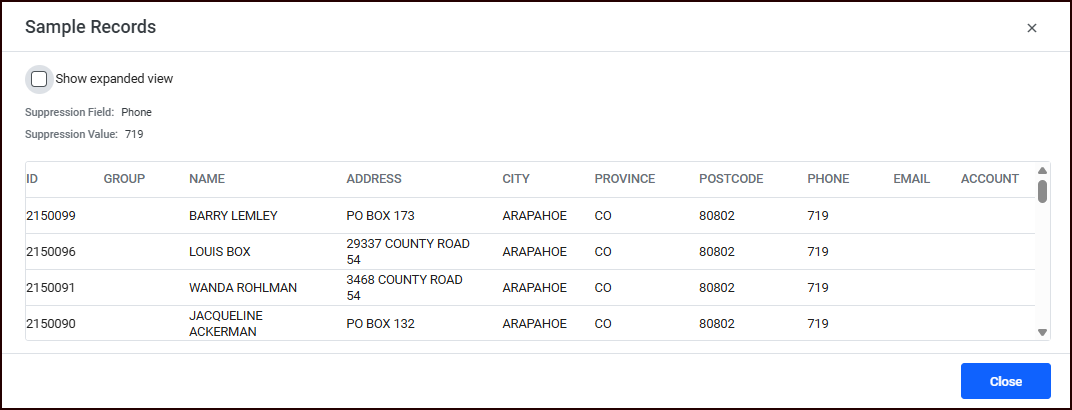
The suppressions experiment configuration page uses a two-panel layout for selecting which high-frequency values to test.
Refer to Suppressions for information about adding suppressions.
-
All Items: A table of available suppression candidates with columns for Type, Value, and Count. Select items using checkboxes and click Move Selected to move them to the Selected Items panel.
-
A Search input above the table lets you filter candidates by value text.
-
Items can be sorted by any column. An arrow indicator shows which column the table is currently sorted on, including whether the sort order is ascending or descending.
-
Click Sample Data on any row to preview the records affected by that suppression.
-
-
Selected Items: Displays the suppressions you have chosen to include in the experiment. Actions available:
-
Remove Selected: Move selected items back to the All Items panel
-
Ignore Selected: Permanently hide selected items from future suppression reports
-
To create the experiment:
-
Select the items you want to suppress in your experiment, and click Move Selected.

-
Click Create Experiment with Suppression (enabled only when at least one item is in the Selected Items panel) to create the suppression experiment and return to the Experiment page.
-
Next, you’ll run your experiment.
Step 2: Run your experiment
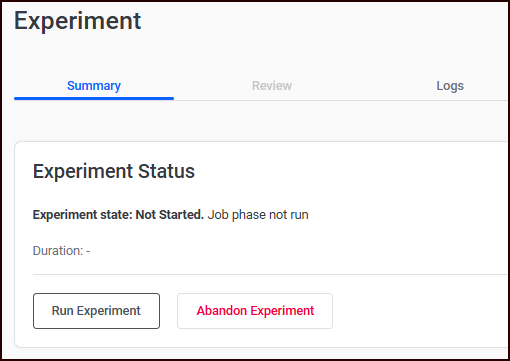
Once you’ve created and saved your Manual or Suppression experiment, you’ll advance to the next screen.
Choose whether to Run Experiment or Abandon Experiment.
If you choose to Run the experiment, a progress bar appears that displays the progress of the experiment run.
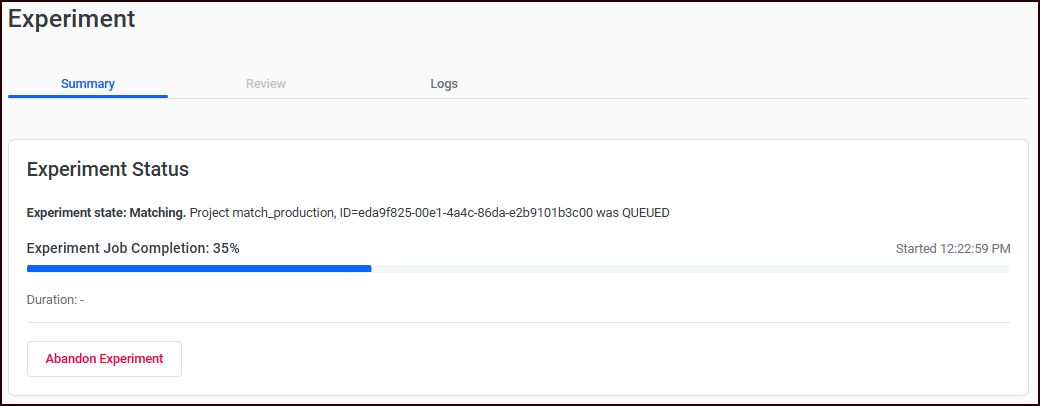
You can optionally click Abandon Experiment to abort the process while it’s running and discard the experiment.
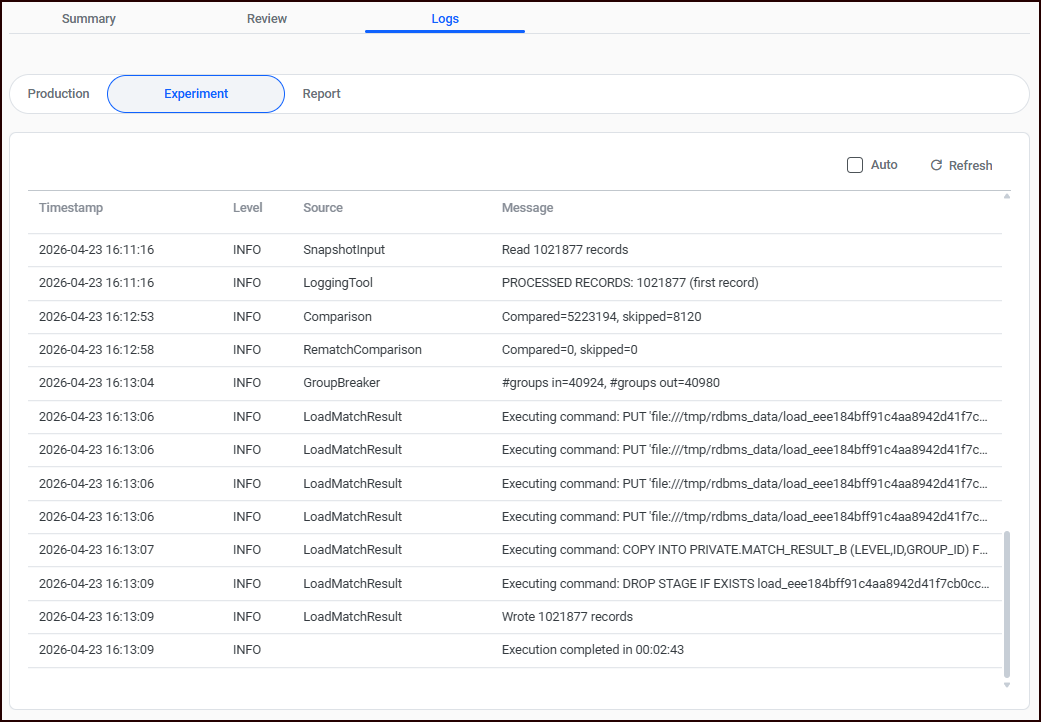
In addition, you can check the logs while the experiment is running and after it is complete.
-
In the Logs tab, three sub-tabs show log messages for each experiment phase:
-
Production: Messages from the baseline match
-
Experiment: Messages from the experiment match
-
Report: Messages from report generation
-
Each tab includes an Auto refresh checkbox and manual refresh button. Messages display with Timestamp, Level, Source, and Message columns.
Step 3: Review your experiment
Next you’ll review the results of your experiment, as detailed in Reviewing experiment matches.