

Overview
This document outlines recommended steps and considerations for upgrading from RPI v7.6 to v7.7.
If you’re upgrading from RPI v6.x, there are some additional considerations. Please refer to Upgrade to RPI v7.x for details.
Develop a client-specific MoP/SoP (recommended)
Because client environments and connector configurations vary, we strongly recommend developing a client-specific Method of Procedure (MoP) or Standard Operating Procedure (SoP) to standardize upgrade execution.
We recommend creating a documented procedure that includes:
-
Estimated timing and ownership of each step
-
Pre-upgrade shutdown steps
-
Validation checks
-
Rollback criteria and decision points
Executing the same procedure for each upgrade reduces operational variance and risk.
Step 1: Establish an upgrade window
After reviewing all of the upgrade requirements and process, estimate a downtime window, making sure to not attempt to upgrade during live execution.
Step 2: Database backup & rollback readiness
Rollback planning should be defined before upgrade execution.
Prior to upgrade:
-
Perform full backups of:
-
RPI operational databases (Ops DB)
-
RPI Offer History tables. Create individual backups of these tables prior to upgrading and be prepared to replace data in the original tables from the backups if a rollback is required. Individual table backups would likely be copies of the tables with a suffix such as
_bak_yymmddor similar. -
Campaign data warehouses (optional)
-
-
Ensure Point-in-Time Restore (PITR) is enabled where supported (e.g., Azure SQL, Cloud SQL, Amazon RDS)
This backup serves as the rollback anchor if restoration of v7.6 becomes necessary.
Rolling back to a previous version carries the risk of data loss.
Step 3: Maintenance Mode
RPI’s Maintenance Mode simplifies preparation for the upgrade by programmatically disabling workflows and non-cluster admin users and allowing you to schedule the maintenance window.
How Maintenance Mode disables workflows and user access
Workflows
To prevent new workflow activities from starting as a scheduled Maintenance Mode window approaches, you’ll need to specify the buffer, which is the amount time prior to scheduled maintenance to place any interaction workflow activity into a Queued status.
Ideally, the buffer time should be long enough to cover the expected time to execute an offer activity to avoid pausing the offer activity during the upgrade. You can do one of the following:
-
Modify the buffer time prior to using Maintenance Mode with
executionservice.defaultMaintenanceModeBufferTimeinvalues.yaml(environment variableRPIExecution__DefaultMaintenanceModeBufferTime). Note, however, that modifying this setting requires redeploying the app. -
Accept the default of 5 minutes (
"00:05:00") and modify the setting at a later point for future upgrades. Keep in mind that you’ll be confirming that no workflows are running before proceeding with the upgrade. -
In addition, this can be overwritten at specific triggers.

Users
When the Maintenance Mode window begins, all users (except for cluster admin users) are logged out of the system and unable to log in for the duration of the maintenance window. You can configure a message to be displayed when unauthorized users attempt to log into the client.
Schedule Maintenance Mode
Schedule a Maintenance Mode window ahead of the upgrade using the Configuration Service API (Set Maintenance Mode Schedule). For example:
DEPLOYMENT_SERVICE_URL=<prefix>-deploymentapi.<domain>
CLIENT_ID=<my RPI tenant client id>

curl -X POST "https://$DEPLOYMENT_SERVICE_URL/api/maintenance/maintenancemode/schedule" \
  -H "Content-Type: application/json" \
  -d '{
    "ID": "$CLIENT_ID",
    "StartDate": "1970-01-01T00:00:00.000Z",
    "EndDate": "1970-01-01T00:00:00.000Z",
    "StartTime": "00:00:00.000Z",
    "EndTime": "00:00:00.000Z",
    "Mode": "Single",
    "Days": [
      "Sunday"
    ],
    "DaysOfMonth": [
      0
    ],
    "Message": "string",
    "IsDeactivated": false
  }'
-
Times are based on the pod clock times.
-
You can modify the maintenance window duration, if needed, using the same endpoint.
Confirm that no workflows are running
Run the following query until there are no more records returned, indicating all running activities are complete, and you are ready to proceed.
SELECT
    (SELECT COUNT(*)
     FROM dbo.rpi_ExecutionSchedule
     WHERE ExecutionStatus = 'Running')
  +
    (SELECT COUNT(*)
     FROM dbo.rpi_Tasks
     WHERE IsRunning = 1) AS TotalRunning;
Step 4: Helm chart updates (self-hosted deployments)
The RPI v7.7 Helm chart has been enhanced so you never need to fork or edit the Helm chart. All customization is done through your overrides file, which is typically 50-100 lines. Chart updates apply automatically without reconciling template changes.
Update process
Generate or update your overrides using the RPI Helm Assistant. Use the Reference tab to browse available configuration options, or the Chat tab to ask questions about specific features. When upgrading between chart versions, see the Migration readme for details on key changes, new features, and any breaking changes.
Why you don't need to fork
-
Internal defaults (probes, security contexts, logging, ports, rollout strategies) are chart-managed
-
All enterprise features (annotations, CSI secrets, image overrides, CA certs, Karpenter, service mesh) are configurable through values
-
New chart defaults apply automatically on upgrade without any action on your part
-
The Reference tab shows every configurable key so you know exactly what you can override
When a new RPI version is released, update the global.deployment.images.tag in your overrides and redeploy. To see the full list of images:
helm template rpi ./chart -f overrides.yaml | grep "image:" | sort -u
Custom requirements
If your deployment has specific requirements that cannot be achieved through the overrides file (e.g., organizational policies, compliance constraints, or unique infrastructure patterns), contact support@redpointglobal.com with your use case. We incorporate customer requirements as native chart features so you never need to maintain forked templates. All enterprise features in v7.7 (custom annotations, CSI secrets, image overrides, CA certificates, Karpenter, service mesh, smoke tests) were built this way.
File-based internal caching (new in v7.7)
Starting in v7.7, file-based internal caching is available for the following supported connectors:
-
Acoustic Email
-
Cheetah Digital Email
-
LuxSci Email
-
SendGrid Email
-
Airship Push Direct
-
Azure Push Direct
-
Google Firebase Direct
-
mPulse SMS
-
Twilio SMS
File-based internal caching replaces using Redis for internal caching.
File-based internal caching writes files to a subfolder under the configured FileOutputDirectory path.
Before enabling this option, ensure a volume is configured for the RPI FileOutputDirectory. This is controlled via storage.persistentVolumeClaims.FileOutputDirectory.enabled.
To enable file-based caching, set provider: filesystem:
executionservice:
  internalCache:
    enabled: true
    provider: filesystem
If enabling file-based caching:
-
Ensure all execution service pods have read/write access to the configured cache directory.
-
Confirm the directory:
-
Exists
-
Is shared across pods if required
-
Has appropriate permissions
-
-
Validate storage performance characteristics meet execution requirements.
Improper configuration may lead to execution errors or cache inconsistency.
Redshift Npgsql library (new in v7.7)
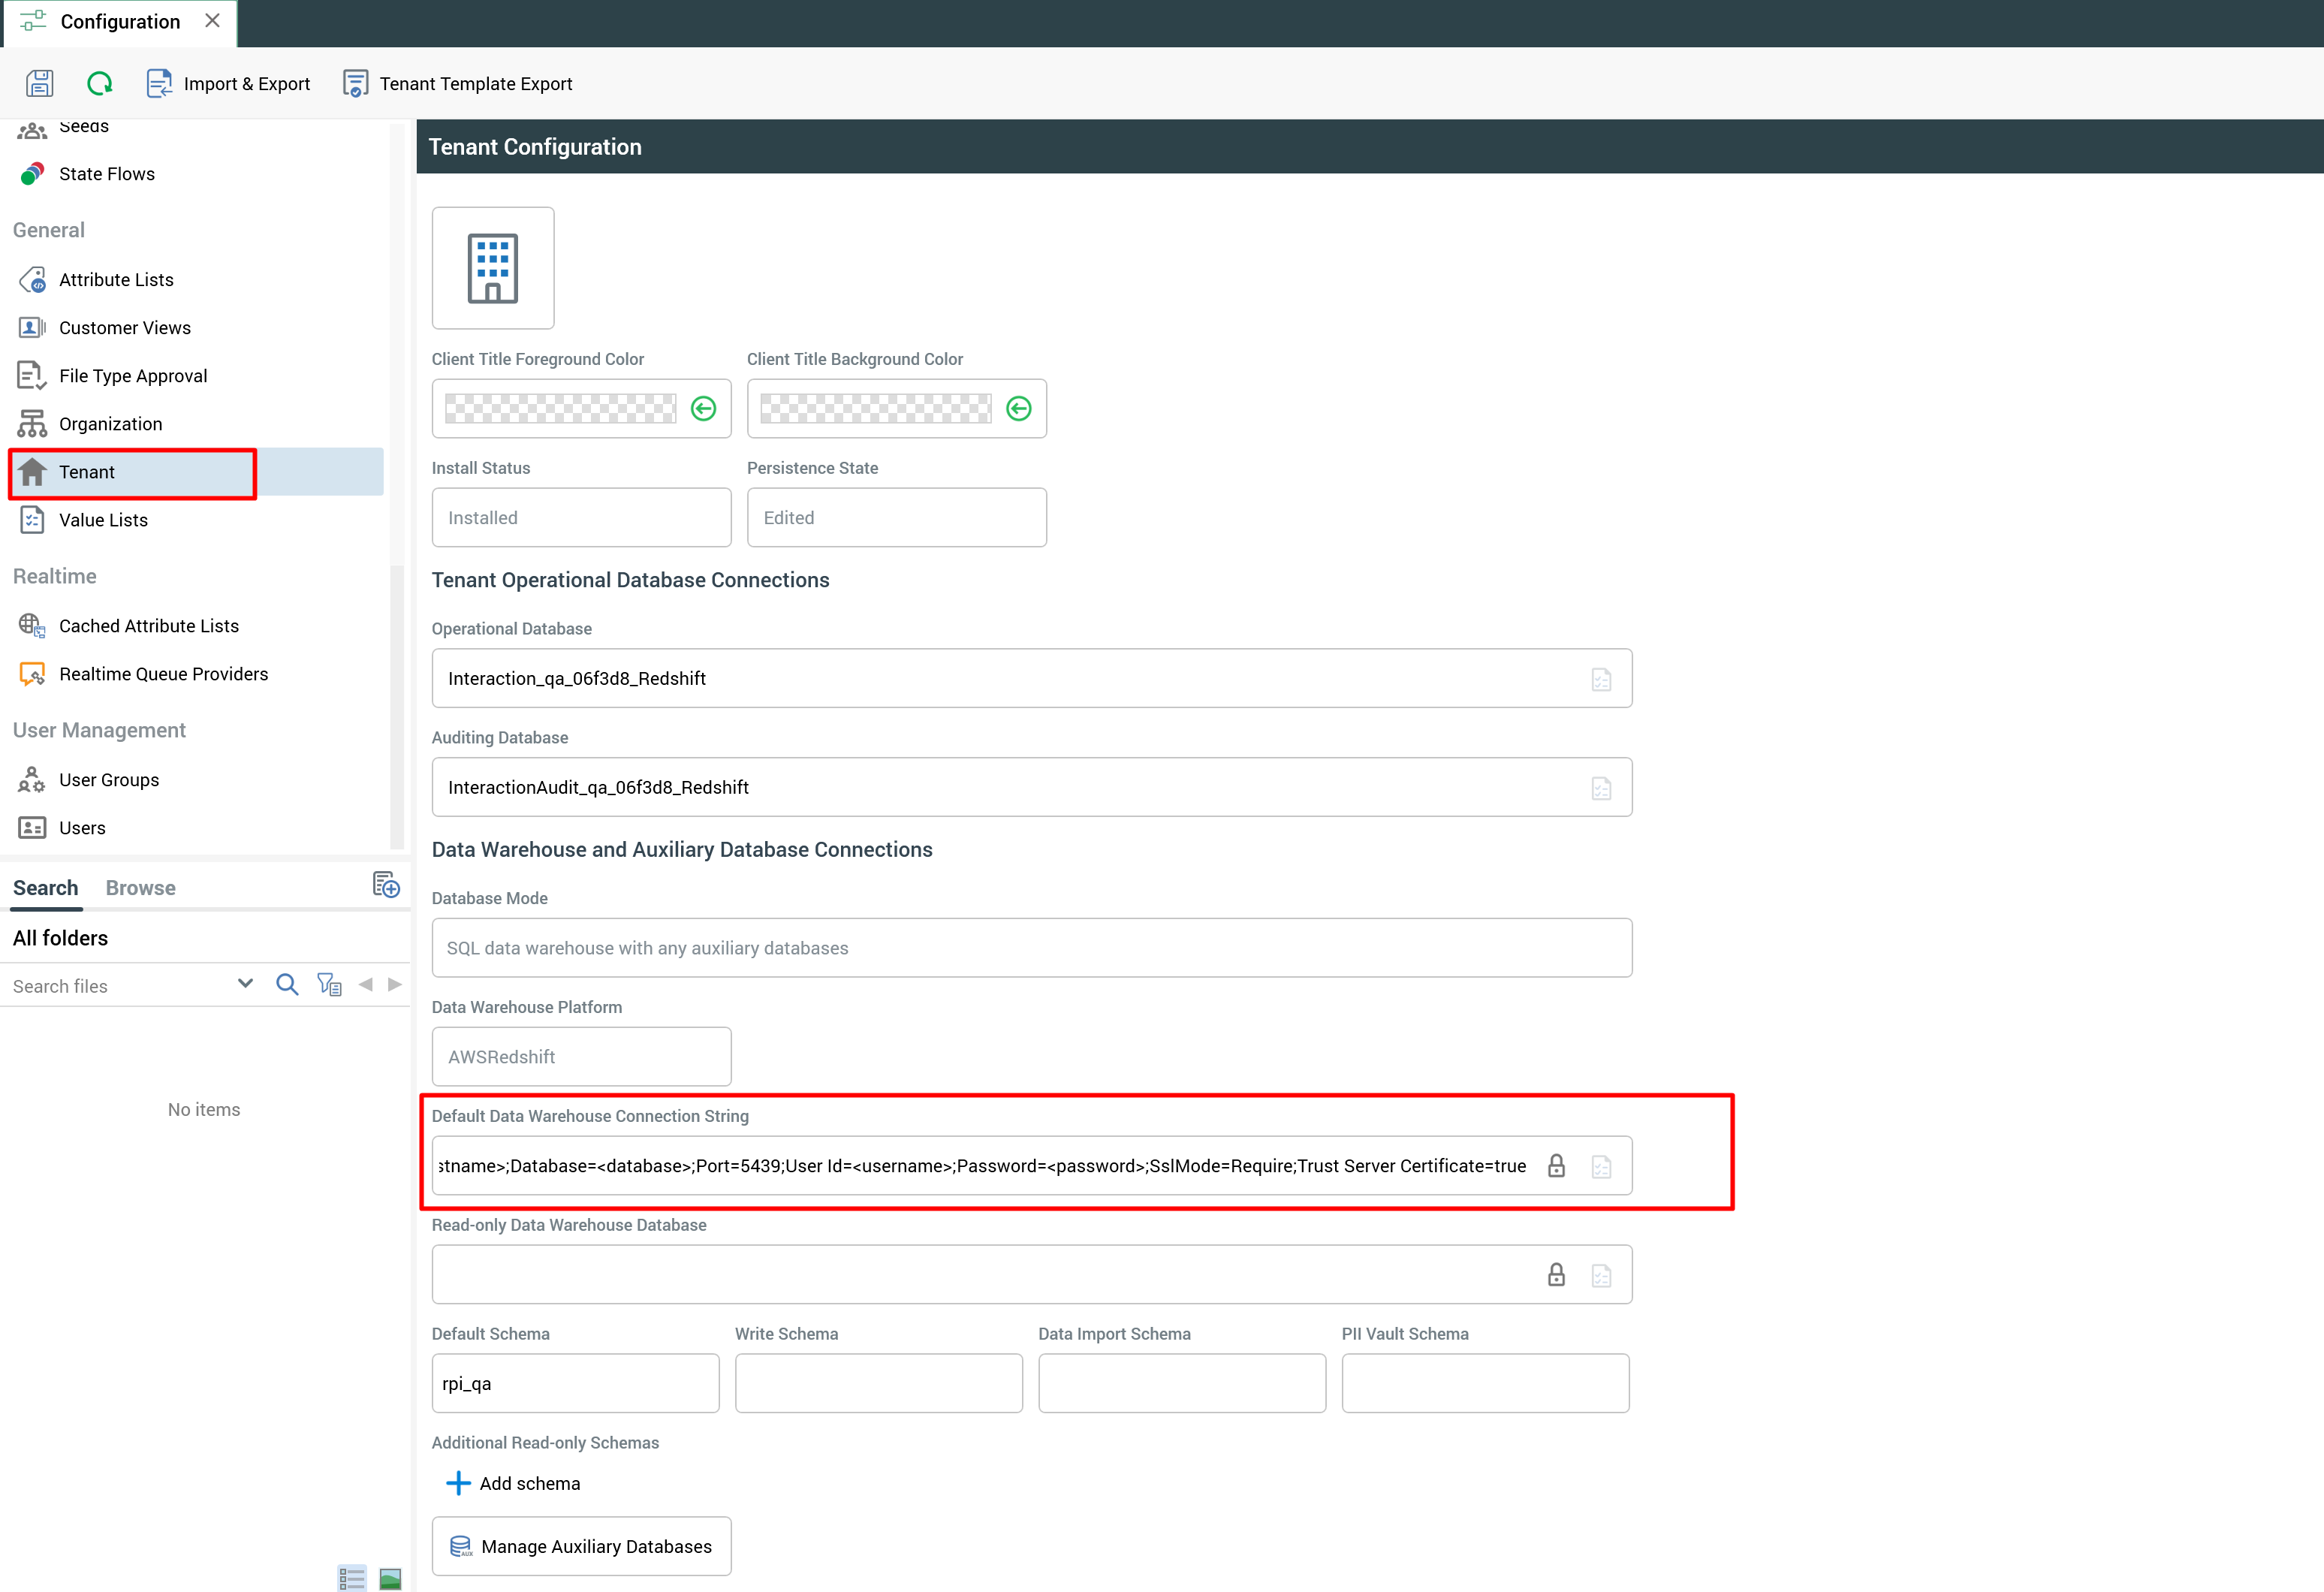
Redshift now uses the Npgsql library instead of the ODBC driver. The databases.datawarehouse.redshift config block has been removed from the chart. Redshift connections are configured in the RPI client interface using a connection string:
Host=<hostname>;Database=<database>;Port=5439;User Id=<username>;Password=<password>;SslMode=Require;Trust Server Certificate=true
If you have Redshift in your overrides file, remove the databases.datawarehouse.redshift block before upgrading. After deploying v7.7, add your connection string through the client interface.
Refactored Rebrandly web adaptor (new in v7.7)
-
Rebrandly web adaptor has been refactored to into two components:
-
A standalone Rebrandly service hosted within the Kubernetes (K8s) cluster which wraps the Rebrandly API.
-
RPI execution service refactored to be a client of this standalone service.
-
-
The RPI Helm chart now includes configuration for the standalone Rebrandly service, including Rebrandly API configuration; Rebrandly API configuration removed from the RPI UI.
-
The Rebrandly standalone service uses the equivalent of OAuth2 client credentials flows exclusively.
-
Interactive authentication/authorization has been deprecated.
-
The UI controls required for interactive authentication/authorization flows have been removed.
-
-
Caching functionality moved to Redis rather than in-process.
-
Cache shared across Rebrandly standalone service instances.
-
Caching hydration to be executed by a single instance of the standalone service at a time.
-
-
Net Result
-
One can scale Rebrandly service utilization horizontally within the K8s cluster independent of the execution service.
-
The execution service is doing significantly less when the Rebrandly web adaptor is in use (reduction in system resources).
-
-
The standalone Rebrandly service SHOULD NOT be exposed via K8s ingress to traffic outside of the K8s cluster.
-
It is designed for use with clients running within the K8s cluster (such as RPI).
-
Exposing it to traffic external to the cluster is unsupported.
-
This is subject to change in subsequent releases.
-
-
The user interface has changed, removing the following deprecated properties from Rebrandly configuration settings:
-
Client ID
-
Client Secret
-
Redirect URI
-
Authorization
-
Action Required
-
Pre-upgrade, you are required to remove existing instances of the Rebrandly adaptor.
-
Post-upgrade, they must be replaced with a new instance via the Web Adaptor UI.
-
This will require re-association with channels using Rebrandly prior to the upgrade.
-
-
Failure to do so may result in errors related to Rebrandly configuration deserialization.
Step 5: Post-upgrade validation
After upgrade:
-
Confirm application health.
-
Validate:
-
Execution services
-
Message services
-
Connector connectivity
-
-
Run a controlled test campaign.
-
Monitor logs for Redis, queue, or cache-related warnings.
-
If you were in maintenance mode and there were workflows placed in the Queue, they will automatically resume.
Summary
The RPI v7.6 → v7.7 upgrade requires structured planning: a documented MoP/SoP, database backup readiness, campaign shutdown, queue management, and careful Helm reconciliation are the key elements of a smooth upgrade.