

This section describes how to configure AWS Redshift connection for a specific Redpoint Interaction tenant running within a container application. Please follow the steps below:
-
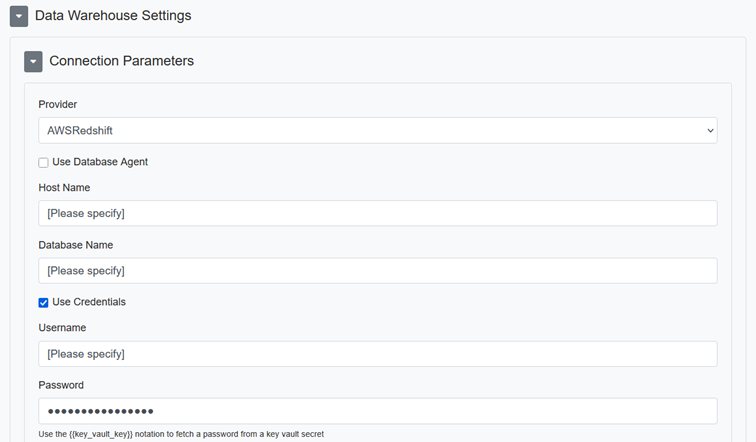
In the Configuration Editor’s Data Warehouse Settings section, select the AWSRedshift provider.
-
Enter the required parameters such as Host Name, Database Name, Username, and Password.
-
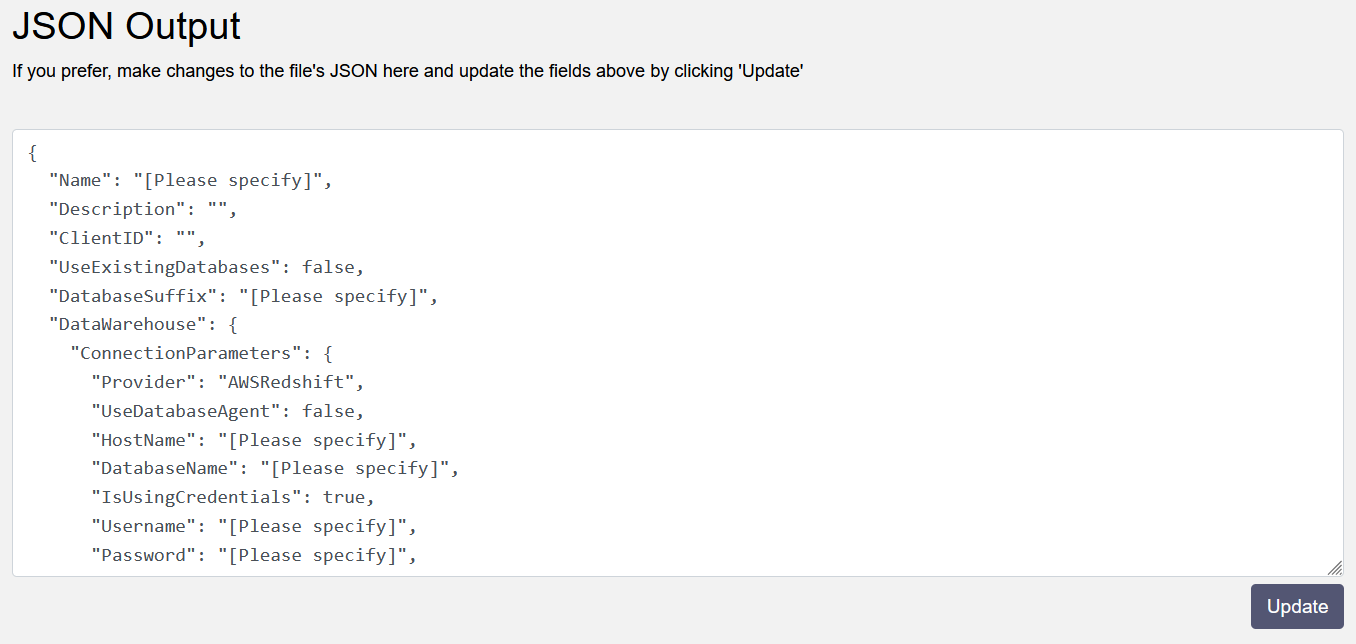
Copy the JSON text template to provision the new tenant.
-
Once the tenant has been provisioned, a sample connection string is generated:
Host=cluster01-awsredshift.cxmrt8tv6u9p.us-east-1.redshift.amazonaws.com;Database=testdb;Port=5439;User Id=testuser;Password=*****;SslMode=Require;Trust Server Certificate=true -
For more information about Redshift connection string parameters, please refer to Connection String Parameters | Npgsql Documentation.