

Overview
Workflows consist of connected activities.
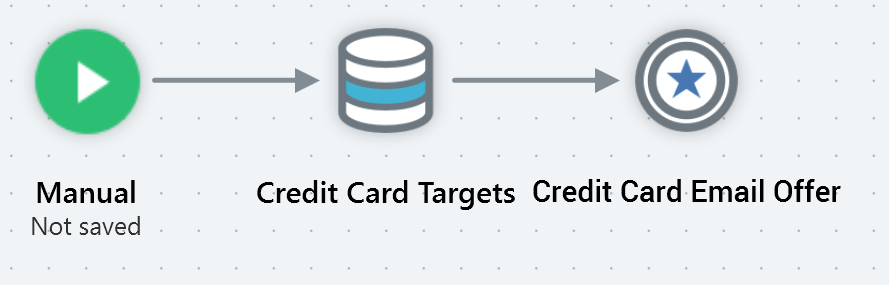
A number of types of activity are provided, each of which is documented separately elsewhere. These include:
-
Triggers: non-queue listener workflows start with a trigger.
-
Batch audience: facilitates the retrieval of a set of data from the data warehouse representing recipients to whom messages are to be sent.
-
Interactive activity: undertakes actions on a repeating basis in accordance with its defined frequency settings. These may include:
-
Retrieving data from the data warehouse, thereby building a dataset cumulatively. This is useful if you wish to respond dynamically to the receipt of transactional data.
-
Undertaking further downstream activity having established contact with an audience (e.g. sending a welcome email having originally targeted a prospect with an offer).
-
-
Workflow control activities: the Delay and Wait for Event activities.
-
Fulfillment activities: including the Broadcast, Control, Export, Offer, and Decision Offer activities.
-
Data process activity: allows you to invoke the execution of a Redpoint Data Management project from the context of an interaction workflow.
-
Queue listeners and queue activities: a queue listener allows for the processing of records placed on a listener queue, either by an external system or through submission of a web form. Upon receipt of such data, downstream queue activities, wrapping outbound offers, can be triggered. This mechanism can be used to send e.g. a purchase confirmation email.
Activities are displayed as icons in the Interaction Designer workspace, with the name of the activity shown below the icon. You can edit an activity’s name inline by double-clicking it. Hitting Enter or selecting off the same completes the edit; hitting Esc abandons it.
Adding activities to the workspace
You can add an activity to the interaction by dragging it from the toolbox and dropping it onto the workspace.
When you drag an activity from the top (activities) section of the toolbox and drop it onto the workspace, a new, unconfigured activity of the appropriate type is created.
When you drag a file from the bottom (search/folders) section of the toolbox and drop it onto the workspace, a pre-configured activity of the relevant type is added (e.g. dropping an offer onto the workspace creates a new offer activity). You can also drag a file and drop it onto an activity of an appropriate type to configure the activity (e.g. dropping an audience onto a batch audience configures the batch audience with the template).
When dragging an activity across the workspace, a label is displayed alongside the cursor:
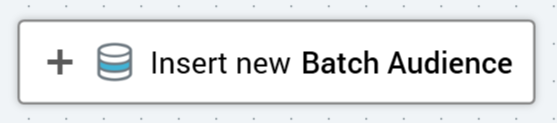
When you are able to drop an activity dragged from the activities section to create a new, unconfigured activity, the label reads "Insert new [name of activity]".
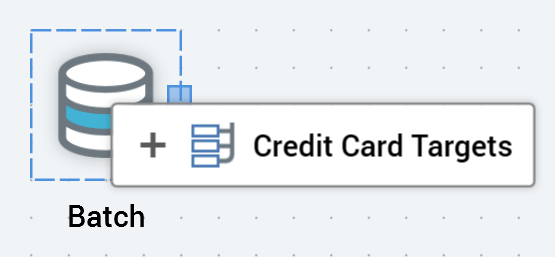
When you are able to configure an existing activity by dropping a file dragged from the toolbox onto it, the label appears as follows:
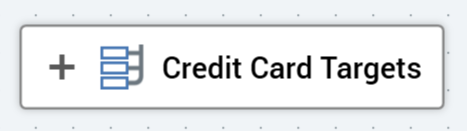
When you are able to create a new activity by dropping a file dragged from the file system treeview, the label appears as follows:
When you are unable to drop a file dragged from the file system treeview (for example, trying to drop an offer onto a batch audience), the label displays the filename, along with a "no drop" icon.
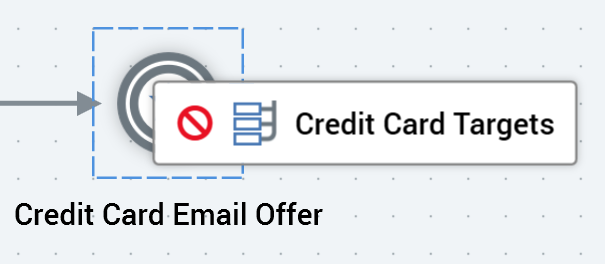
When you drag an activity or file over the RPI interface other than the Interaction Designer workspace, an icon indicates it is not possible to drop the item.
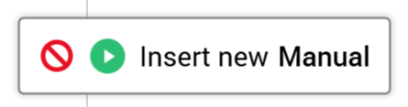
At the point of dragging an activity from the activities section over the workspace, all existing activity highlights are removed.
When you drop an activity from the activities section onto the workspace, an icon representation of the new activity, along with its default name, are displayed within the workspace.
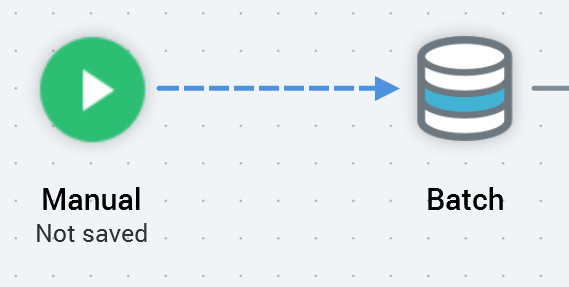
A new activity is named in accordance with its activity type or file name (e.g. a new, unconfigured batch audience is named "Batch"; an offer activity based on offer "Credit Card Email Offer" is given an identical name). If an activity with the same name exists already in the workspace, an integer is appended to the activity name to ensure uniqueness; this number may be incremented if required.
If you drag an audience from the file system treeview and drop it onto the workspace, the system queries whether you wish to create a batch audience or interactive activity, preconfigured with the audience.
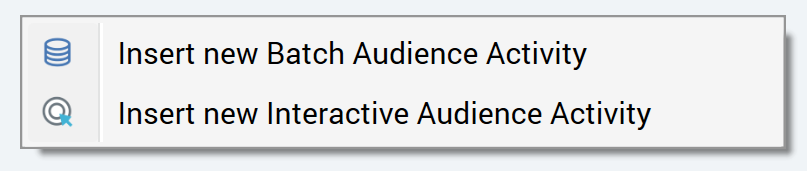
Your choice made, an activity of the appropriate type is added to the workspace and configured automatically with the selected audience. The name of the new audience activity is the same as the audience you dragged (if an identically-named activity exists already, an integer is appended to the name to ensure uniqueness (and can be incremented if required)).
When you drag an offer that supports at least one broadcast and one non-broadcast delivery method onto an interaction, a context menu is displayed:
-
Insert new Offer Activity: upon creation of the offer activity, any default non-broadcast channels are added automatically.
-
Insert new Broadcast Activity: upon creation of the broadcast activity, any default broadcast channels are added automatically.
When you drag an offer that supports exclusively non-broadcast or broadcast delivery methods onto an interaction, the context menu is not displayed. If the offer supports exclusively non-broadcast delivery methods, an offer activity is created. If the offer supports exclusively broadcast delivery methods, a broadcast activity is created.
Default broadcast channel(s) are not added automatically at the addition of an empty broadcast activity to an interaction. Channel(s) are only added after selection of an offer supporting broadcast delivery method(s).
You can drag a data process project from the toolbox and drop it onto the workspace to create a data process activity that is pre-configured with the selected data process project. If configured with a custom icon, that icon is used to represent the data process activity in the workspace.
If an activity exists within the workspace that is not part of an existing workflow, a validation error relating the existence of the orphaned activity is shown.
Activity icons
When you add an offer or broadcast activity to the Interaction Designer workspace, the icon used to represent it will be determined by its channel’s Activity icon style property.
If the offer supports a single delivery method, the icon used is accordant with the selected channel's Activity icon style setting:
-
Use default activity icon: the standard offer or broadcast icon is displayed.
-
Use delivery method icon: the channel's delivery method's icon is displayed.
-
Use channel icon (default icon): the channel's default icon is displayed.
-
Use channel icon (custom icon): the selected custom icon is displayed.
If a multi-delivery method offer, the standard offer or broadcast icon is displayed. If a single delivery method offer, with multiple instances of the type of channel, the standard offer or broadcast icon is also displayed.
The customization of icons is also applied at queue listener activities.
Selecting activities
You can choose an activity by selecting it. A selected activity is surrounded by a dashed line. A connection point (a blue rectangle) is shown to its right.
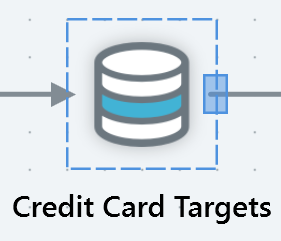
You can also drag a rubberband around one or more activities; doing so causes activities enclosed entirely within the rubberband to be selected.
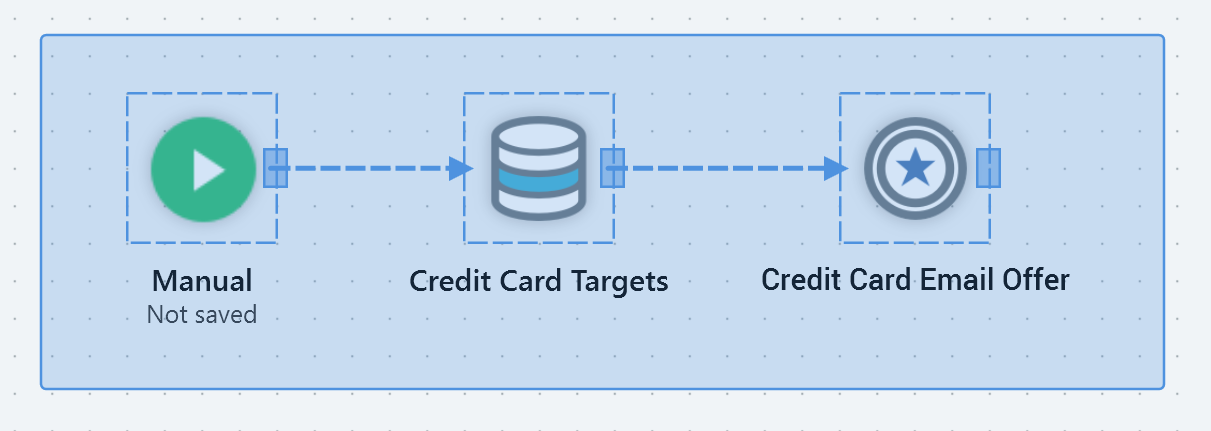
In addition, you can hold down the Ctrl key to allow you to select multiple activities.
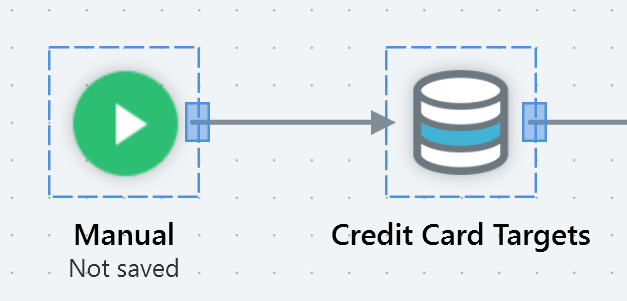
You can select one or more connections between activities. When a connection is selected, it is shown as a dashed line.
Moving activities
You can move an activity within the workspace. Any connections to or from the activity are moved in accordance with the activity's movements (connections between activities within the workspace are always maintained as straight lines with right angles). It is possible to move more than one selected activity concurrently.
Removing activities
You may remove one or more selected activities (and/or connections). This feature is only available if:
-
The workflow within which the activity exists has yet to be activated in Production mode.
-
No activities within the workflow are in a Playing or Completed state.
When you remove an activity it is removed from the workspace immediately, without the display of an "Are you sure?" dialog. The removal of an activity also removes any connections to or from the activity.
Connecting activities in the workspace (new activities)
It is possible to connect a new activity dragged from the toolbox to an existing activity already displayed within the workspace.
When you drag an activity from the toolbox over the workspace and near to an existing activity, the existing activity is selected. Note that a connection point (a blue rectangle) is displayed to the right of the selected activity:
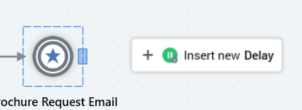
When you drop an activity when an existing activity is selected, and it is possible to create a connection from the existing to the new activity, a connection is created between them.
Connections are always created from the right hand side of the existing to the left hand side of the new activity. Connections are also always displayed using straight lines and right angles.
If you connect a second new activity to an existing activity, a workflow branch is created.
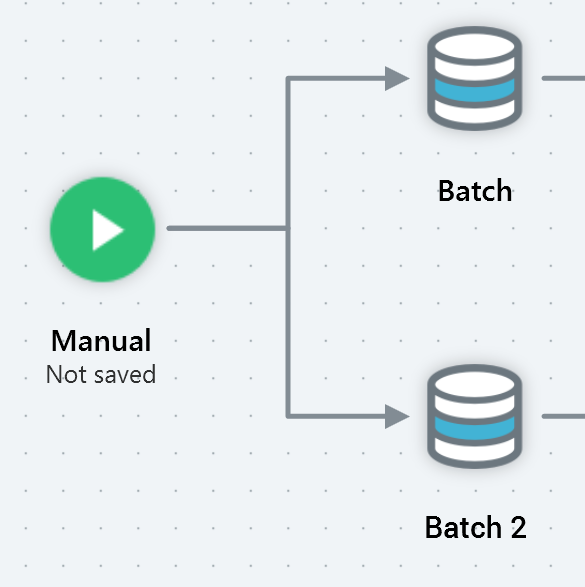
Certain connections between activities are not permitted. If you attempt to create a connection that is not permitted, a warning message is displayed. Details of specific warning message are provided elsewhere.
-
The new activity is still added to the workspace, but the connection is not made.
-
You are unable to create a connection to a new from an existing activity contained within an active workflow.
Connecting activities in the workspace (existing activities)
You can connect two independent activities that already exist within the workspace.
When you select an existing activity in the workspace, a connection point (a blue rectangle) is displayed to its right:
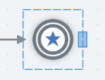
When you hover over the connection point, the cursor becomes a crosshair. You can drag the crosshair from the connection point; when you do so, a dashed red line indicates the availability of a candidate connection.
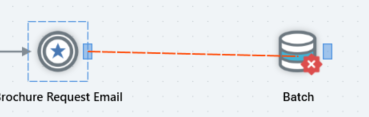
When you hover the crosshair over a second activity, you can then drop the crosshair to create a connection.
Creating a connection from an activity to a second or additional activity causes the creation of a workflow branch.
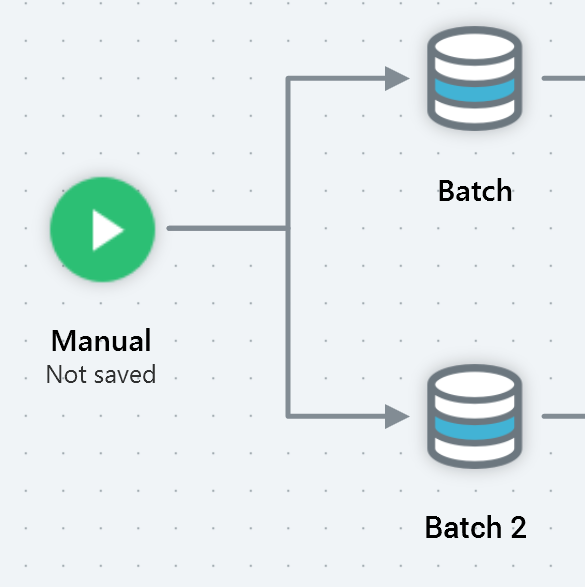
You are not able to create a connection between the same two activities more than once.
Certain connections between activities are not permitted. If you attempt to create a connection that is not permitted, a warning message is displayed. Details of specific warning message are provided elsewhere.
Invalid activity connections
The following warning messages are displayed when attempting to make invalid connections in the Interaction Designer:
-
An interactive audience activity cannot be used with a recurring trigger
-
An activity cannot be added downstream of a broadcast activity
-
Fulfillment activities can only be used downstream of audience or other fulfillment activities
-
This activity cannot be connected downstream to an interactive activity
-
The activity is already connected to a different workflow or activity
Downstream post-fulfillment activities
Fulfillment activities (controls, exports, offers and decision offers) within an interaction workflow represent an effort by RPI to make contact with an audience (although, in the case of a control activity, contact is never actually made, being a pseudo-fulfillment activity for internal use only).
In the case of a broadcast, it is not possible to continue a dialogue with the targeted audience—a broadcast is published to the world at large. As such, it is not possible to add activities downstream of a broadcast activity, which is shown with a "dead end" icon to its right:
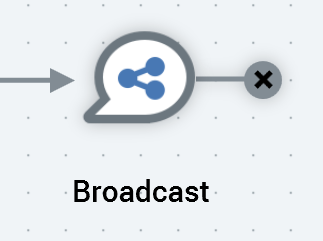
In the case of the other fulfillment activity types, it is possible to add the following activity types directly downstream from a fulfillment activity:
-
Batch Audience
-
Interactive Activity
-
Delay
-
Wait for Event
-
Broadcast
-
Control
-
Export
-
Offer
-
Decision Offer
-
Data Process
-
Data Transfer
In this way, you can continue the "conversation" started when you made initial contact with your target audience. For example, following an initial email drop, you might want to respond to those people who select through a specific URL within the email who then fail to make a purchase by sending them a discount voucher.
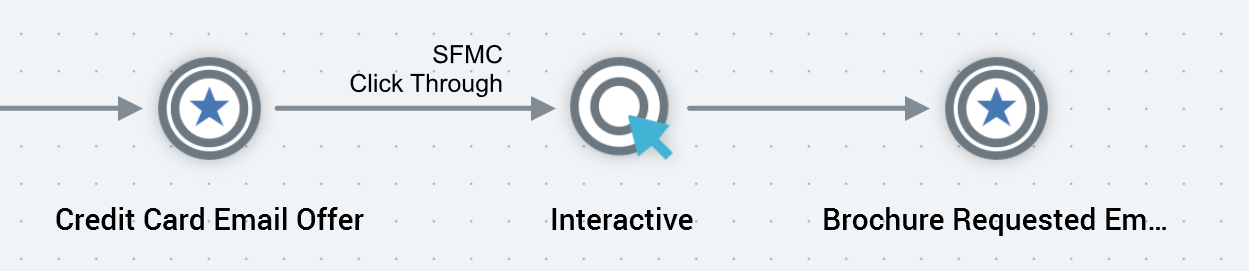
Using downstream, post-fulfillment activity activities you can map out your tactical marketing activities precisely in advance of their execution, as part of your overall customer interaction strategy.
If you wish to place a fulfillment activity downstream of a fulfillment activity operating in "interactive mode" (i.e. after an interactive activity), you must also precede the downstream fulfillment activity with another interactive activity:
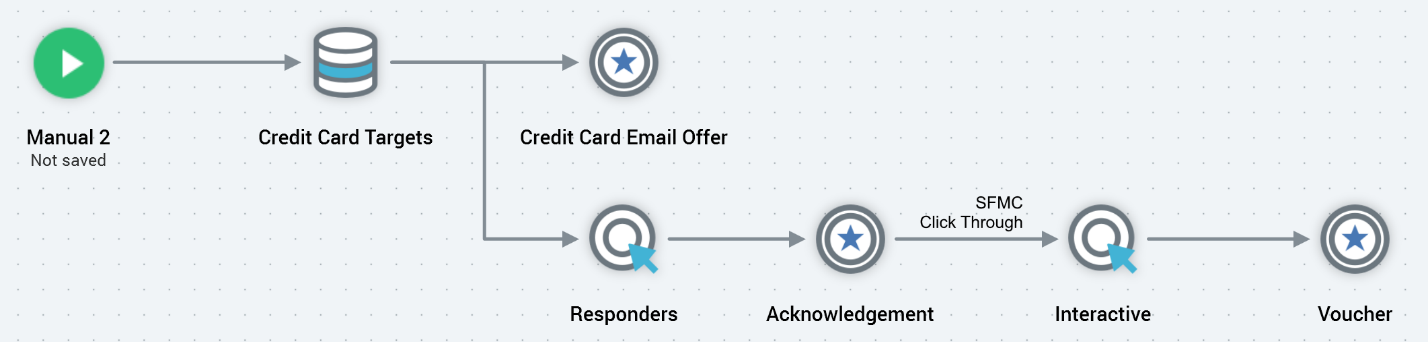
You can follow a fulfillment activity directly with another fulfillment activity if the upstream activity is not operating in interactive mode.

When you add one of the following activity types…
-
Interactive activity
-
Batch audience
-
Control
-
Export
-
Offer
-
Decision Offer
-
Data Process
-
Data Transfer
…downstream of a fulfillment activity, the Inputs tab within the downstream activity’s configuration panel is amended to allow the downstream activity to specify the fulfillment states to which it is to apply. Full details of the Inputs tab may be found elsewhere in the documentation. Full details of the actions undertaken when executing an activity downstream from another fulfillment activity can also be found elsewhere.
A queue activity can only be placed immediately downstream from a queue listener. No activities can follow a queue activity.
Data process activity considerations
If adding a data process activity to an interaction workflow, there is no requirement for it to be placed downstream from an audience (the activity can invoke a Redpoint Data Management project that operates entirely independently, if required). You can add a data process activity downstream from a fulfillment activity. You can also chain together data process projects.
Connecting activities to queue listeners
You can only connect queue activities to queue listeners. You cannot connect other types of interaction activity to a queue listener.
A queue activity cannot be attached to more than one queue listener. You cannot add a queue activity downstream from another queue activity. You also cannot add any other activitites downstream from a queue activity.
Activity input indicators
Activities may be linked to one another in the Interaction Designer workspace. By default, the entire output of a parent activity (typically a set of customer or prospect records) serves as the input to any child activities.
However, it is possible to configure a child activity such that it only targets a subset of the parent’s output. In summary, the ways in which a child may be configured in this way are:
-
Where the parent provides multiple segments (discrete blocks of data), by configuring a child activity to only apply to the data in a subset of the segments.
-
By configuring the child to only apply to data with matching metadata attribute values.
-
By specifying that the child will act only upon records that match specific fulfillment states—be these provided by a channel (such as "Clicked Through" from an email channel), or custom fulfillment states (for example, "Application Accepted").
Full details of how these configuration activities are carried out are provided elsewhere, as are details of the concepts themselves.
When explicit inputs are defined at an activity, an input indicator is displayed to the left hand side of and just above the incoming connector.
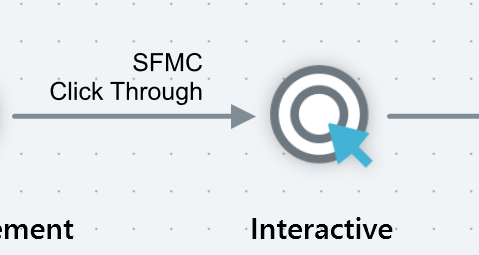
An input indicator is not displayed when no explicit inputs are defined.
The following activity input indicator text is displayed for each of the following scenarios:
-
Child configured to act upon subset of parent’s segments:
-
Single parent segment selected:
-
"[ParentSegmentName]"
-
-
Multiple parent segments selected:
-
"[ParentSegmentName] + [n]" (where [n] is the number of additional segments selected)
-
-
-
Child configured to act upon only records with specific metadata attribute values:
-
When one or more values are specified for one metadata attribute:
-
"[MetaAttributeName]"
-
-
When one or more values are specified for more than one metadata attribute:
-
"[MetaAttributeName] + [n]" (where [n] is the number of additional metadata attributes for which values are specified)
-
-
-
Child configured to act upon subset of parent segments, and only records with specific metadata attribute values:
-
Stipulations shown on two separate lines, with parent segments first
-
-
Child configured to only act upon records with one or more fulfillment state(s):
-
If channel fulfillment state(s):
-
"[ChannelName]" displayed on top line.
-
Fulfillment states selected for channel, shown on second line ("[StateName]"; "[StateName] + [n]" (where [n] is the number of additional states selected).
-
-
Hovering over an input indicator displays a tooltip, the text of which is dependent on the scenario in question:
-
Parent segment(s) specified:
“Inputs:
[Segment1]
[Segment2]
[...]”
-
Metadata filter(s) specified:
“Metadata filters:
[MetadataAttribute1]
[MetadataAttribute2]
[...]”
-
Parent segments and metadata filters specified
Inputs followed by Metadata filters
-
Fulfillment state(s) specified
“Fulfillment state inputs:
[Channel]
[State1]
[State2]
[...]”
Activity information bubbles
Depending on the type of activity, additional information may be displayed in a bubble alongside the activity’s icon.
A bubble’s color provides an indication of the mode in which executed:
-
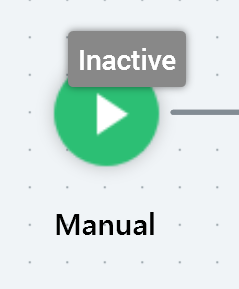
If a workflow has yet to run, the bubble is shown with a gray background saying “Inactive”.
-
If a workflow is running or has run in test mode, it is shown with an orange background.
-
If a workflow is running or has run in production mode, it is shown with a blue background.
Specific activity types display bubbles as follows:
-
Trigger: the active status indicator shows whether trigger is currently active. When executed in Test mode, the active status indicator advises accordingly. This applies also at a queue listener.
-
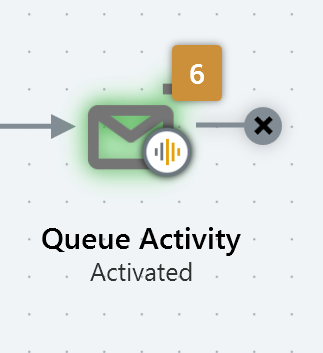
Queue activity: the number of records processed by the queue activity are shown in its results bubble:
-
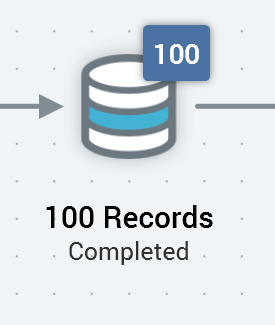
Audience: the results bubble is shown if an audience has executed and results are available.
-
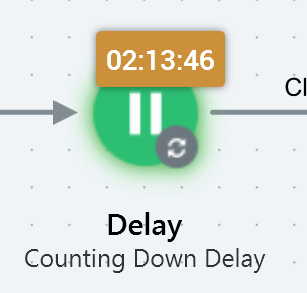
Delay: if a delay has yet to start, the delay time displays the time with which the delay was configured. If the delay is playing, it shows the delay time remaining. If the delay has completed, 00:00:00 is displayed.
-
A newly-added delay’s bubble count is shown in gray.
-
-
Export: the results bubble is shown if an export has executed and results are available.
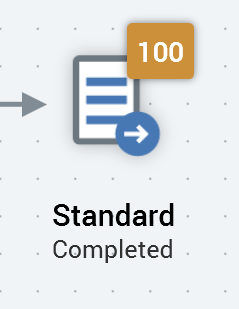
-
Offer activity: the results bubble is shown if an offer activity has executed and results are available.
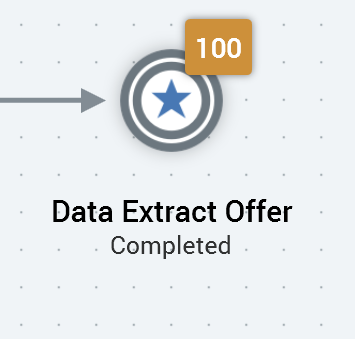
-
Decision offer activity: the results bubble is shown if a decision offer activity has executed and results are available.
Activity summary
When you hover over an activity displayed within the workspace, an activity summary is displayed.
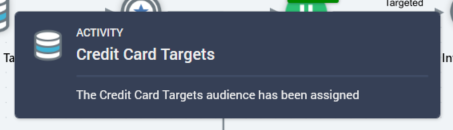
The information shown within this tooltip-style information panel depends upon the type of trigger or activity that you are hovering over:
-
Manual trigger: "Starts immediately upon playing".
-
Scheduled trigger: "Scheduled to start at" + [scheduled date/time] + [time zone].
-
Recurring trigger: "Recurring trigger, starting at [scheduled date/time], [schedule details]”. Following a recurring trigger's activation, up to 5 of its next planned trigger fire times are listed in its activity summary. An additional message is shown when the interaction Designer is refreshed that states “Status has refreshed. Hover over trigger again to retrieve latest file times.”
-
Activity state trigger: "Activity state trigger, starting in accordance with its specified activity configuration”.
-
Queue listener: "Monitors listener queue for the arrival of data".
-
Queue activity: "Fulfils selected offer to audience sourced from queue" + offer/channel details.
-
Batch audience: "The [template name] template has been assigned" OR "No audience has been chosen".
-
Interactive activity: "The [template name] template has been assigned" OR "No audience has been chosen"; "Checking" + [frequency]; "Continues checking" + (one of: "For:" + [duration] OR "Until:" + [date/time]). If sited downstream from a delay, "The extra time accounts for upstream delay activities".
-
Data Process: "Using the [data process project name] project".
-
Data Transfer: "Fulfills selected offer to audience without writing offer history".
"Using the [offer name] offer"
"Fulfills via channel: [channel name]".
-
Delay: "Waits for" + [delay duration].
-
Wait for Event: if a manual trigger, "Needs to be fired manually"; if a scheduled trigger, "Scheduled to fire at" + [scheduled date/time] + [time zone].
-
Broadcast: "No offer chosen" OR “Based on the" + [offer name] + "offer’; "Fulfills via channels:’ + [comma-delimited list of channel names]”.
-
Control: "Using the" + [control channel name] channel.
-
Export: "Will export using the" + [export template name] + "template" OR "No export template chosen".
-
Offer: "No offer chosen" OR "Based on the" + [offer name] + "offer’; "Fulfills via channels:” + [comma-delimited list of channel names].
-
Decision Offer: "No offers chosen" OR "Configured with 1 offer" OR "Decides between [n] offers".
Activity context menus
Right-clicking an activity within the workspace results in the display of a context menu exposing the following options:
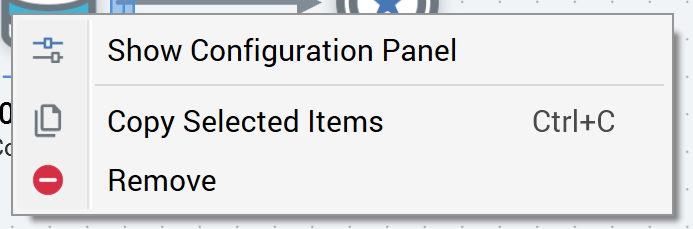
-
Show Configuration Panel: always available. Display of the resultant configuration panel is read-only if the workflow has been activated.
-
Copy Selected Activities: invocation of this option copies the currently-selected activity or activities to the clipboard. Full details of copying activities are provided elsewhere.
-
Remove: only available if the activity may legitimately be removed.
Right-clicking a connection within the workspace results in the display of a context menu exposing the following option:
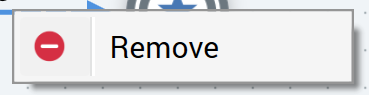
-
Remove: only available if the workflow within which the connector exists has not been activated.
Mini toolbars
Whenever you select and hover over an activity, a mini toolbar is displayed:
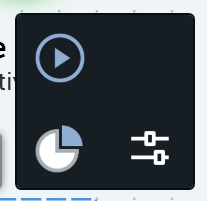
The toolbar can be used to initiate an action in respect of the activity; for example:
-
Commencing workflow execution
-
Viewing results for the workflow as a whole, or a specific activity
-
Configuring the activity using its configuration panel
Each activity type’s mini toolbar exposes its own unique set of available options and is discussed separately.
Editing activity properties post-workflow activation
You can edit activity properties following a workflow’s activation in the following circumstances:
-
When a trigger is in a Deactivated state, you can edit any properties of activities within its workflow.
-
When a non-recurring workflow is in a Paused state, you can only edit activities in a Not Started state.
-
When a recurring workflow is in a Paused state, you can edit any of its activities' properties. Any changes thus made are picked up at the next recurrence. The same applies at activities downstream from an interactive activity.
-
In a recurring workflow, or downstream from an interactive activity, any changes to metadata values are not picked up following the initial audience execution.
Metadata is written at a workflow’s first execution recurrence. Changing metadata values will have no effect on data written to Offer History Meta.