

This section shows how to set up an Acoustic account for use with RPI.
-
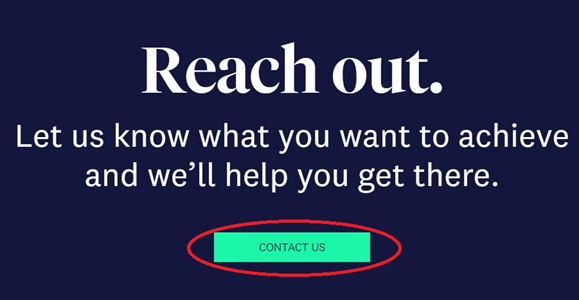
To create an Acoustic account, please navigate to http://www.acoustic.com/.
-
Click Contact us.
-
Call a sales representative or complete and submit the form.

-
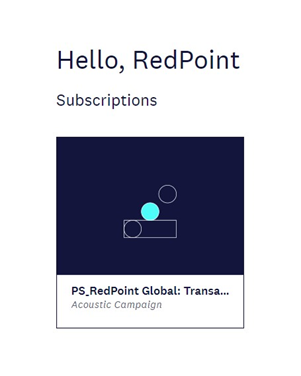
Once you have credentials, navigate to https://goacoustic.com.
-
In your My Acoustic page, select your subscription.
-
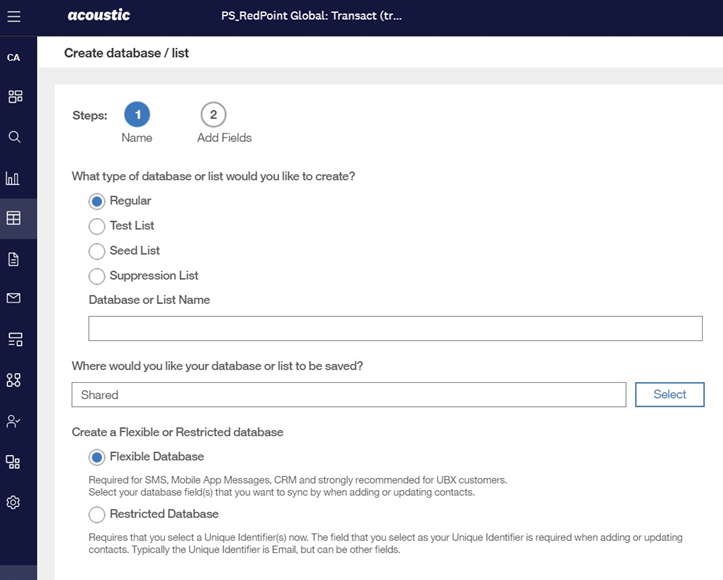
Create a Regular Database and store it in a Shared folder. Click Next.
-
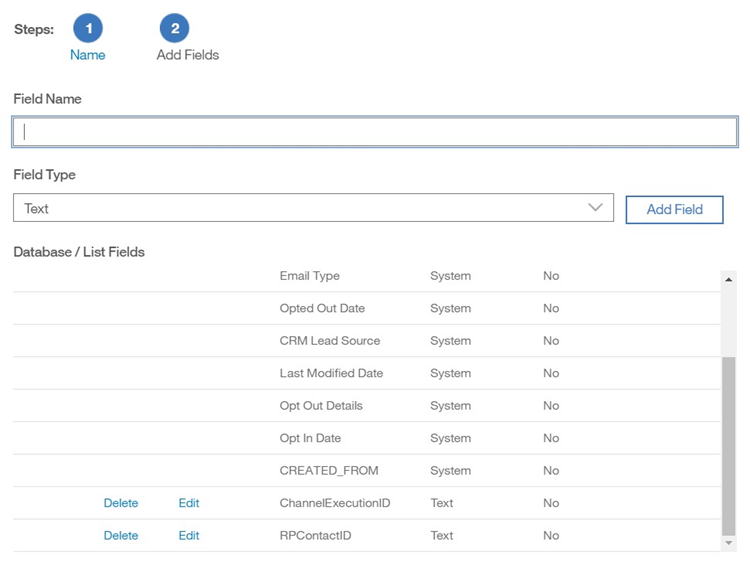
Add RPContactID and ChannelExecutionID fields and click the Create button.
-
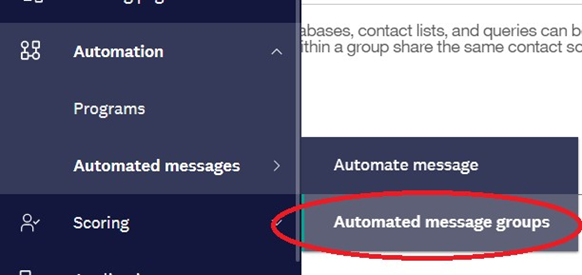
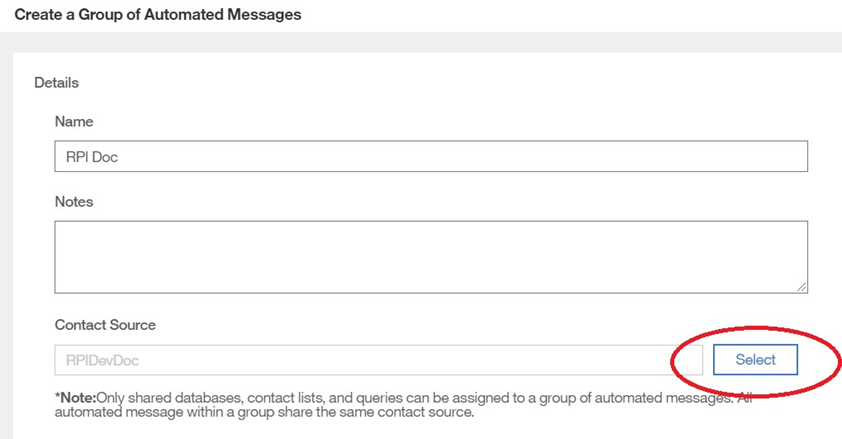
Create an Automated Message Group.
-
Associate the Transact database as the group’s Contact Source.
-
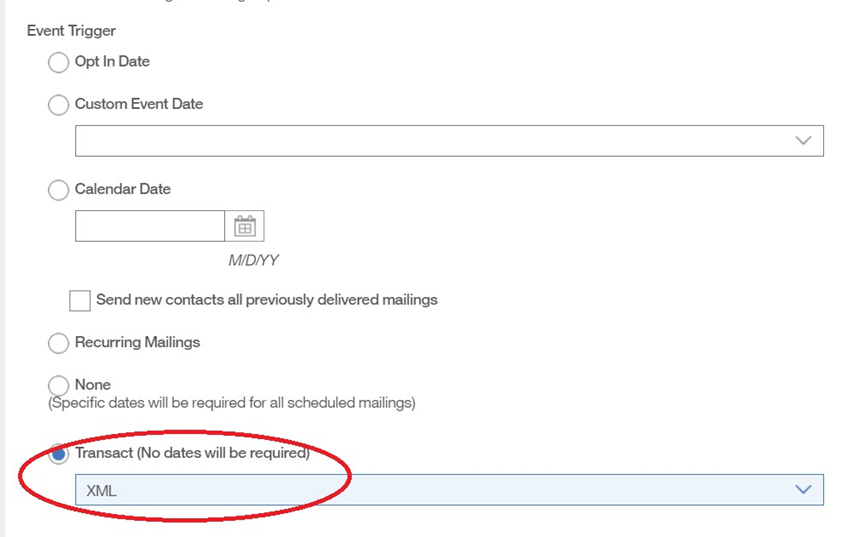
Set the Event Trigger to Transact XML.
-
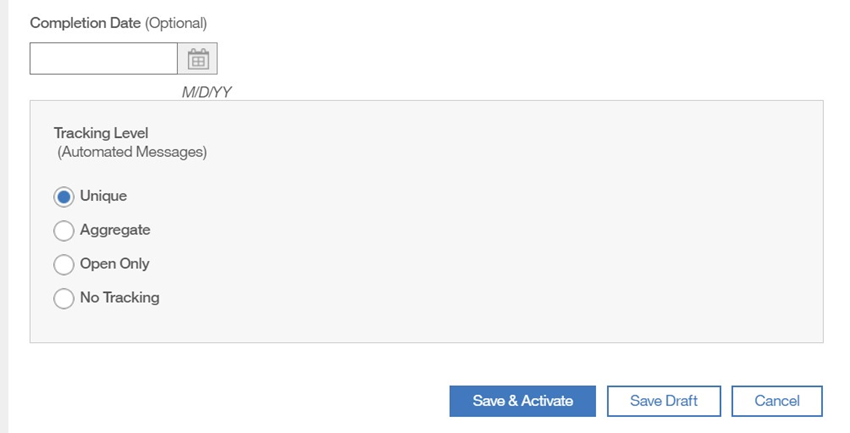
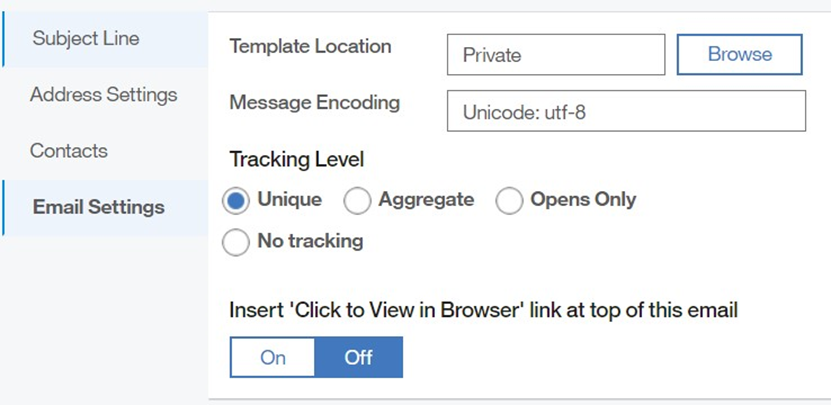
Set the Tracking Level to Unique.
-
Click Save and Activate.
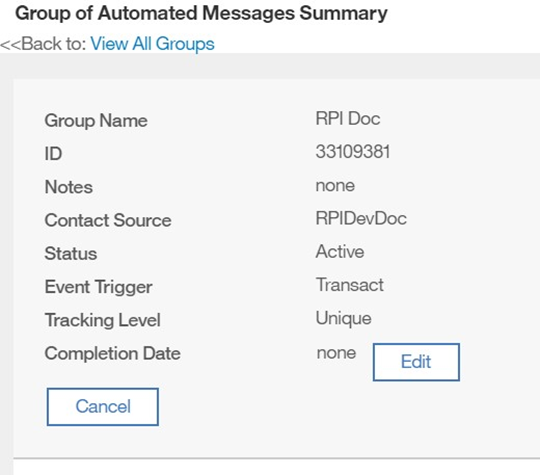
Note that the Group ID is required when configuring the RPI Acoustic channel.
-
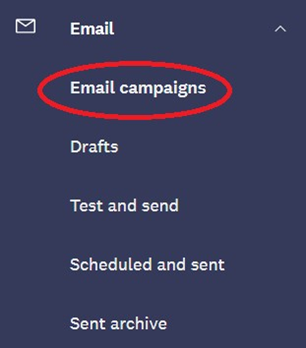
In the Email menu, create an Email Campaign.
-
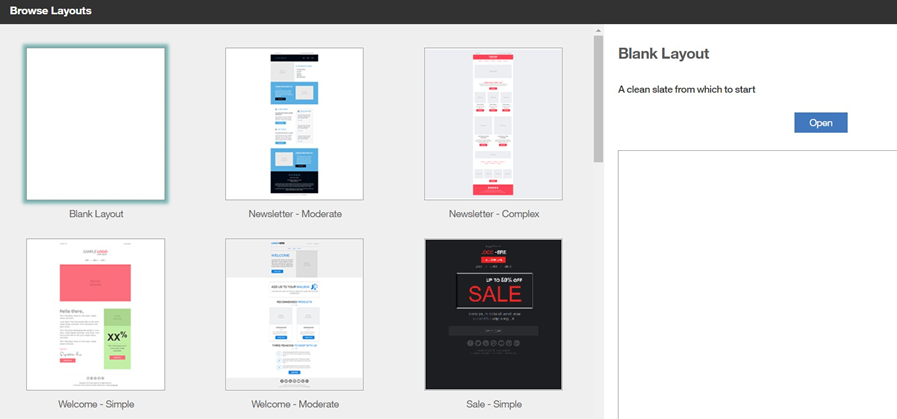
Select the Blank layout.
-
Configure the email settings as described below:
-
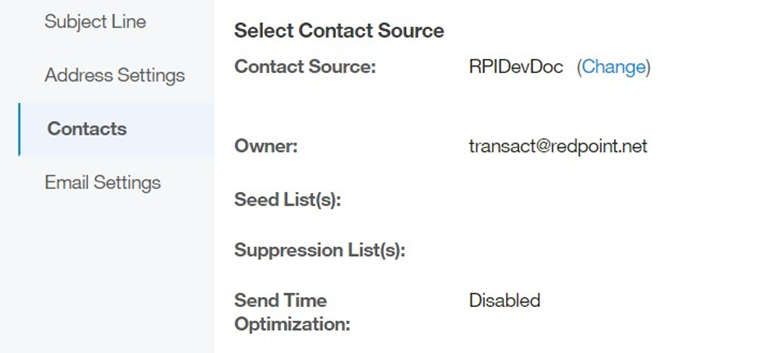
Set the Contact Source property to the Transact database.
-
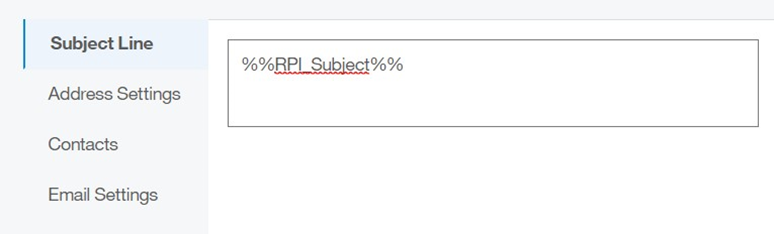
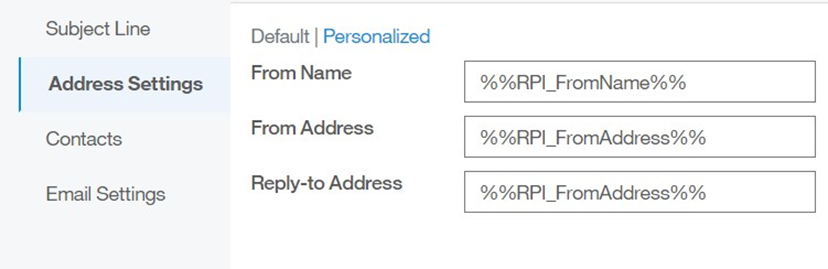
Set Subject Line to
%%RPI_Subject%%. -
Set the personalized From Name to
%%RPI_FromName%%. -
Set the personalized From Address to
%%RPI_FromAddress%%. -
Set “Click to view in Browser” to off.
-
Set the email body as follows:
-
In the HTML tab, set the body text to
%%RPI_HTML%%.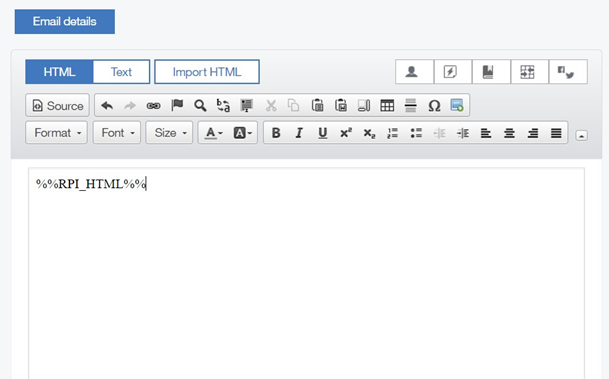
-
In the Text Only tab, set the body text to
%%RPI_TEXT%%.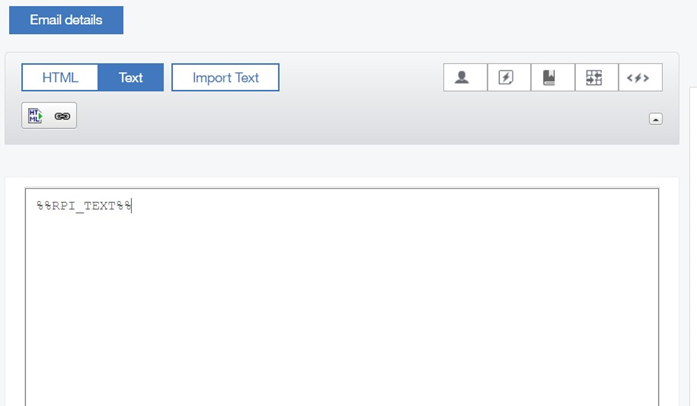
-
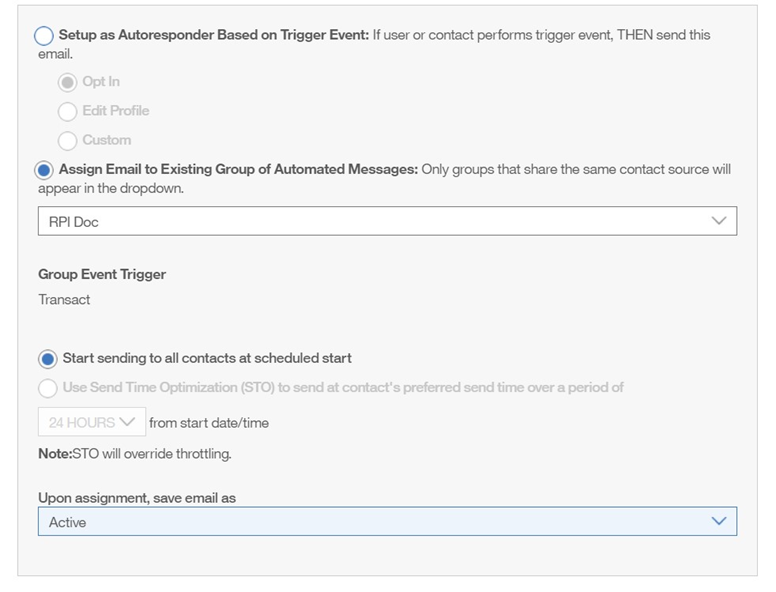
Save the email to persist the settings. Then configure the mailing body to automate send mailing by clicking the Automate button.

-
Select the Assign Mailing to Existing Group… radio button. Save the mailing as Active.
-
-
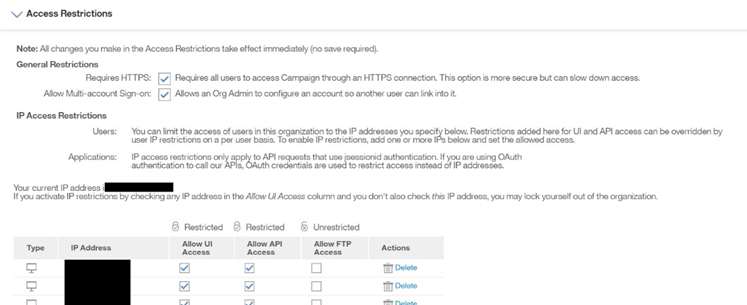
Configure the sending IP address in the Org Admin section:
-
Click on Settings > Administration > Security Settings > Access Restrictions.

-
Add new IP Address.
-
Check Allow UI Access.
-
Check Allow API Access.
-
-
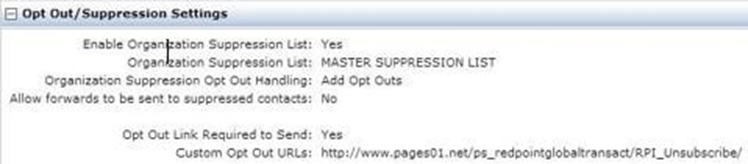
Optionally configure an unsubscribe landing page.
-
Click on Settings > Organization Settings > Opt Out/Suppression Settings.
-