

Support for this connector has been deprecated and will be removed in a future release. Refer to the Connector deprecation plan for details.
Overview
-
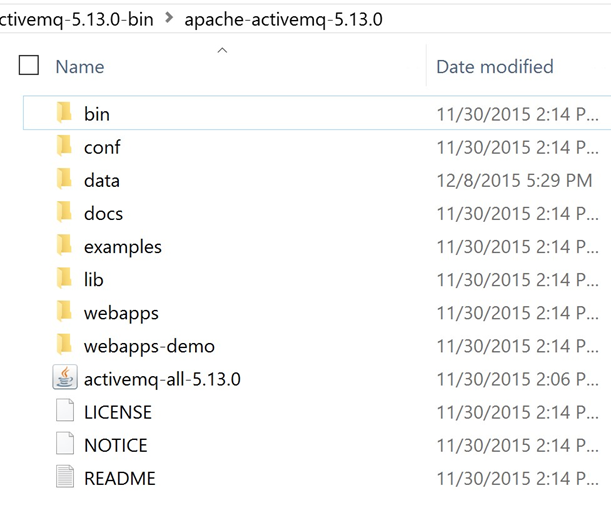
Download Apache ActiveMQ’s latest binary distribution from Apache’s website: http://activemq.apache.org/download.html
-
Unzip the download file into your choice of directory.
-
Open a Command Prompt and change directory to the bin directory of the unzipped ActiveMQ archive.

-
Type the following at the command prompt:
activemq start
Press Enter. ActiveMQ will then be running.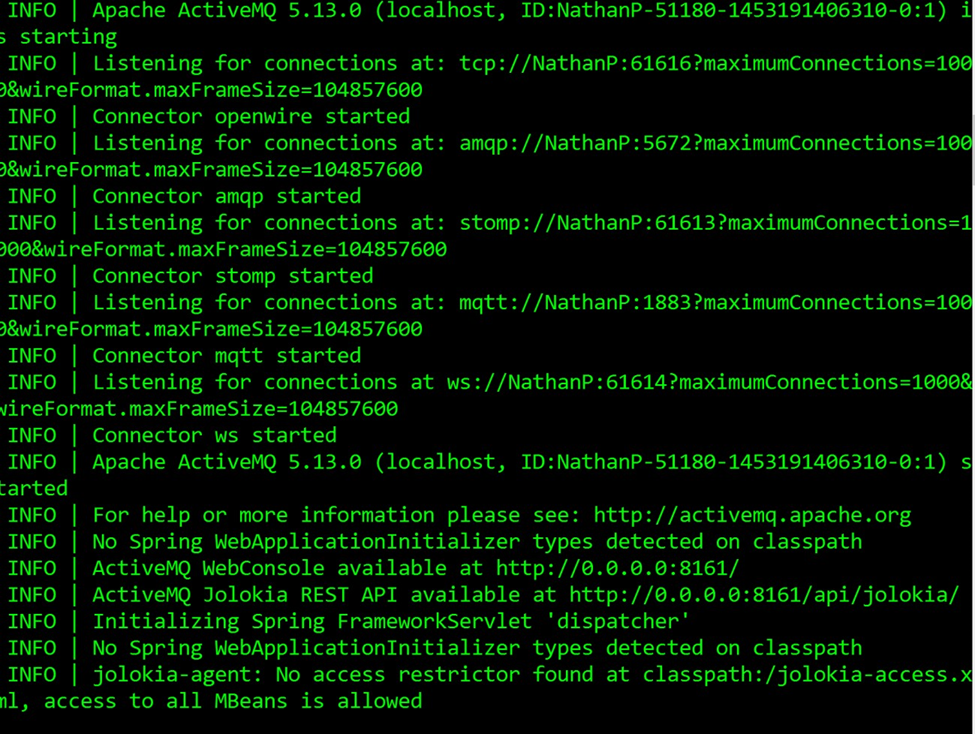
-
Take note of the following information from the command prompt window:
-
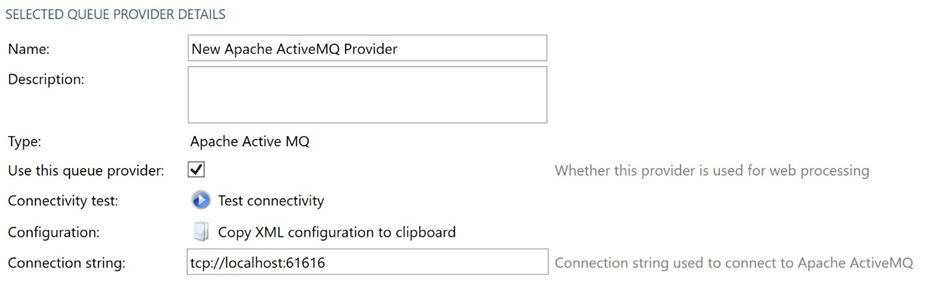
The TCP connection (tcp://NathanP:61616 in the image above). This will be used as the connection string for the Apache ActiveMQ queue provider in RPI.
-
The port number in the web console address (http://0.0.0.0:8161) – 8161.
-
-
To access the ActiveMQ web console, open a browser and navigate to http://127.0.0.1:8161 (the port indicated above).
-
Use the following default credentials to log in:
-
Username: admin
-
Password: admin
-
-
The following page will be displayed:

Install/Uninstall ActiveMQ as a Windows-NT Service
-
Navigate to the archive’s bin directory.
-
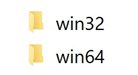
Navigate to the folder matching your system’s configuration.
-
Double-click the InstallService Windows batch file inside the folder.
-
ActiveMQ will now appear in your list of local Services.

-
To uninstall the service, go to the same folder and double-click the ‘UninstallService’ Windows batch file instead.
Using ActiveMQ as the Default Queue Provider
To use ActiveMQ as RPI’s default queue provider, the Apache.NMS.ActiveMQ and Apache.NMS assemblies must be copied to the Services Common directory.
-
Copy the assemblies from the ‘InteractionRealtimeAPI\bin’ directory of the Deployment Files archive.
-
Paste the assemblies into the ‘Redpoint Global\Redpoint Interaction\Services Common’ directory under Program Files.