

Support for this connector has been deprecated and will be removed in a future release. Refer to the Connector deprecation plan for details.
PHP Server Installation
This document outlines how to setup Concrete5.3.2 for integration with the RPI Concrete5 external content provider plugin. Please follow the steps below:
-
Install XAMPP if there is no PHP server has yet to be set up. Otherwise, skip this step. You can download the installer from https://www.apachefriends.org/index.html.
-
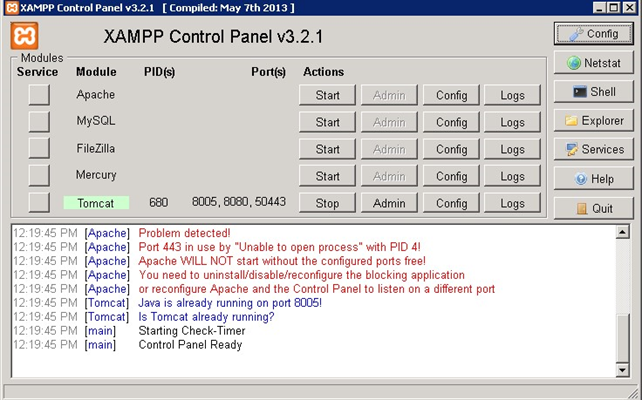
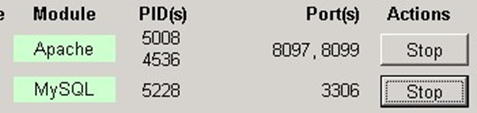
Launch the XAMPP Control Panel from the Start Menu.
-
Start Apache and MySQL. You may encounter some errors regarding port numbers. To solve them, follow the steps below:
-
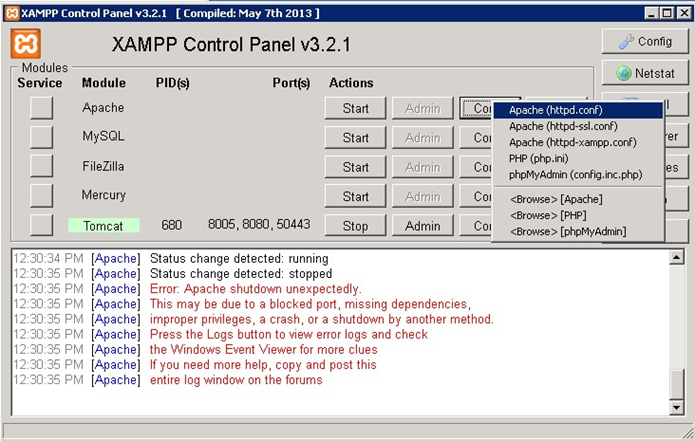
For an Apache problem, open the httpd.conf file by clicking the Config button.
-
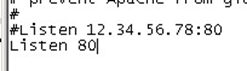
Find all instances of port 80 and replace them with your desired port number.

-
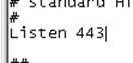
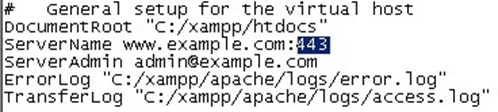
Open the httpd-ssl.conf file using the Config button. Find all instances of port 443 and replace them with your desired SSL port number.

-
-
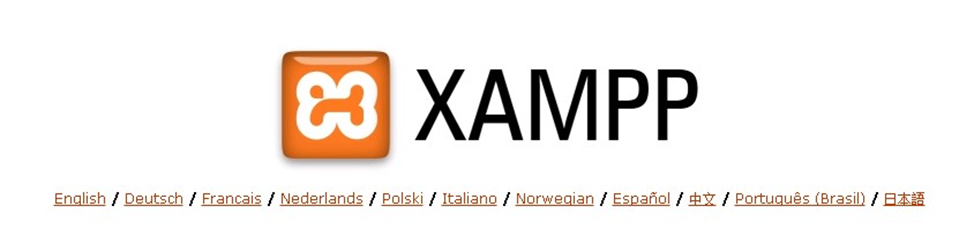
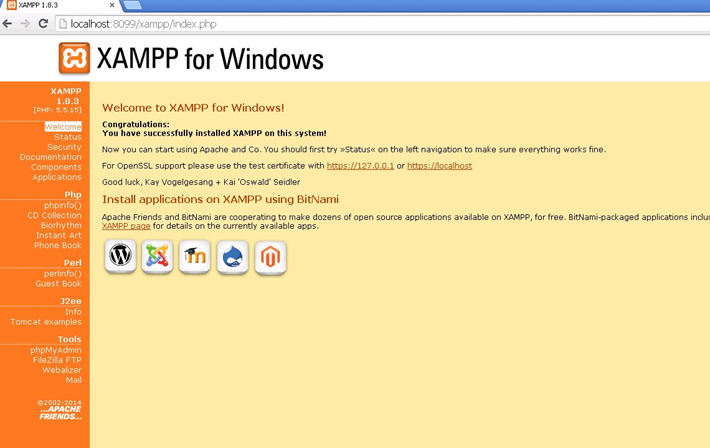
Open a web browser and browse to: http://localhost:<port number>. You should see the following page:
-
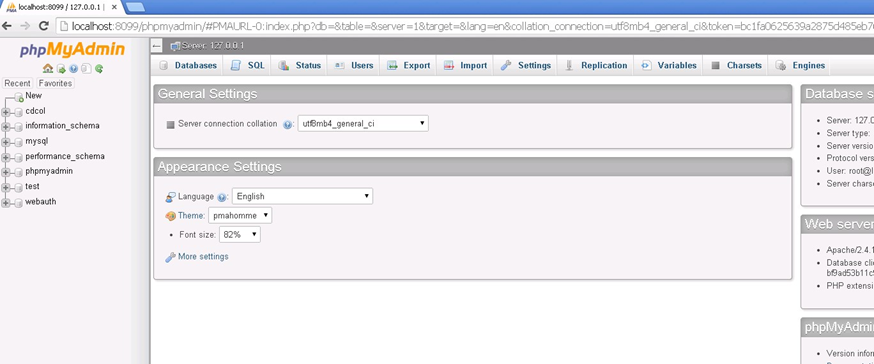
Click English and you will be taken to the following page:
-
Click phpMyAdmin under Tools from the left-hand menu. You will be taken to the following page:
-
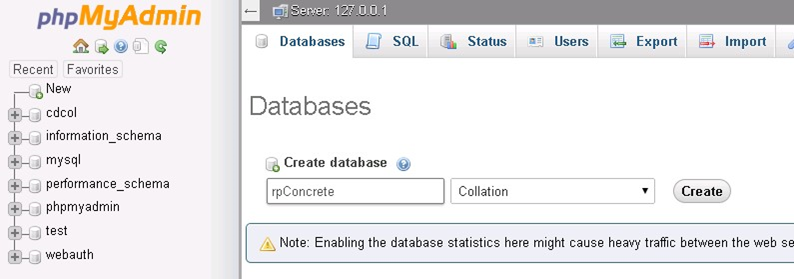
Click New. Type the database name in the right-hand panel. In the screenshot below, the database name is rpConcrete. Click Create.
Concrete5 Installation
-
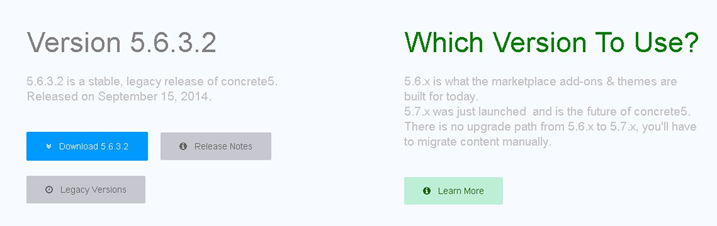
Download Concrete5.6.3.2 from: http://www.concrete5.org/get-started. Choose Version 5.6.3.2.
-
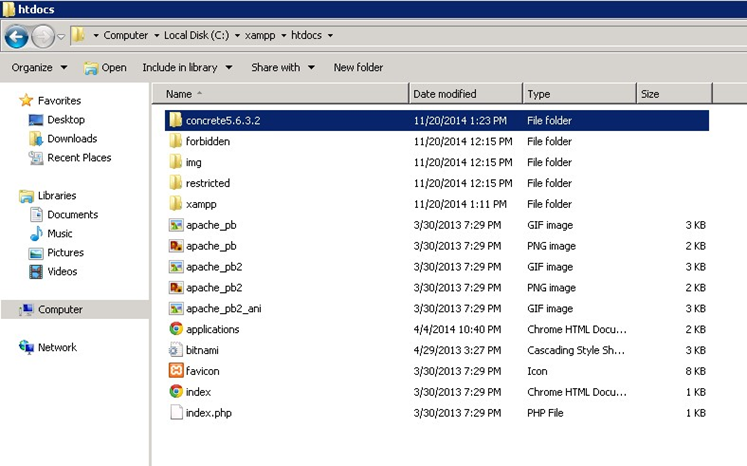
Extract the Concrete5 zip file and move it to C:\xampp\htdocs.
-
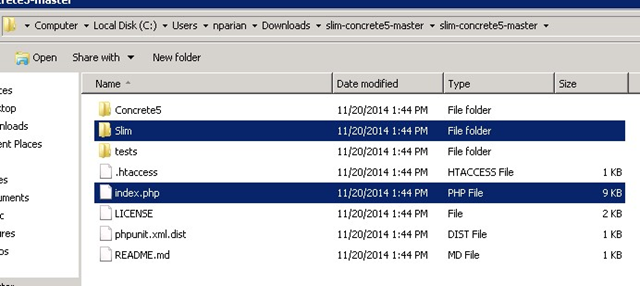
Get the Slim Framework for Concrete5 from the “DeploymentFiles\Plugins Services\Concrete5” directory of the Redpoint Interaction Deployment file”. Extract the zip file.
-
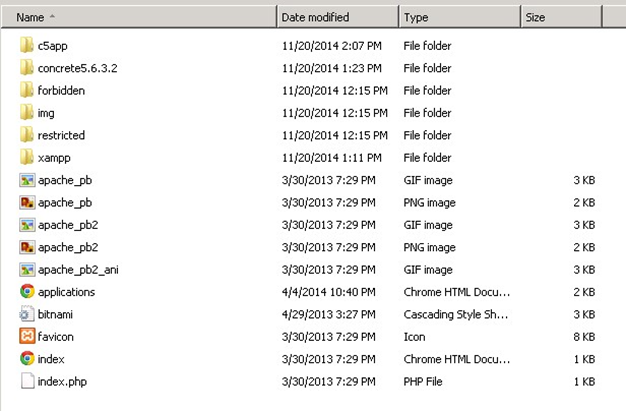
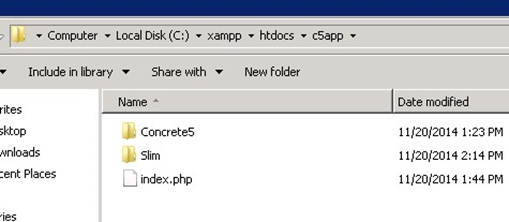
In C:\xampp\htdocs, create a new folder. In the screenshot below, it’s named c5app.
-
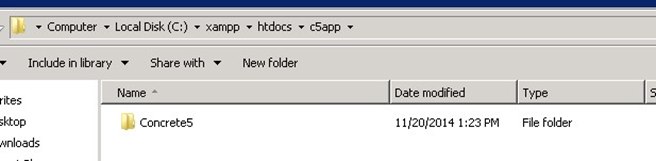
Move the Concrete5.6.3.2 folder inside c5app. Rename it to Concrete5.
-
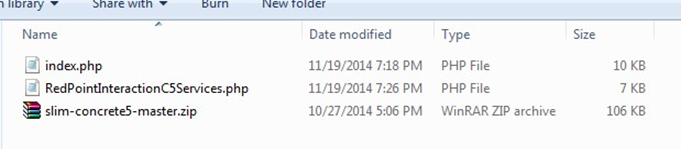
Back in the extracted Concrete5 zip file, copy the Slim folder and index.php file to the c5app folder.
-
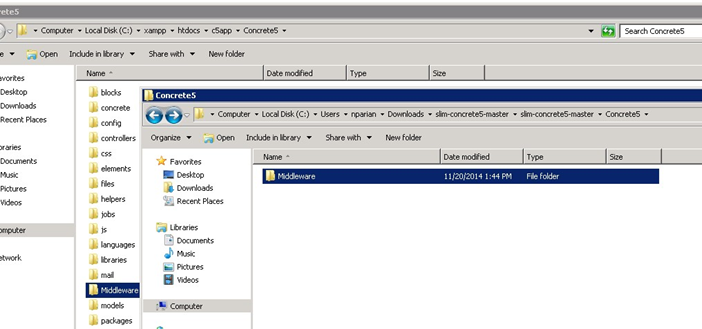
In the extracted Concrete5 zip file, copy the Concrete5\Middleware folder to the c5app\Concrete5 folder in XAMPP.
-
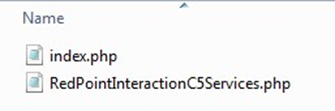
Copy the RedpointInteractionC5Services.php file from the “DeploymentFiles\Plugins Services\Concrete5” directory of the Redpoint Interaction Deployment files to the Middleware folder under c5app. Also, replace the index.php in c5app with the index.php file that came with the RedpointInteractionC5Services.php file.

-
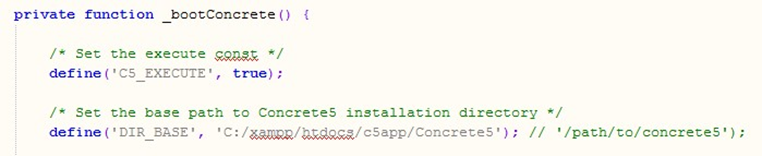
Open the Concrete5.php file and edit the DIR_BASE definition. Make sure it matches the directory you have set up.
-
Browse to http://localhost:<port>/<foldername/<concrete5folder>. The following page will be shown:
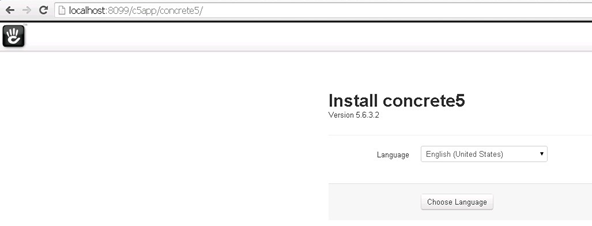
-
Choose English as the language and click the Choose Language button. In the next screen, click Continue to Installation.
-
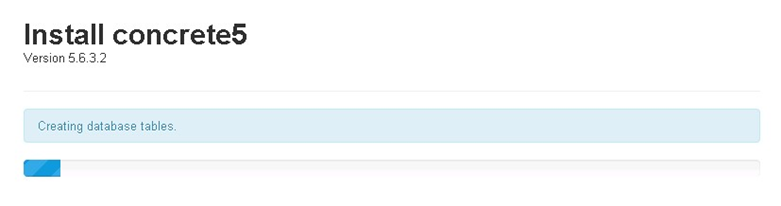
Complete the following information. Use the database you created earlier. Click Install concrete5.

-
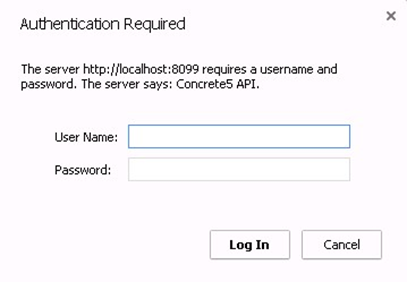
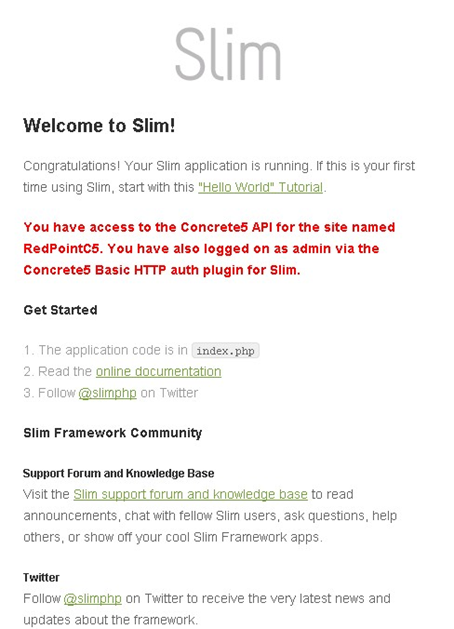
After the installation, browse to: http://localhost:<port>/<sitename>/index.php. A log-in dialog will be displayed. Type ‘admin’ in the username and your previously-selected password.
Troubleshooting installation
Installation should not take more than an hour. If you get stuck in installation with the message “Installing Dashboard”, resolve the issue with the following steps:
-
In XAMPP’s Control Panel, click the Config button for Apache and open the php.ini file.
-
Look for the variable: max_execution_time and set its value to higher than 30. (e.g., max_execution_time=180)
-
You may set also the following variables to allow large file sizes:
-
max_input_vars = 1000000
-
upload_max_filesize = 1000M o post_max-size = 1000M
-
-
Then remove “:” or “;” preceding such variables. You will also need to restart Apache.
-
In XAMPP’s Control Panel, click the Config button for MySQL and open the my.ini file.
-
Locate the lines of text below:
# The MySQL server
[mysqld] port= 3306 -
Add the text below after the ‘port’ line: lower_case_table_names = 2 default-storage-engine=MyISAM
-
Drop the database you have created then recreate it.
-
Go back to step #10 of this guide.
Concrete5 Management
To browse to a Concrete5 instance:
-
Navigate to: http://localhost:[port]/[sitename]/Concrete5. (e.g., http://localhost:8099/c5app/Concrete5/). You will see the page below:
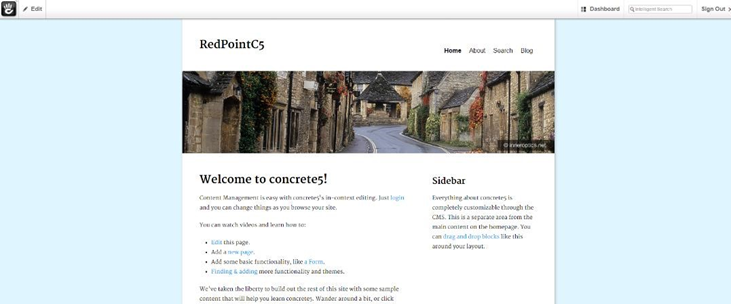
-
Click on Dashboard at the upper right to bring up the Dashboard Panel.

-
Click File Manager under Files to view the files uploaded to Concrete5.
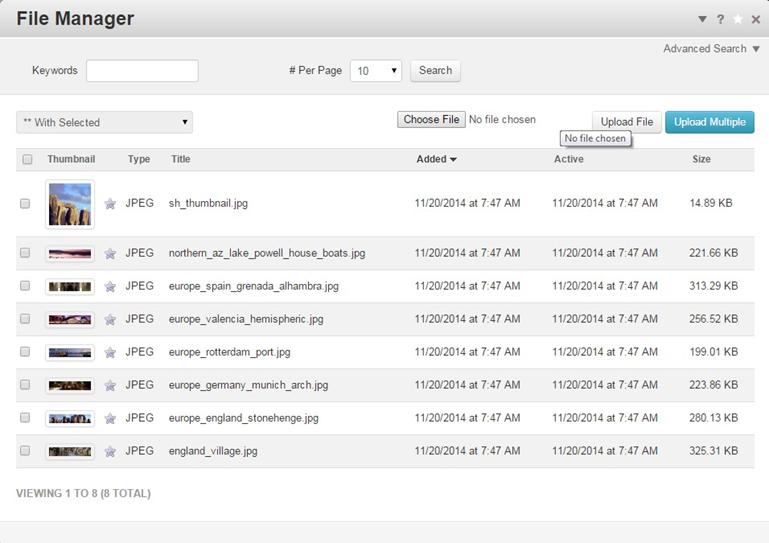
To upload a single file:
-
Click Choose File.
-
After selection, click the Upload File button.
-
To upload multiple files at the same time, click Upload Multiple and a new dialog box will appear.

Folders are called Sets in Concrete5. In the Dashboard dialog, click File Sets under Files.
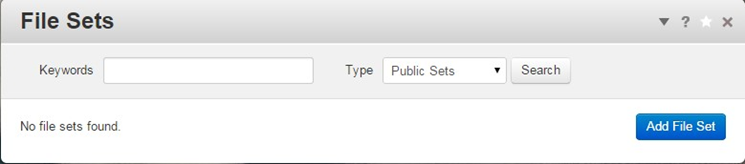
To create a Set:
-
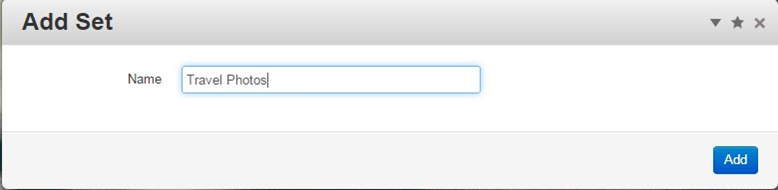
Click the Add File Set button.
-
Then type the Set name and click Add.

To assign a file into a set:
-
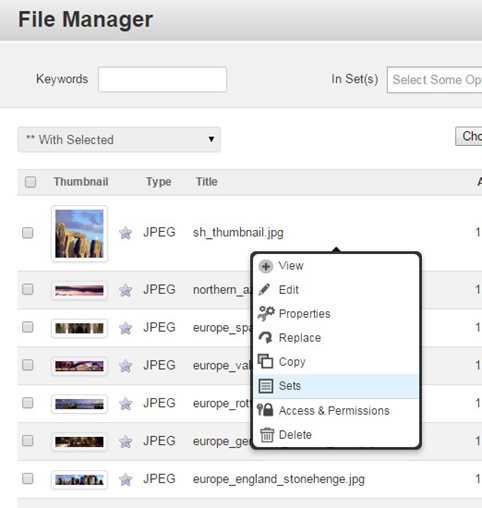
Go back to the File Manager.
-
Click on the file and choose Sets from the drop-down menu.
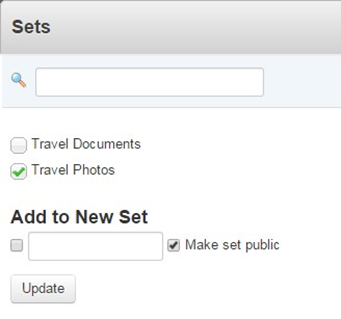
-
In the Sets Window, the set(s) where the file will be assigned to and click Update.
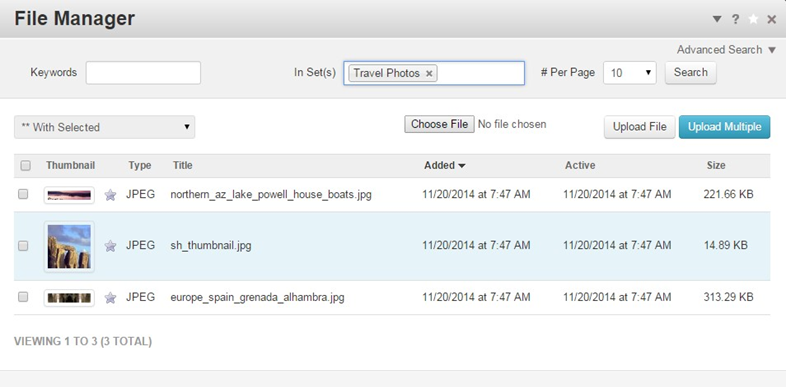
To view files in a specific set:
-
Click the In Set(s) textbox.
-
Select the Set from the choices.

Concrete5 Users and Groups
To create a new Concrete5 user:
-
Open the Dashboard.
-
Under Members click Search Users.
-
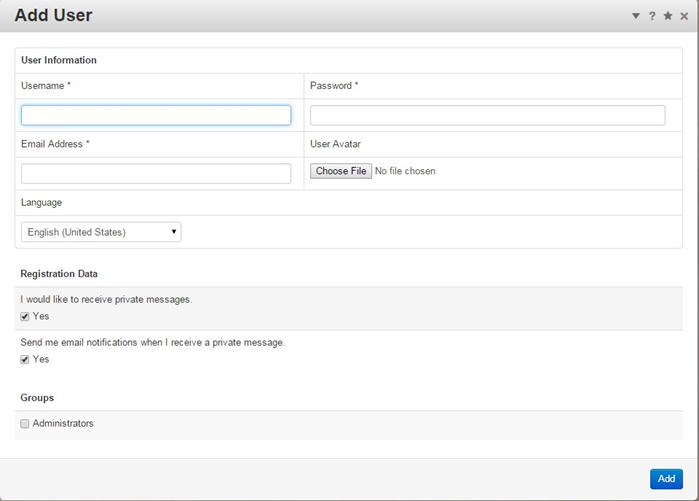
In the Search User dialog, click the Add User button.
-
Complete the information in the Add User dialog.
To create a User Group:
-
Open the Dashboard.
-
Under Members click User Groups.
-
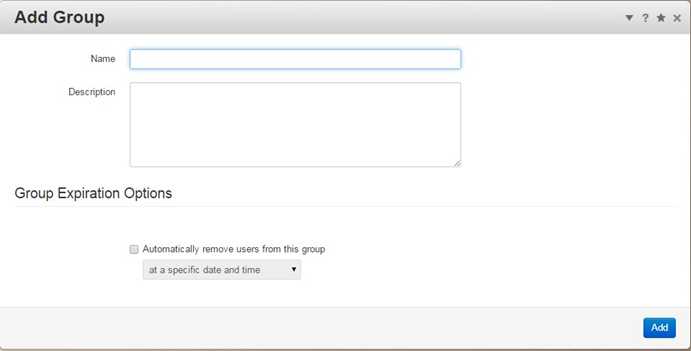
In the Groups dialog, click the Add Group button.
-
Complete the information in the Add User dialog.
To assign a user to a group:
-
Open the Dashboard.
-
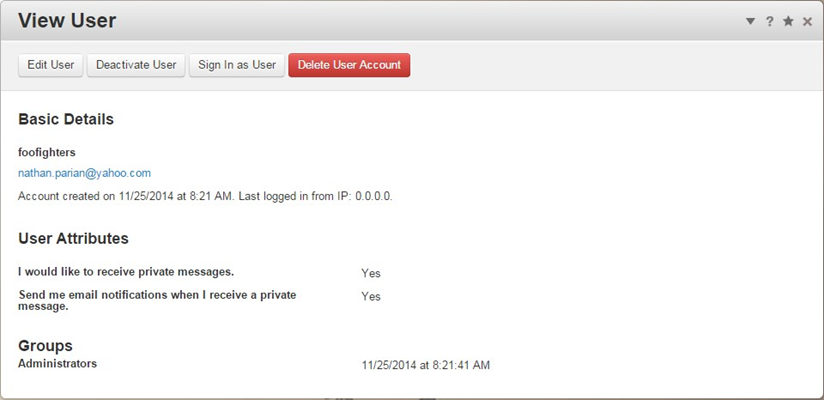
Under Members, click Search Users and select the user you want to assign to a group.
-
In the View User dialog, click Edit User.
-
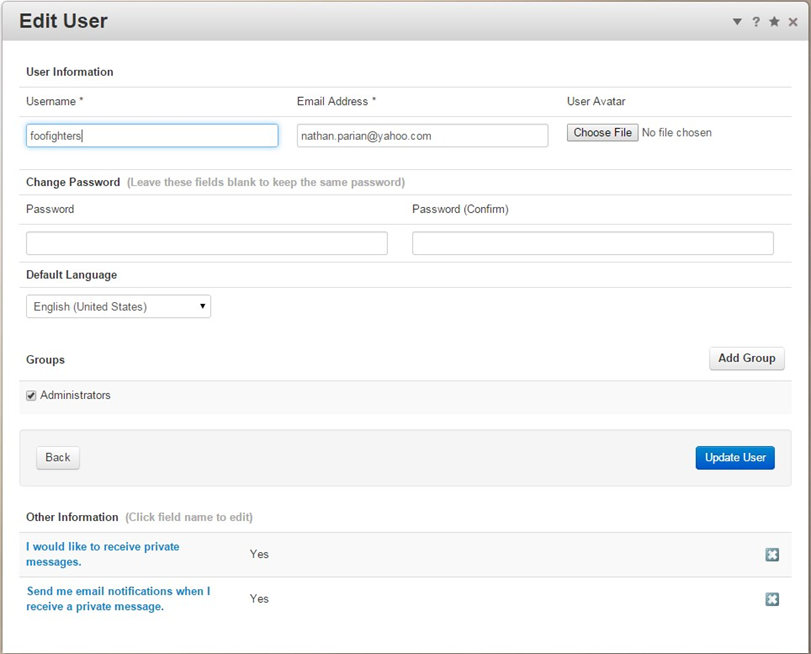
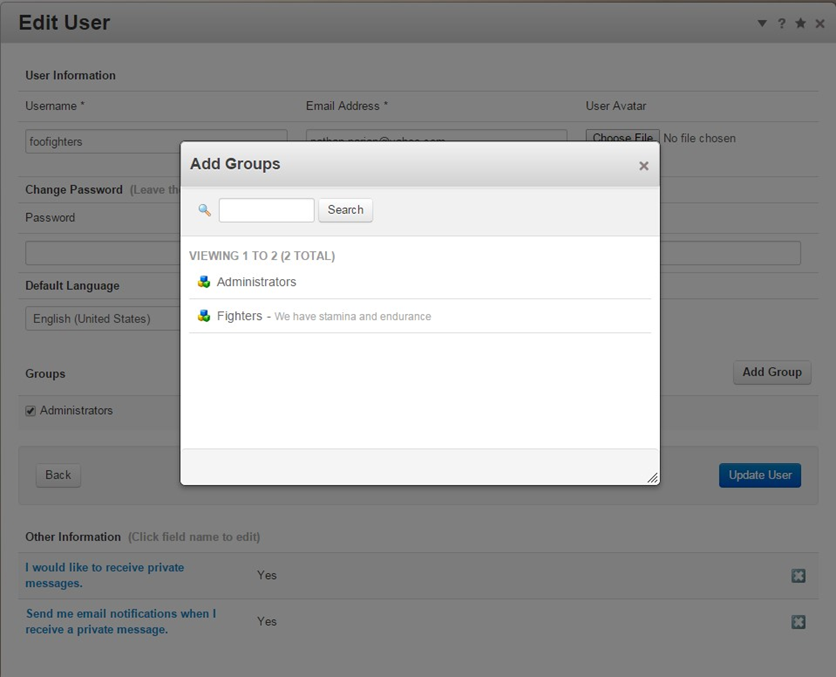
In the Edit User dialog, click the Add Group button.
-
Select the group to add in the Add Groups dialog.
-
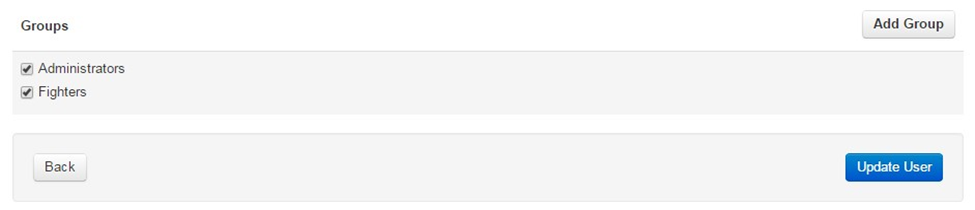
The newly selected group should now be listed in the Edit User dialog.
-
Click the Update User button.
Concrete5 System & Settings > Allowed File Types
To add a file type/extension:
-
Open the Dashboard.
-
Click System & Settings.
-
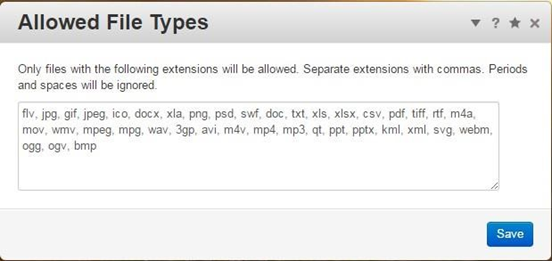
In the Permissions & Access section, click Allowed File Types.
-
Type your file extension(s) and hit the Save button.
-
Only files with the declared extensions will be allowed.
-
Separate extensions with commas.
-
Periods and spaces will be ignored.
-