

Amazon Pinpoint Push Notifications Configuration
This section describes how to create and configure the Amazon Pinpoint Push Notifications project in Amazon Web Services (AWS), with the assumption that an AWS account has already been provisioned.
Creating new Amazon Pinpoint Push Notifications project
-
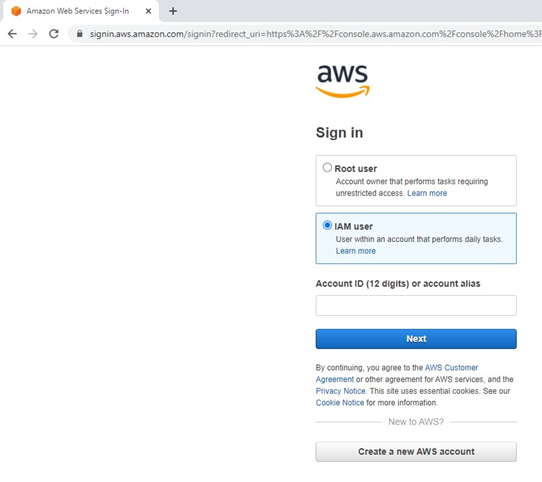
Login to the Amazon Web Services management console, by navigating to https://console.aws.amazon.com/iam/
-
Select IAM User option and provide your Account ID or Account Alias. Click the “Next” button:
-
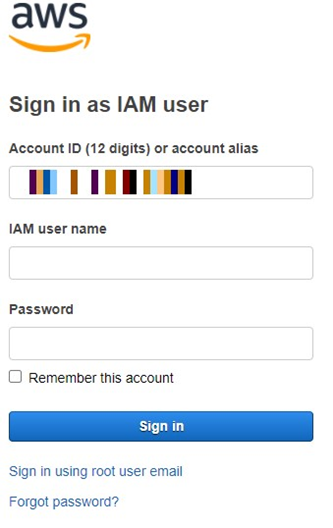
Provide your IAM username and password. Click the “Sign in” button.
-
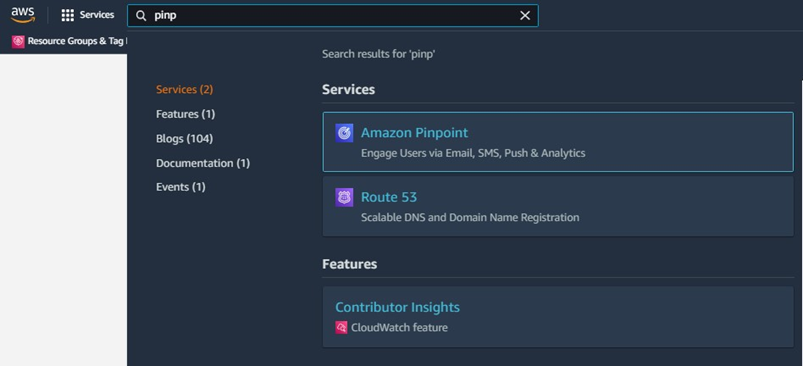
Upon successful login to the AWS management console, navigate or search for the Amazon Pinpoint service, and click on the link:
-
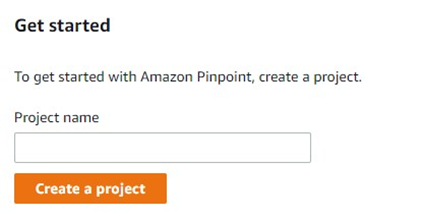
Within the Amazon Pinpoint management console, create a new project by entering the project name and then click the “Create a project” button.
-
In the “Configure features” page, click the “Configure” button within the Push Notification tile:
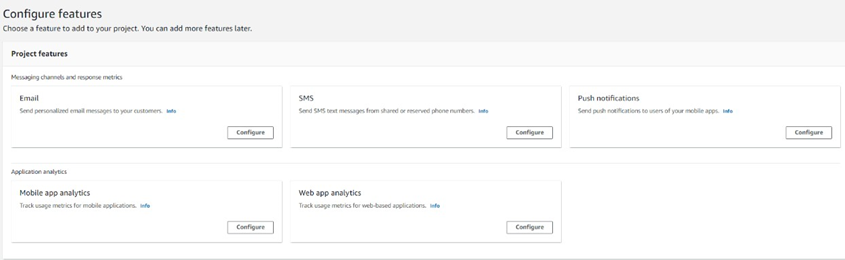
-
Expand Push notifications services and set up each push notification service by providing the required credentials. Once updated, click the “Save” button:
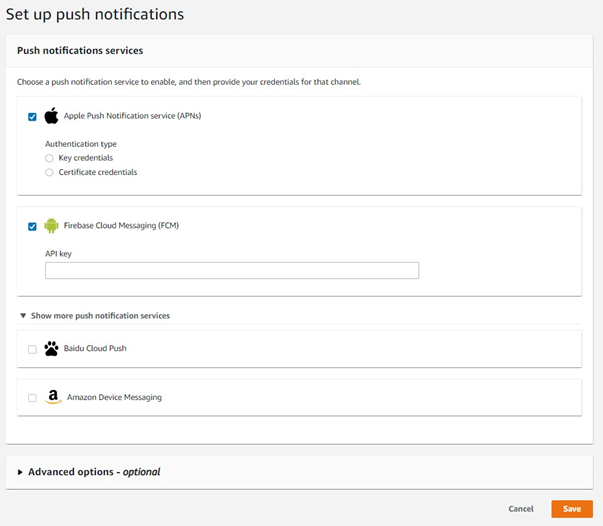
-
Create the Pinpoint import Segment ARN role by following the steps covered in the documentation provided by AWS in these two links:
The Pinpoint Segment ARN role name will be used in the Amazon Pinpoint Push Notification channel configuration, under the “Segment role ARN” setting.
The role must have the necessary permissions to access the Amazon S3 bucket folder that is configured for the channel.