Support for this connector has been deprecated and will be removed in a future release. Refer to the Connector deprecation plan for details.
Creating and Configuring a Google Project
This section describes how to create and configure a new Google project. Please follow the steps below:
-
In a web browser, log into the Google API console (https://code.google.com/apis/console) using a Gmail account.
-
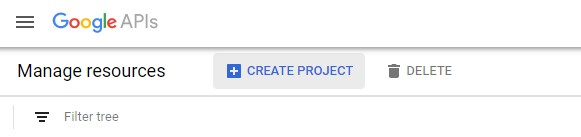
If this is your first time accessing the Google Developer Console, create a new project by clicking the Create Project button. If not, skip this step.
-
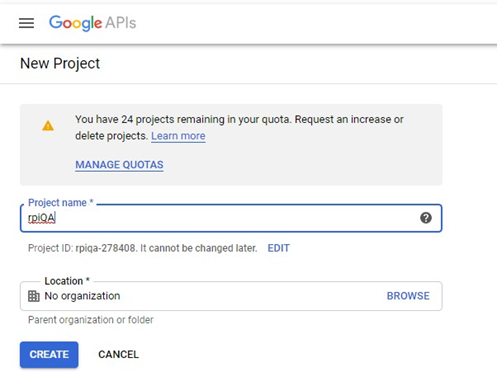
Enter the name of the project and click the Create button.
-
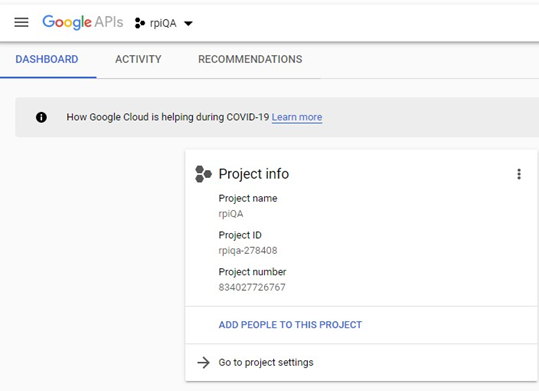
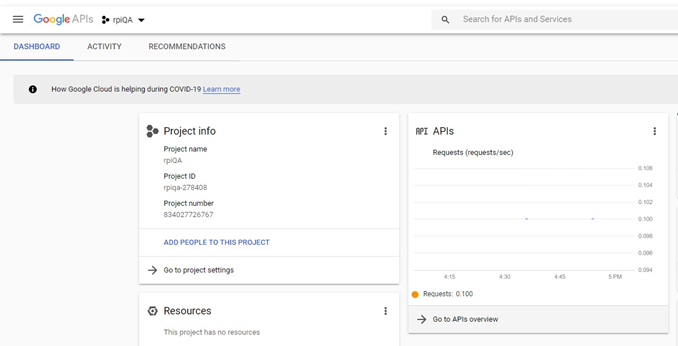
Once you have successfully created the project, double-click the Project Name.
Enabling the Google Drive API
This section describes how to enable the Google Drive API. Please follow the steps below:
-
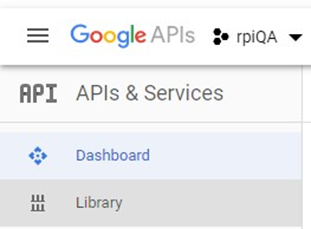
From Google Project’s dashboard click Go to APIs overview > Library.
-
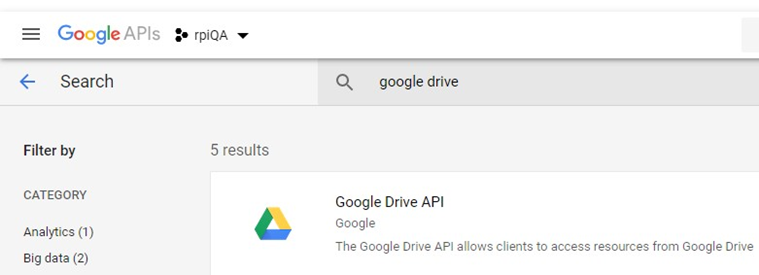
In the API Library, search for Google Drive.
-
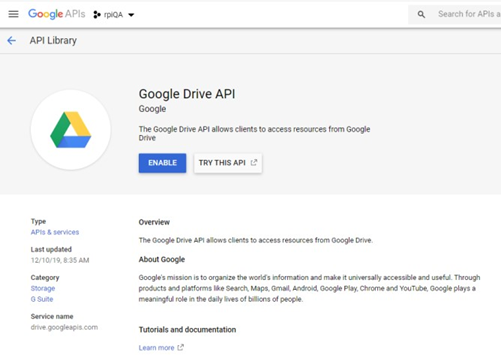
Once Google Drive has been found, click Google Drive API and Enable.
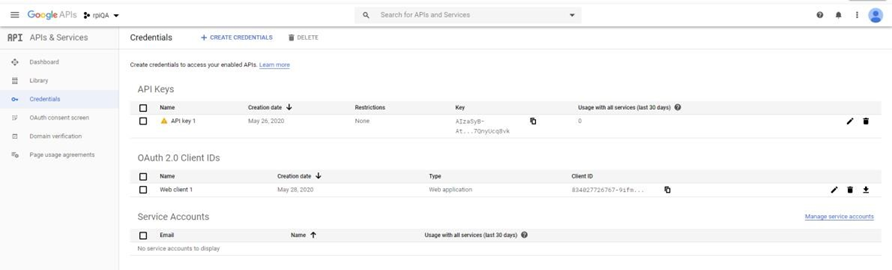
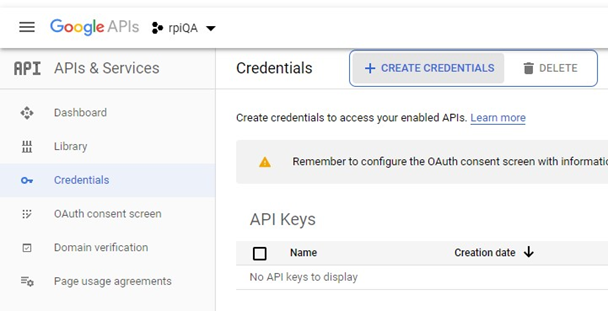
Provisioning New API Credentials
This section describes how to provision the Google Drive API to be utilized in Redpoint Interaction’s Google Drive external content provider.
-
From Google Project’s dashboard click Go to APIs overview > Credentials.
-
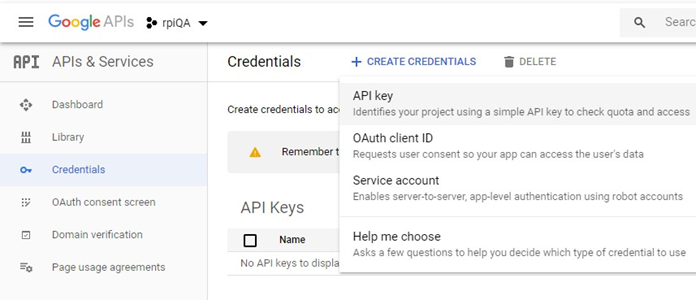
Click Create Credentials and choose API Key.
-
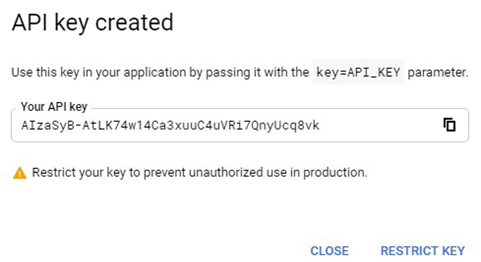
Take note of your newly created API key.
-
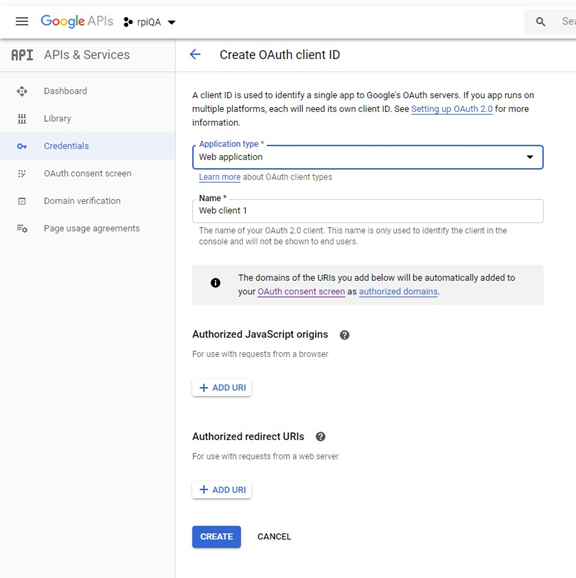
Return to the Credentials tab, click Create credentials and choose OAuth client ID.

-
Click New Credentials, then select OAuth client ID.
-
Note: If you are unsure whether OAuth 2.0 is appropriate for your project, select Help me choose and follow the instructions to pick the right credentials.
-
Select the appropriate application type for your project and enter any additional information required. Application types are described in more detail in the following sections.
-
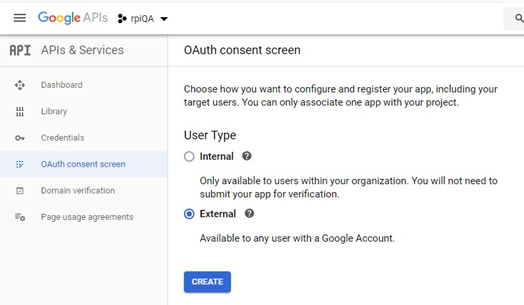
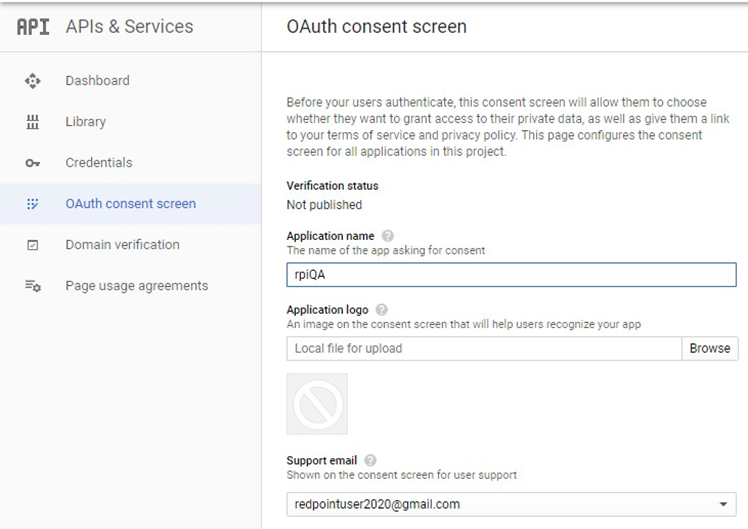
If this is your first time creating a client ID, you can also configure your consent screen by clicking Consent Screen. (The following procedure explains how to set up the Consent screen.) You will not be prompted to configure the consent screen after you do it the first time.

-
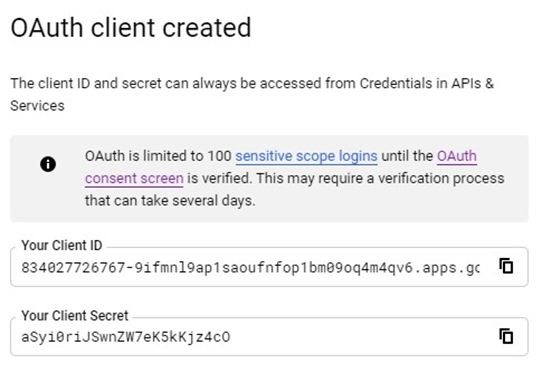
Click Create to create client ID.
-
To delete a client ID, go to the Credentials page, check the box next to the ID, and then click Delete.