Support for this connector has been deprecated and will be removed in a future release. Refer to the Connector deprecation plan for details.
Overview
This section shows how to setup your Instiller account to configure the RPI Instiller email channel plugin. Please follow the steps below:
Account Provisioning and Signing In
Provisioning an Instiller account requires liaison with an Instiller representative.
This section describes how to login to the Instiller portal. Please follow the steps below:
-
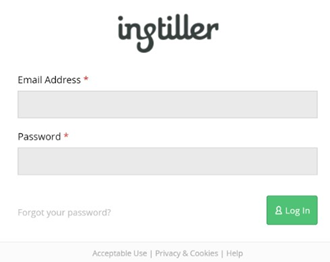
In a web browser, log onto the provisioned Instiller portal using the URL provided by your Instiller representative. At the login page, enter your username and password.
-
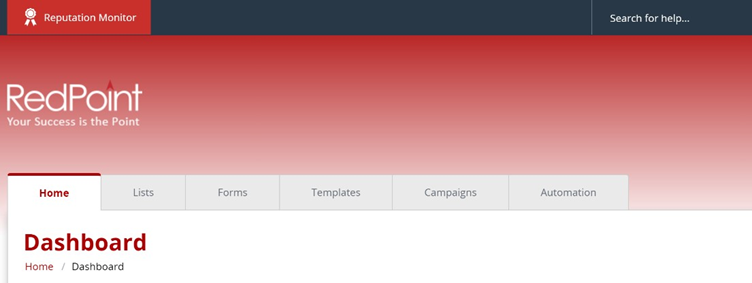
Having successfully logged into the portal, you will be redirected to the main page of the portal as shown below.
Field Maps Configuration
-
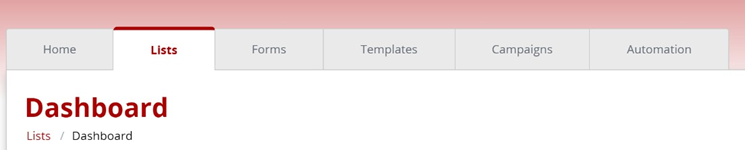
In the main portal page, show the Lists tab.
-
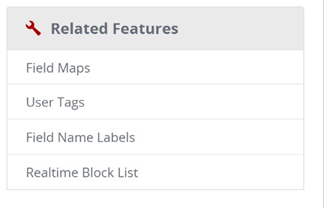
Click Field Maps in the Related Features section.
-
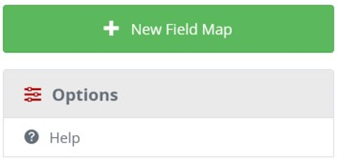
In the Field Maps section, click New Field Map.
-
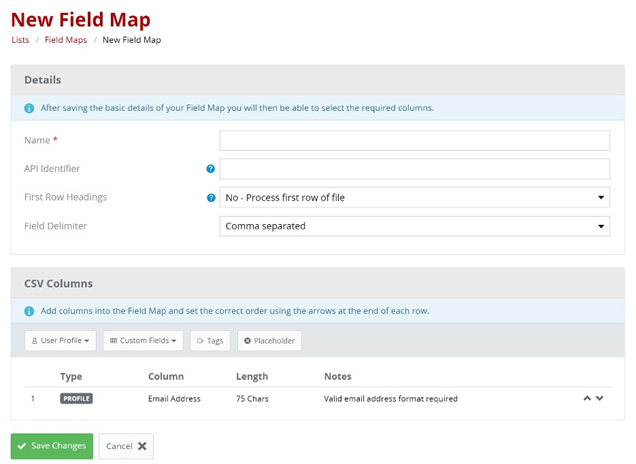
In the New Field Map section, supply the required fields. In this case, you must supply values for Name and API Identifier. Do not change the default value of First Row Headings and Field Delimiter.
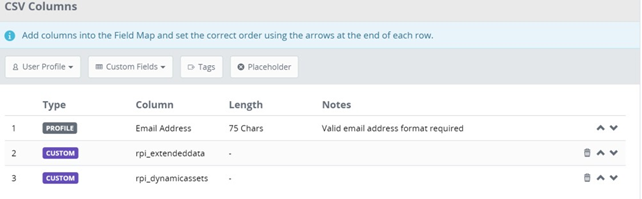
In the CSV Columns section, you must create custom fields with the following names:
-
rpi_extendeddata
-
rpi_dynamicassets
-
Click Save Changes to create the new Field Mapping. Take note of the API Identifier, as you will use its value as the Field mappings identifier when configuring the RPI Instiller channel plugin.
Setting Up the Time Zone
-
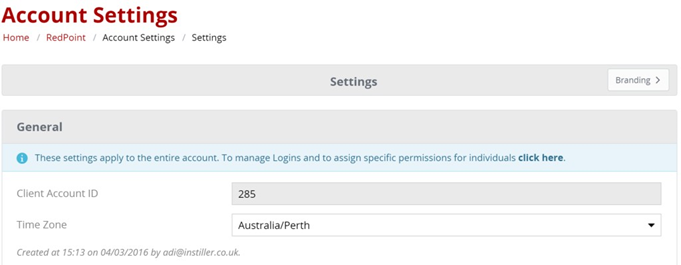
In the main portal page, click Account Settings.
-
In the Account Settings section, set the appropriate time zone.