

Overview
When installing roles, Server Workbench must be run on the machine where the roles are to be installed.
Every role within an RPI server cluster supports the Node manager role. In addition, each role can support one or more of the following roles:
-
Web services
-
Windows services
-
Help files
The Web services role is automatically installed at a new cluster core’s initial node.
Having created an initial node (by installing the core), or having added and installed a local node, you can start the process of choosing and installing addition roles by clicking the Install Roles context menu button, displayed when you hover over the node.
When you do so, the Install Roles overlay is shown:
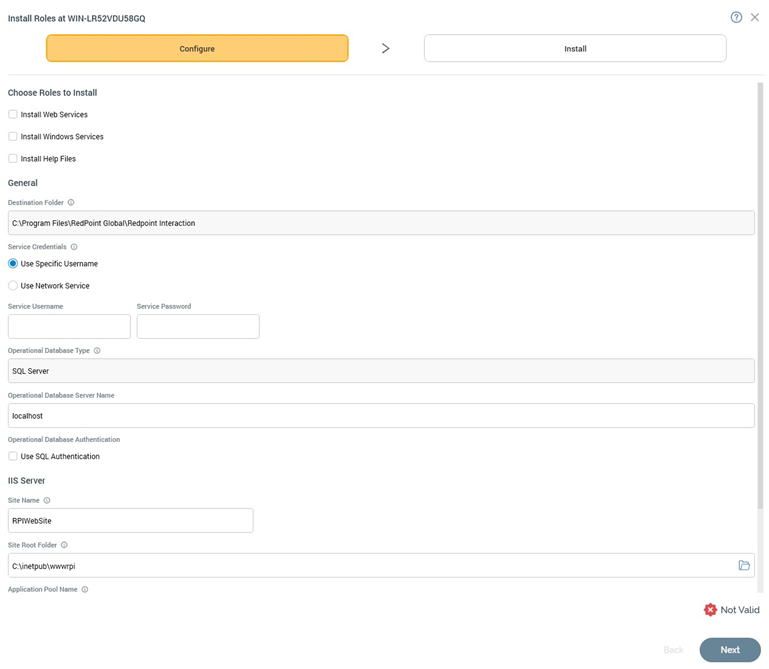
Install Roles at [Server Name] Section
Installation of node roles is carried out in a wizard style, using two sub-interfaces:
-
Configure
-
Install
A graphical representation of current progress through the wizard is displayed within the top section:
Configure Sub-interface
The Configure sub-interface allows you define a series of properties required by Server Workbench in advance of installing node roles:
It consists of Choose Roles to Install, General and IIS Server sections.
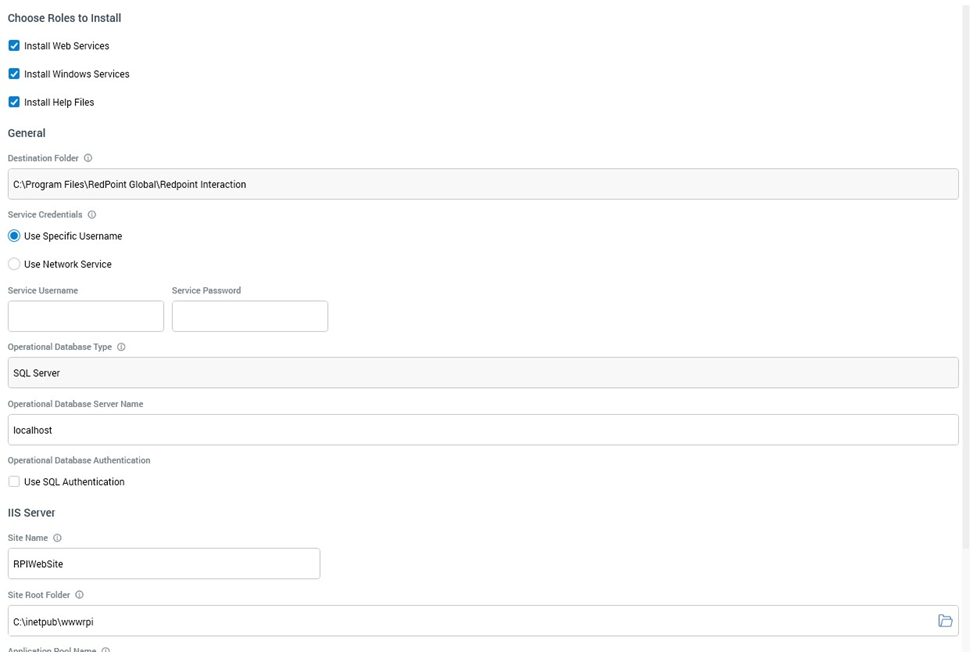
Choose Roles to Install
This section allows you to choose which roles you wish to install at the node. A series of checkboxes, all unchecked, are displayed, and you can check the roles to be installed.
-
Install web services
-
Install Windows services
-
Install help files
Note that, if installing roles at the initial cluster node, the web services role will already have been installed. If you attempt to install a service that has already been installed, you will receive an error.
General
This section displays a series of properties required prior to commencing role installation:
-
Destination folder: this read-only field is set to the same path specified when installing the Node Manager service on the node in question.
-
Service credentials: two radio buttons are available:
-
Use specific username: selected by default. When chosen, you can provide a domain username (with sufficient privileges), that will be used to run the Windows services role. An optional Password can also be supplied.
-
Use Network Service: when selected, Windows services will run under the current machine’s Network Service account. The account must be a member of the local Administrators group.
-
-
Operational database type: read-only; defined when installing the core.
-
Ops. database server name: the name of the server on which core operational databases are installed.
-
Use SQL authentication: when unchecked, operational database connection will be made using Windows authentication. When checked, a login username and optional password can be provided instead.
IIS Server Section
The fields within this section are only displayed when Install web services and/or Install help files is/are checked:
-
Site name: defaults to ‘RPIWebSite’
-
Site root folder: defaults to ‘C:\inetpub\wwwrpi’
-
Application pool name: defaults to ‘RPIAppPool’
-
Certificate hash: you can click Choose certificate hash to display the Choose Server Certificate dialog:
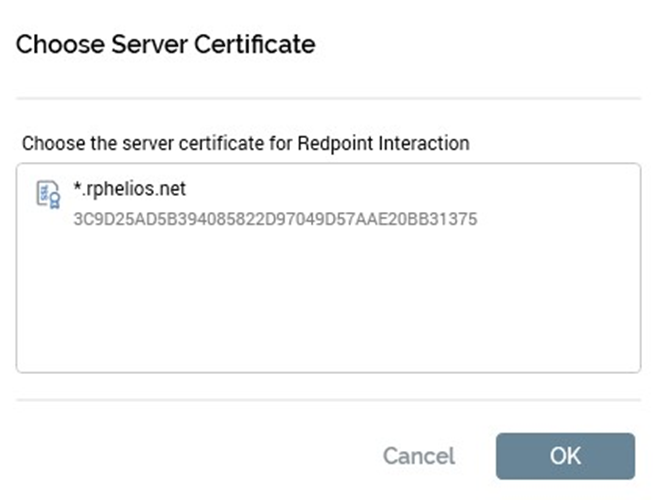
On selection of a certificate, its unique hash value is displayed in the field. Alternatively, you can specify a certificate hash value manually.
Validation
If you have not correctly completed the mandatory fields within the Configure sub-interface, a validation errors indicator is displayed to the bottom right:
Clicking the indicator displays details of the errors in a dialog.
You cannot progress to the Install interface when outstanding validation errors remain.
If the configuration is valid, this indicator is shown:
You may now move to the next wizard step.
Navigation
You can move forwards through the Install Roles wizard by clicking on the Next button at the bottom right. Doing so displays the Install sub-interface.
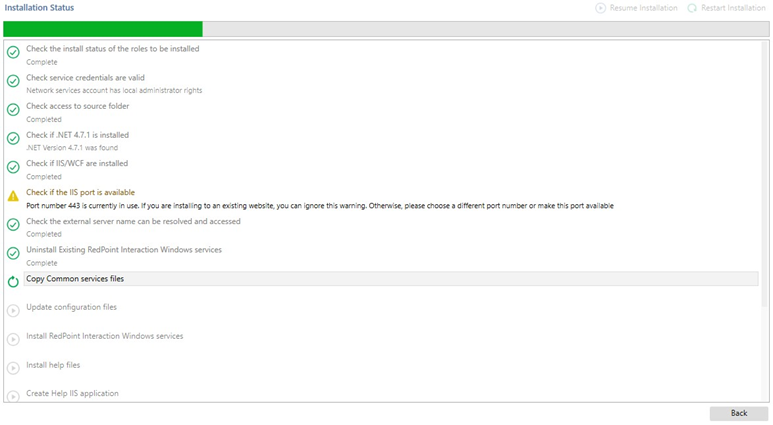
Install Sub-interface
This interface is used to provide visibility of the tasks executed during installation of node roles.
Toolbar
Two buttons are shown at the toolbar:
-
Resume Installation: this button is available when the installation’s status is Has Been Paused on Warnings. It allows you to carry on the installation at the point where the warning occurred.
-
Restart Installation: this button is available when the status is one of Completed with Warnings or Has a Dependent Job with Errors. It allows you to repeat the installation steps from the beginning.
Installation Steps
A series of steps are performed to install the selected roles. The exact steps undertaken depend on the roles being installed.
Navigation
On completing the installation, the Next button, displayed at the bottom right, is replaced by a
Finish button. Clicking Finish closes the Install Roles overlay and displays the Server
Workbench tab set, which includes all tabs. The node at which the role(s) was/were installed is shown as Online, and its new roles are displayed therein.
If you click Finish prior to completing the installation, you will be advised to wait until all steps are complete.
You can return to the Configure sub-interface using the Back button.