Support for this connector has been deprecated and will be removed in a future release. Refer to the Connector deprecation plan for details.
Create Yahoo! Japan Account
This section shows how to acquire and manage a Yahoo! Japan Business account. You may skip steps #1-2 if a Yahoo! Japan Business account has already been provisioned.
-
To provision a new Yahoo! Japan Business account, please navigate to https://support.yahoonet.jp/PccBizmanager/s/.
-
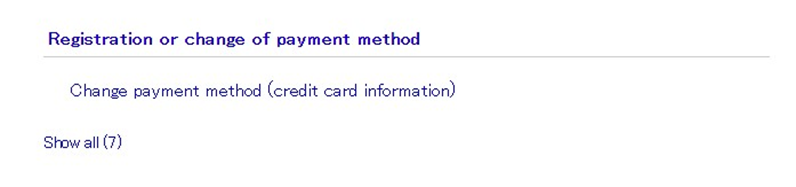
In the Help/Contact page. Find “Registration or change of payment method”. Click “Show all” and follow the steps provided.
Create OAuth Application
-
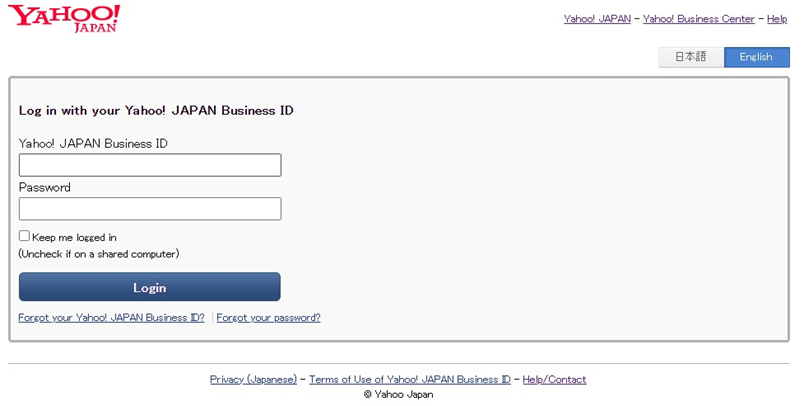
Login to your Yahoo! Japan Business account by navigating https://login.bizmanager.yahoo.co.jp/ in your web browser.
-
In the login page, provide the Business ID and password.
-
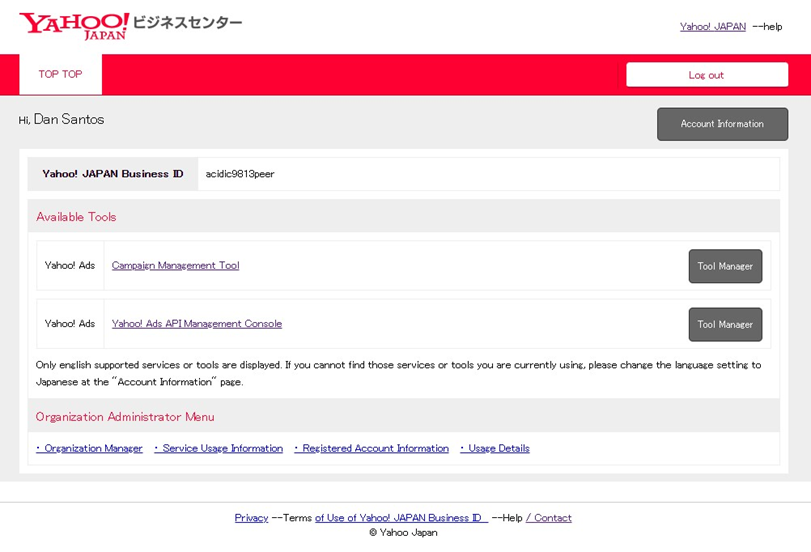
Upon successful login, click “Yahoo! Ads API Management Console” to create a new OAuth application, which is required to interact with their APIs.
-
Within the “Added applications” tab, click the “Add a new” button and follow the steps provided.

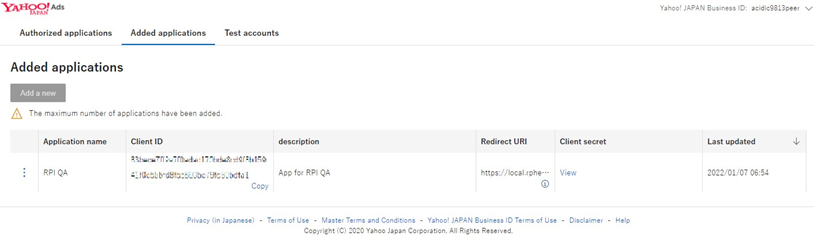
Retrieve OAuth Application Credentials
-
Once the OAuth application has been created, the following application details will need to be noted for Step 2:
-
Client ID
-
Client secret
-
Redirect URI
-
-
Using the values captured in Step 1, create new Yahoo! Japan channel data connector within Redpoint Interaction and paste the values of Client ID, Client secret and Redirect URI in the channel configuration.

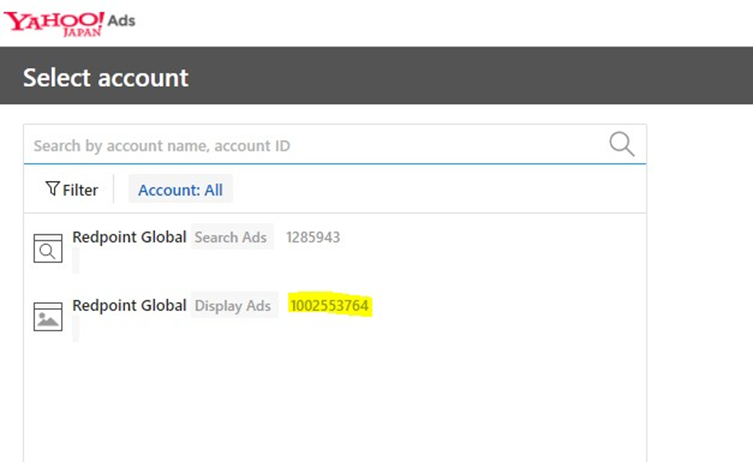
Retrieve Yahoo! Japan Account ID
-
To retrieve the value of “Account ID”, click “Campaign Management Tool”. If you have not yet created an Account, please proceed to step #3.
-
In the “Select account” page, you will find the “Account ID” within the Display Ads account.
-
Capture this value for use when creating new Yahoo! Japan channel data connector in RPI.
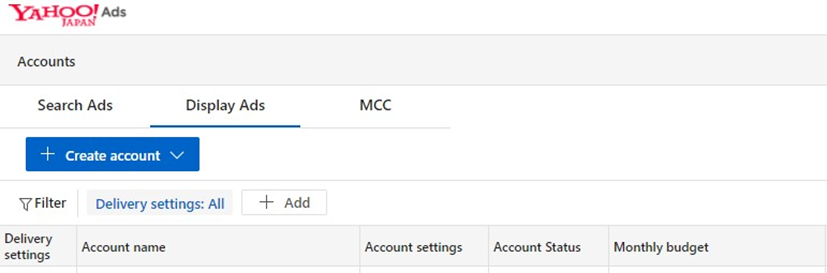
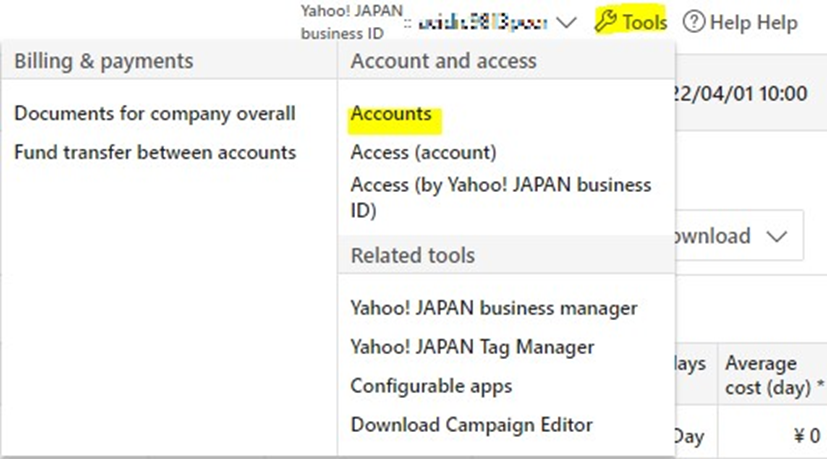
Create New Yahoo! Japan Ads Account
-
To create a new Yahoo! Ads account, click “Tools” menu on the upper right corner of the main page and click “Accounts”.
-
Click Display Ads tab and click Create account button. Follow the steps provided within the portal for creating a new account.