

Support for this connector has been deprecated and will be removed in a future release. Refer to the Connector deprecation plan for details.
Overview
This section describes how to create and configure Amazon Pinpoint SMS project in Amazon Web Services (AWS). Assuming you have already an Amazon Web Services account, please follow the steps below.
Creating new Amazon Pinpoint SMS project
-
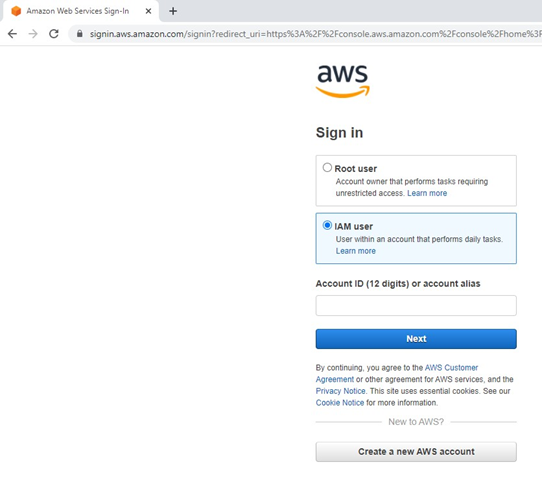
Log into to your Amazon Web Services management console by navigating to https://console.aws.amazon.com/iam/
-
Select IAM User option and provide your Account ID or account alias. Click Next.
-
Provide your IAM username and password. Click Sign in.
-
Once you have logged in successfully, you will be redirected to AWS management console. In the services search box, look for Amazon Pinpoint. Click Amazon Pinpoint.

-
If you are using an existing Amazon Pinpoint project, proceed to step #9.
-
You will now be redirected to Amazon Pinpoint management console. To create new project, enter the project name and click Create a project.
-
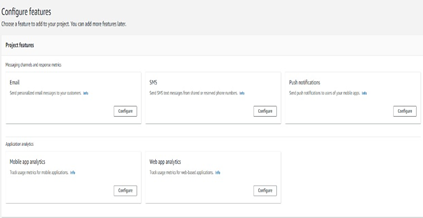
In the Configure features page, configure SMS. Click Configure button.
-
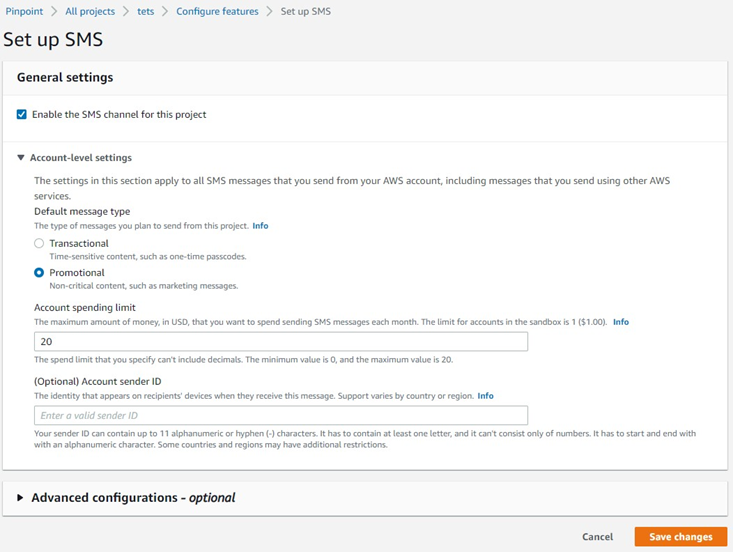
Select Enable the SMS channel for this project option. You may leave other settings as it is. Click Save changes.
Enabling Amazon Pinpoint SMS on existing project
-
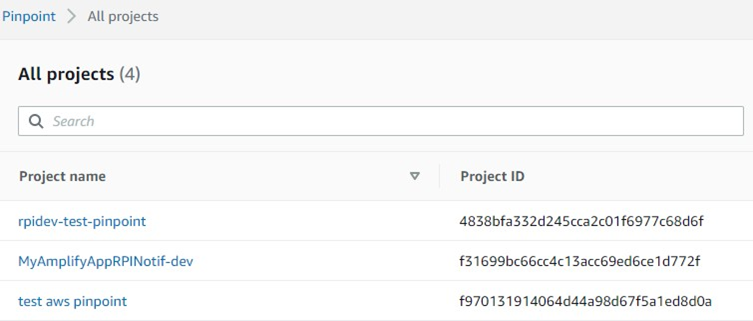
To enable Amazon Pinpoint SMS on existing Pinpoint project, select your Pinpoint project from the All projects list, as shown in the image below.
-
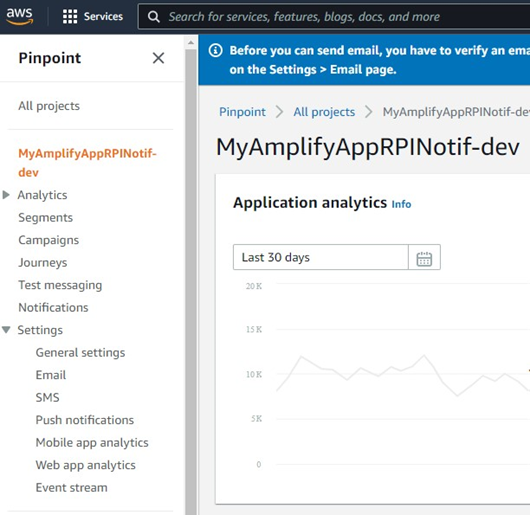
Expand Settings menu from the left pane and click SMS.
-
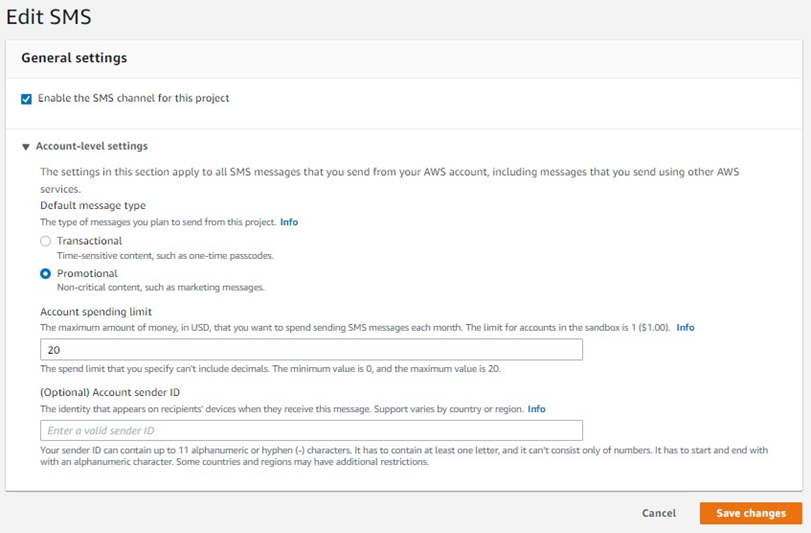
In the Edit SMS general settings, select Enable the SMS channel for this project option. You may leave other settings as it is. Click Save changes.
Create Pinpoint import Segment ARN role
Please navigate and follow the steps provided the links below.
The Pinpoint Segment ARN role name will be used in Redpoint Interaction (RPI) Amazon Pinpoint Email connector. The role must have required permission to access the Amazon S3 bucket folder.
Configure Amazon Kinesis for Event Data Processing
This section describes how to create and configure Amazon Kinesis in Amazon Web Services (AWS). Kinesis will be used to capture an event data for Pinpoint SMS (and Pinpoint Email if applicable). Assuming you have already an Amazon Web Services account, please follow the steps below.
Provisioning a new Amazon Kinesis Data Streams
-
In Amazon Kinesis left pane menu, click Data Streams.

-
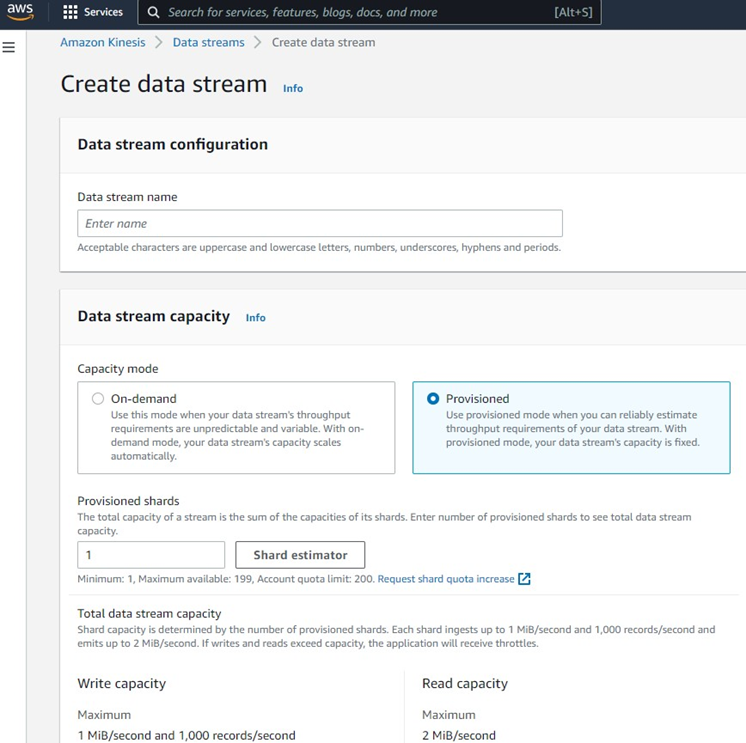
Click Create data stream to create new data stream.
-
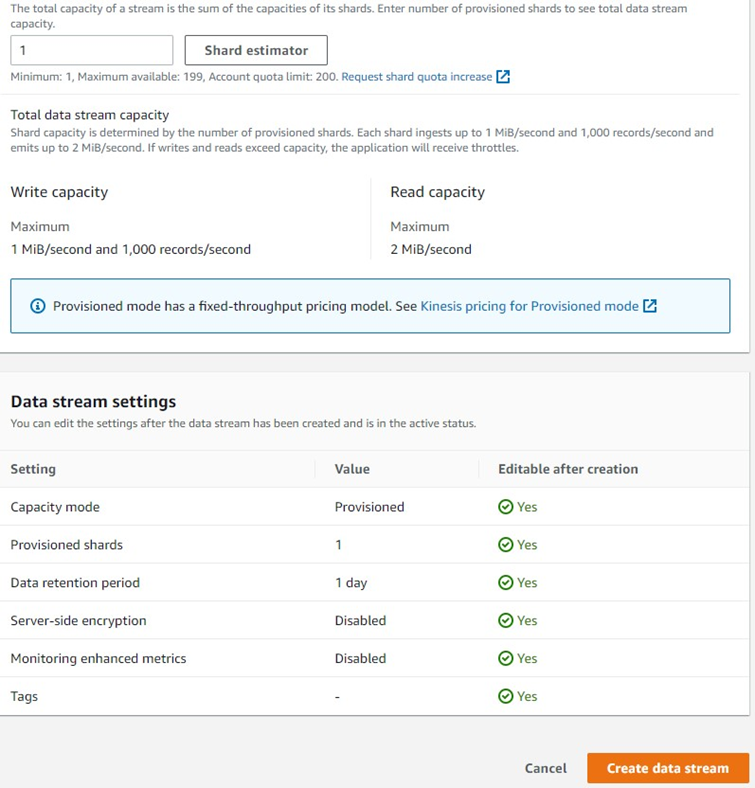
Enter the name of the data stream and select Provisioned option.
-
Click Create data stream.
-
In Amazon Kinesis left pane menu, click Delivery streams.
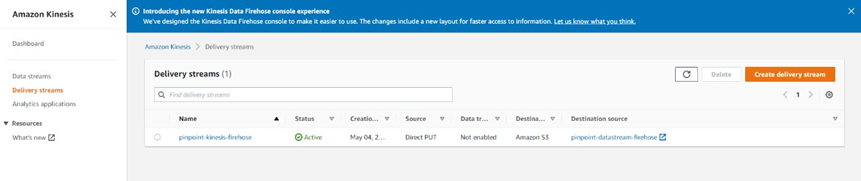
-
Click Create delivery stream to create new delivery stream.
-
Choose Amazon kinesis Data Streams as your source and choose Amazon S3 as your destination.
-
In the Source settings, browse and choose the data stream you have previously created.

-
Enter the name of the delivery stream and leave other default options.

-
In the destination settings, choose an Amazon S3 bucket folder. You will need to create an S3 bucket if it does not exist. The event data will be written to the chosen bucket folder.
The bucket folder configured here will be used as Amazon S3 event bucket folder in Amazon Pinpoint Email channel plugin configured in Redpoint Interaction.
-
You may leave other default options. Click Create delivery stream.
-
In the Settings menu of your Pinpoint Email project, click Event stream.
-
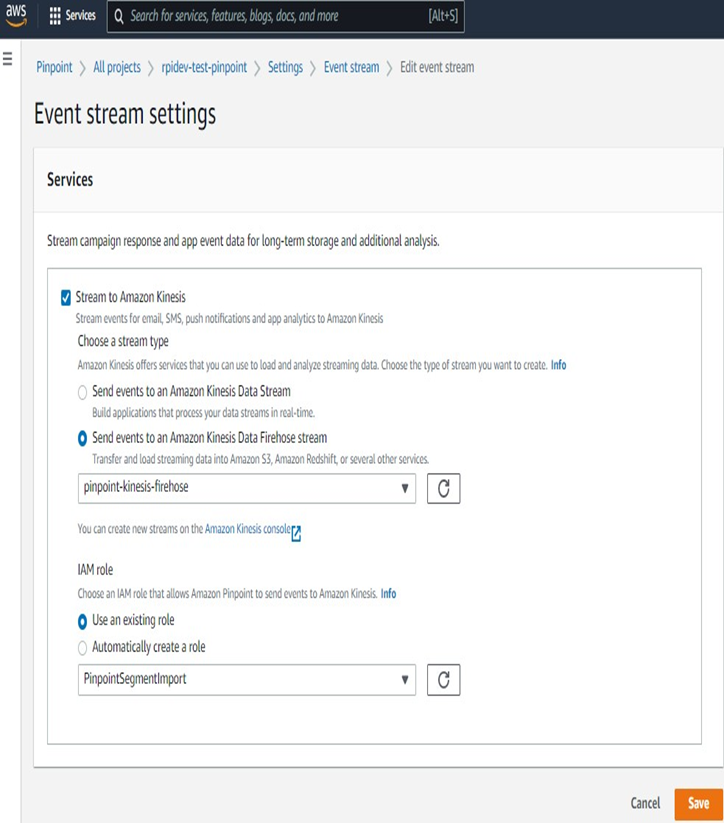
In the Event stream settings, select Stream to Amazon Kinesis option.
-
Choose Send events to an Amazon Kinesis Data Firehose stream option and select your previously created data stream.
-
Finally, you can use existing or create new IAM role for the event stream.