

Support for this connector has been deprecated and will be removed in a future release. Refer to the Connector deprecation plan for details.
This section describes how to prepare pre-requisites and configure data connections for Netezza databases.
-
If you don’t have the installer, in a web browser, navigate to https://www-933.ibm.com/support/fixcentral/options. Access requires an IBM customer account to be able to download the driver.
-
Once you have downloaded the driver installer, double click nzodbcsetup to start the installation.
-
When the language options Window opens, accept the English default and click OK. The language options Window controls installation program language.
-
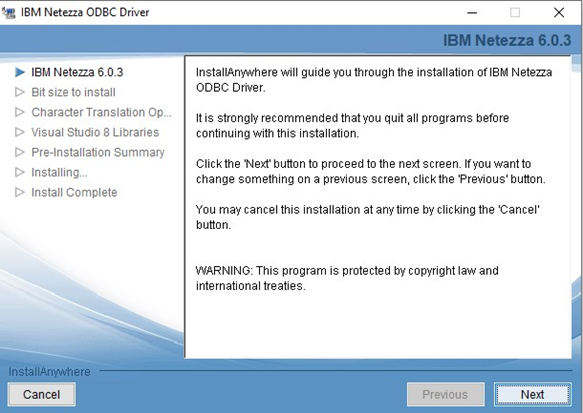
When the Introduction Window is displayed, review the information and click Next.
-
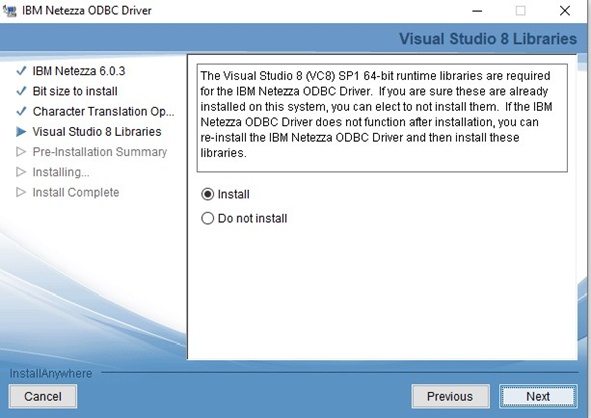
Install Visual Studio 2010 (VS2010) Libraries on the client system.
-
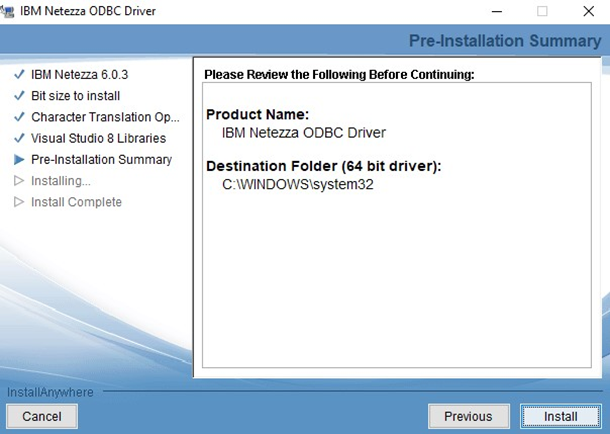
When the Pre-Installation Summary Window opens, use Previous to page through the previous Windows. When finished, click Install to complete the installation process. The Pre-Installation Summary Window summarizes your installation choices.
-
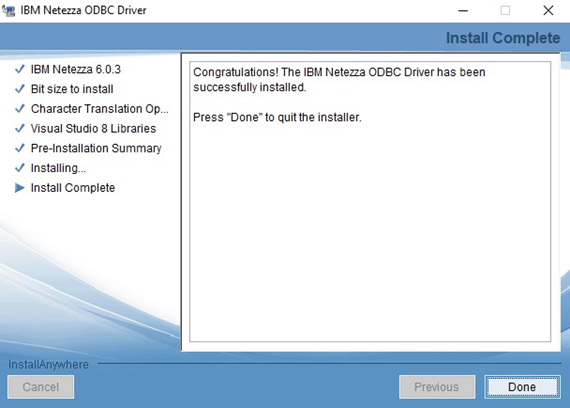
When the Install Complete Window opens, click Done to close the installation program. The Install Complete Window indicates that the installation process completed successfully.
-
Once you have successfully installed the ODBC driver, go to Control Panel\All Control Panel Items\Administrative Tools and click Data Sources (ODBC).
-
In the ODBC Data Source Administrator Window, click the System DSN tab.
-
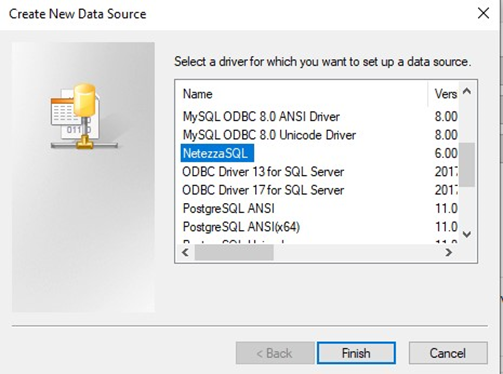
Click the Add button to create a new Data Source.
-
Find and select Netezza SQL and click Finish.
-
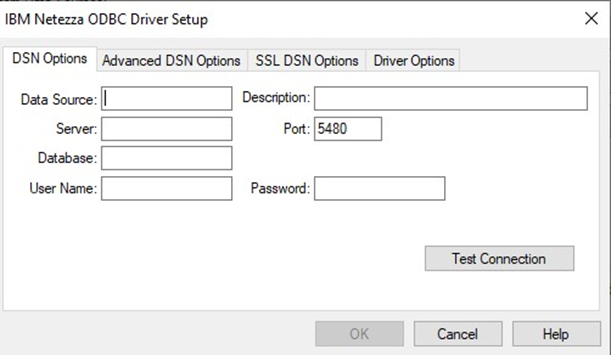
In ODBC Driver DSN Setup Window, configure the following details:
-
Data Source
-
Server
-
Port
-
Database
-
User Name
-
Password
-
-
Once completed, launch Server Workbench and login.
-
In the Install Client at Data warehouse pane, select Netezza as the database provider.
-
Enter the Server name. This can be either the DNS (Domain Name System) or an IP address of the server.
-
Enter the Database provider.
-
Enter the Data Source Name.
-
Enter the Database schema.
-
Check the End User License Agreement checkbox and then click Next.
