

Creating the Folder
-
In a web browser, log into the Responsys portal at https://interact2.responsys.net/suite/c.
-
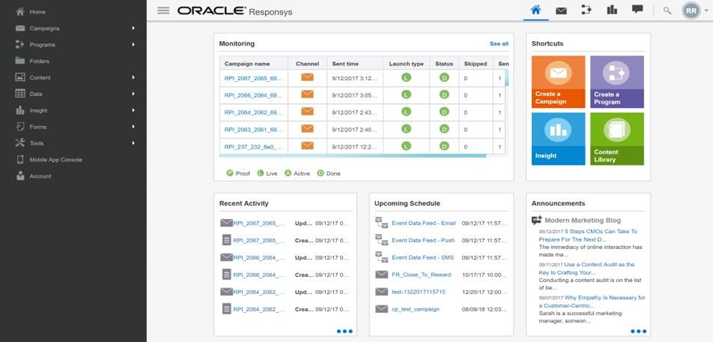
Once you have successfully logged in, you will be redirected to the main page of the portal, as shown below.
-
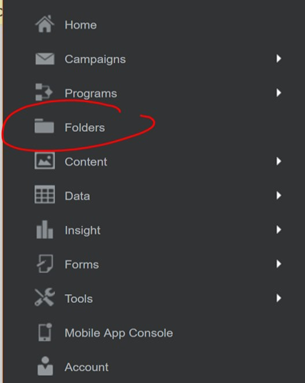
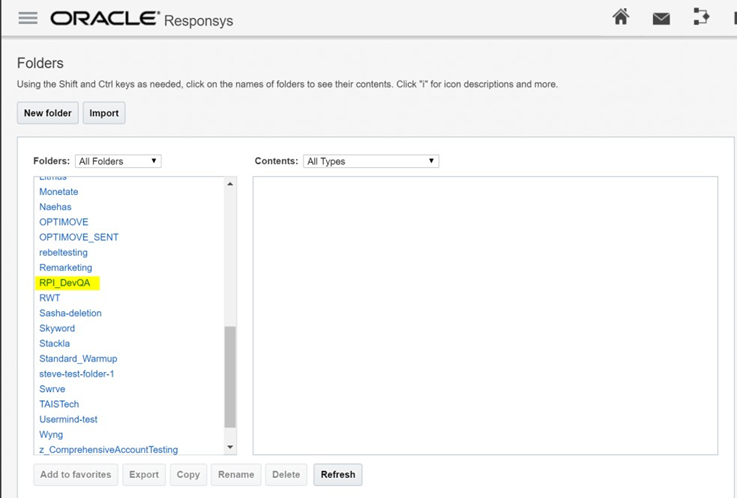
At the portal navigation menu, click Folders.
-
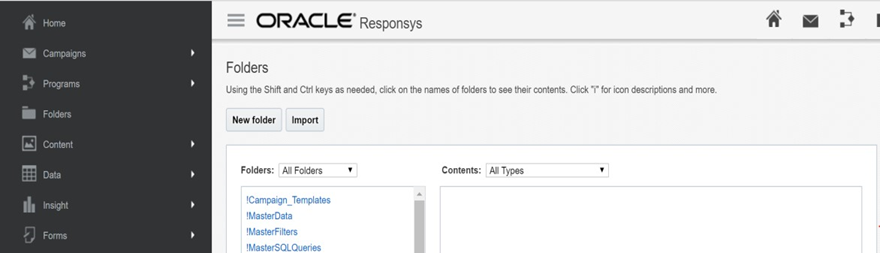
Once the Folder page is displayed, click New folder.
-
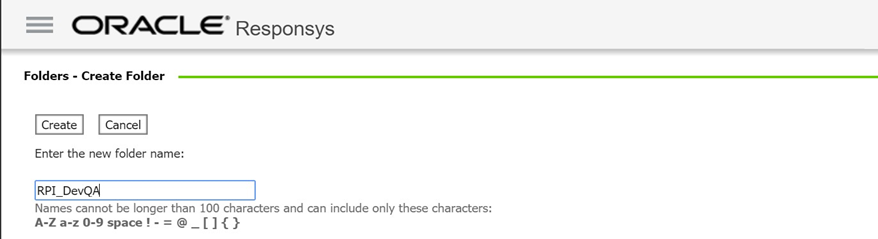
Enter the desired folder name, then click Create. You will be redirected to the list of Folders.
-
Check the list to verify if the folder was successfully created.
-
Take note of the folder name as you will use it when creating the profile list.
Creating the Profile List
-
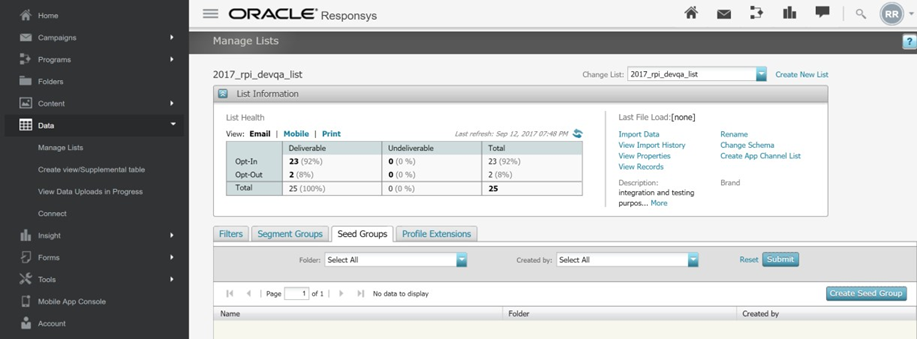
On the left side of the portal, click Data > Manage List.
-
Click Create New List.

-
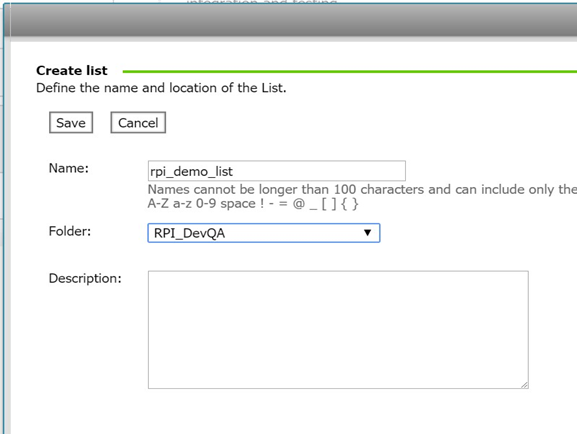
Enter the desired profile list name and select the folder as created previously. Click Save.
-
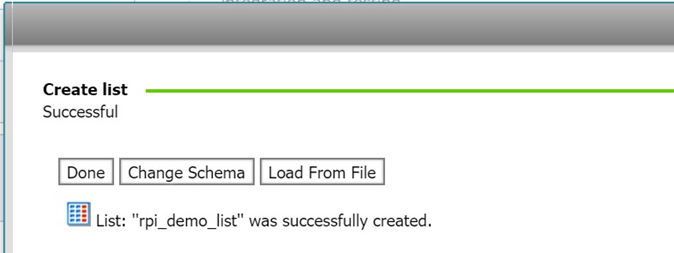
When an alert message appears, this confirms that the profile list was successfully created.
-
You need to take note of the profile list name as you will use this to configure the Profile list property at the RPI Responsys channel.
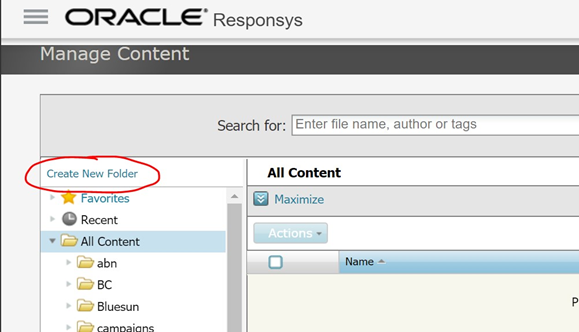
Creating the Content Folder
-
On the left side of the Responsys portal, click Content > Manage Content.

-
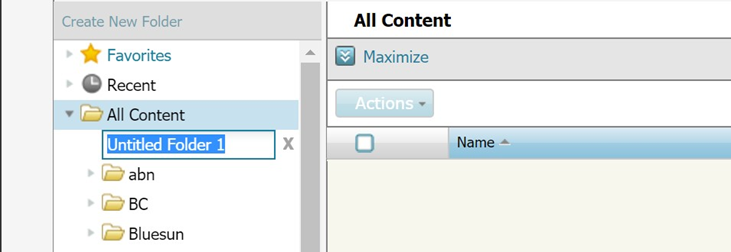
Click Create New Folder.
-
Enter the desired content folder name and press the Enter key to commit your changes.
-
Take note of the content folder name as you will use this to configure the Root folder property at the RPI Responsys channel.
Creating the Link Table
-
At the Responsys control menu, click Campaigns > Create Link Table.

-
Click Populate Fields Manually.

-
Select the folder and enter the desired link table name. Once you have finished, click Create.

-
Take note of the link table name as you will use this to configure the Link table in Responsys channel plugin.
Adding links into the Link Table
To be able to track link clicks in an email campaign, you need to add links into the existing Link Table.
-
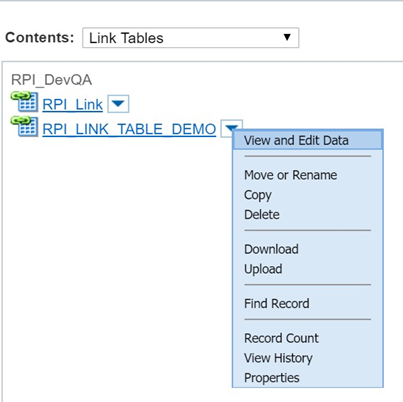
At the Responsys control menu, click Folders.
-
Select the folder where the link table is located.
-
Set the content filter to Link Tables.

-
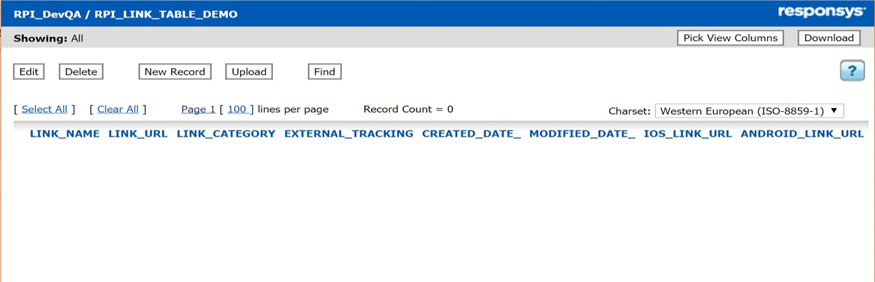
Click the down arrow on the left side of the link table, then click View and Edit Data.
-
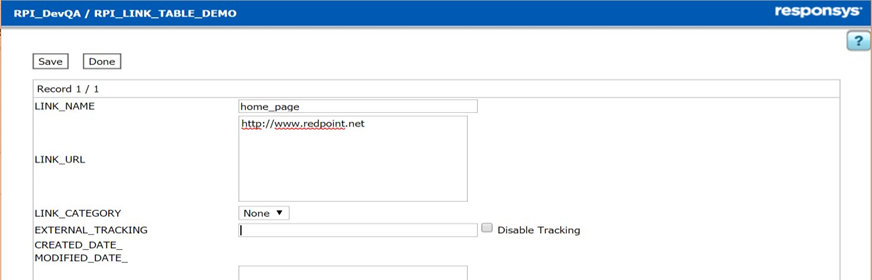
Click New Record at the link table page.
-
Enter the link name and URL, then click Save when finished. Click Done to see the list of URLs added.
-
To add a URL parameter (e.g., “Gender”), use e.g.,
http://www.Redpoint.net?gender=${Gender}
${Gender}denotes a Responsys Personalization Language element, which facilitates the link’s population with the recipient’s gender.
Creating an Export Event Data Feed Job
-
At the Responsys control menu, click Data > Connect.
-
Click Create Job > Export Event Data Feed.

-
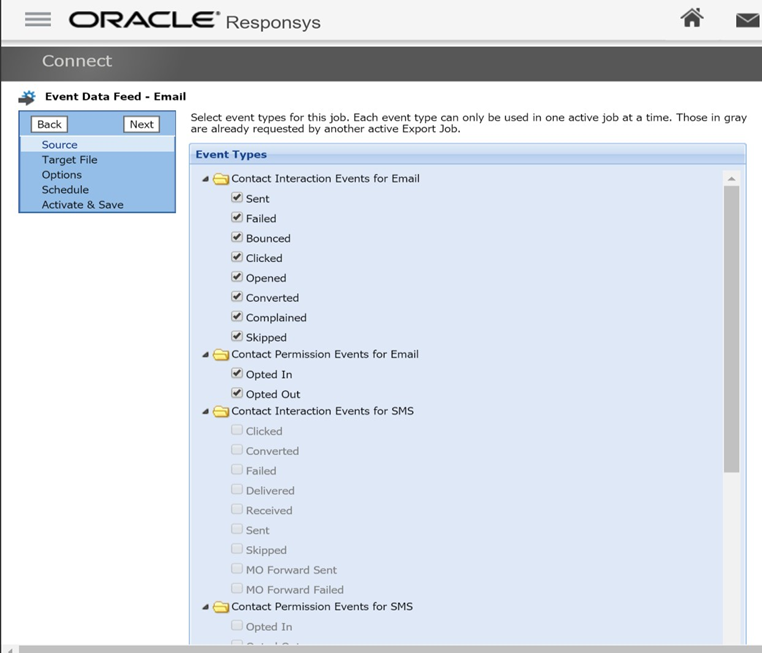
Select the type of events for the export job then click Next.
-
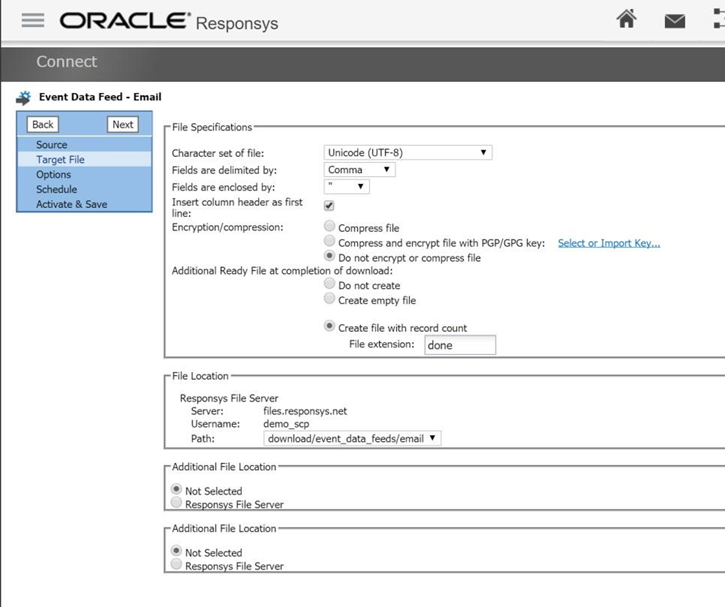
Set the file specifications as below. Take note of the File Location Server, Username, and Path as you will use these to configure the FTP Credentials at the RPI Responsys channel. Click Next.
-
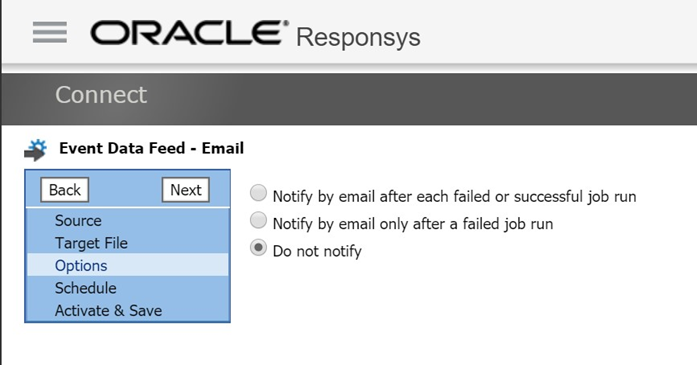
Select the notification option for export job activity. Click Next.
-
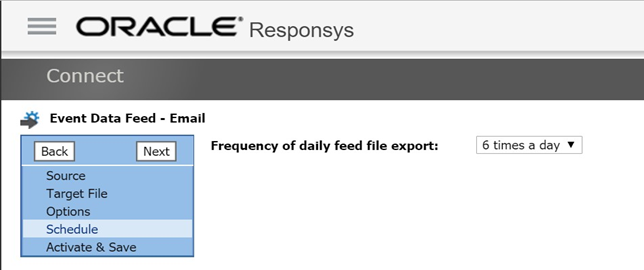
Set the frequency of the export job. Click Next.
-
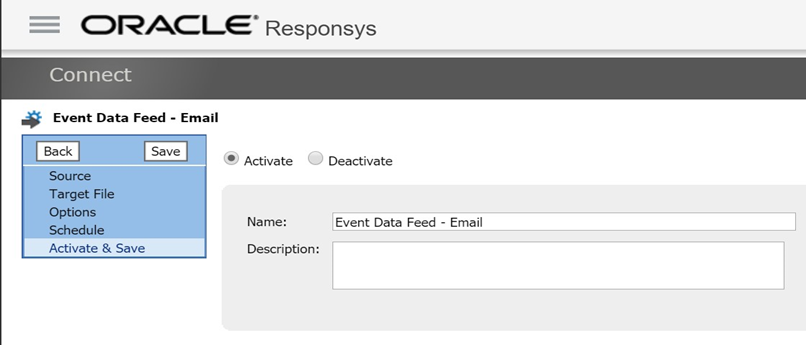
Set the export job name. Make sure Activate is selected. Click Save.
Obtain SSH2 Private and Public Keys
SSH2 private and public keys are used to authenticate users of Responsys’ SFTP service. You need to contact your Responsys administrator if you wish to provision an SFTP account.