

About Widgets
A dashboard is made up of a series of widgets.
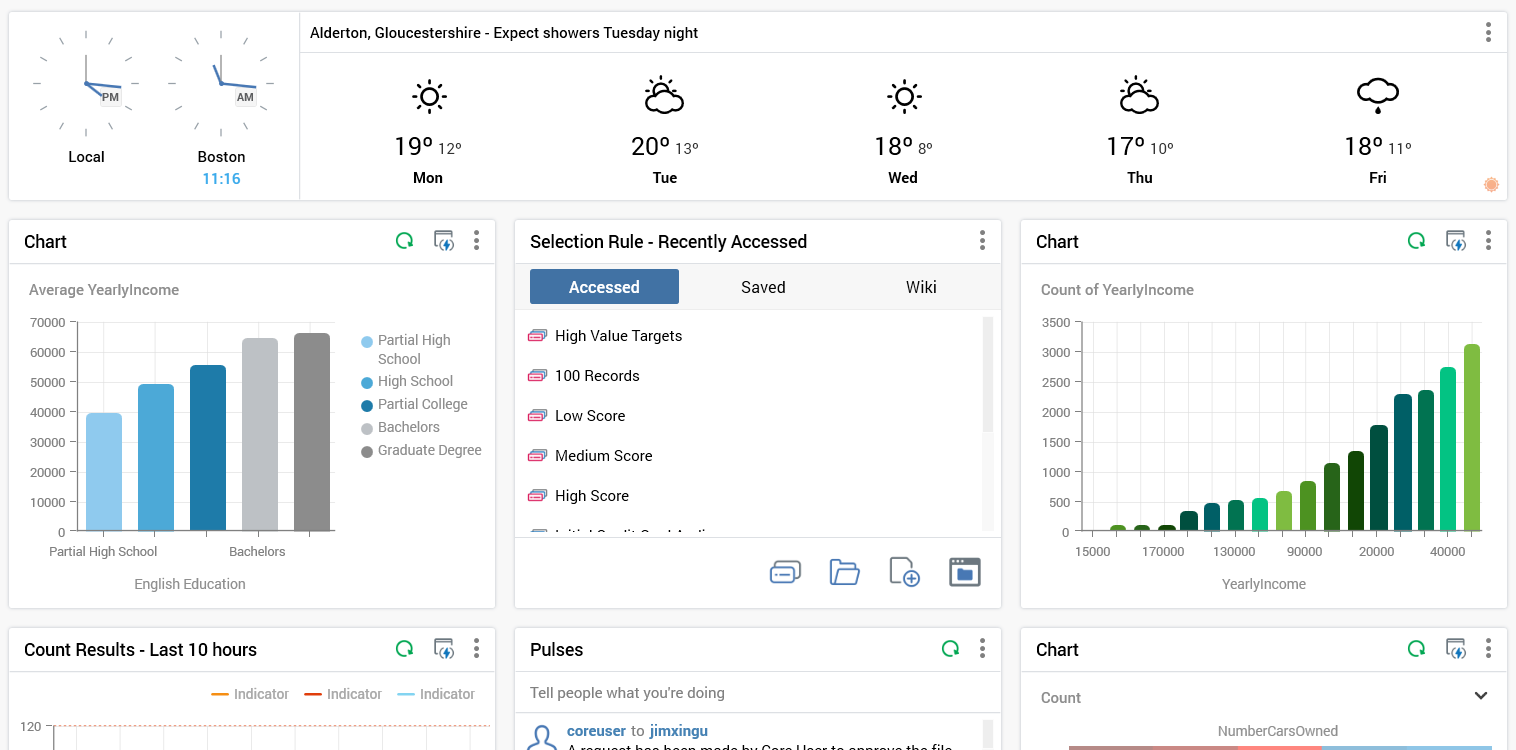
The following types of widget are available:
-
Channel Overview: this widget allows you to select a channel, and then view its results over time using chart types of your choosing.
-
Chart: allows you to select an attribute and view a visual representation of the breakdown of its values. You can optionally select a function attribute, and view aggregated counts based on the same.
-
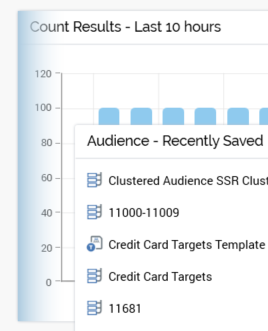
Count Results: this widget allows you to choose one or more selection rules, and the view counts and aggregated counts across time using chart types of your choosing.
-
File Approval: displays lists of files in respect of which a user’s attention is required, either as an approver, or as an approval requester.
-
File Type: allows you to choose a file type in respect of which to gain easy access to tasks, recent examples thereof, linked widget pages, etc., all from the context of a dashboard.
-
News Reader: this widget allows you display entries from an RSS feed in a dashboard.
-
Pulses: facilitates communication between team members using RPI’s Pulses feature.
-
Tasks: this widget can be configured with a series of tasks (e.g. Open Audience) and/or files of your choosing, thereby providing easy access to the same from a dashboard.
-
Time and Weather: this widget allows you to display world clocks, and/or a weather forecast for a location of your choice.
-
Twitter Feed: allows you to select a Twitter channel, associated with a Twitter feed, and then view the tweets made by that channel. Also allows you to specify a keyword, search for Twitter posts containing the same, and display them in the widget.
Adding Widgets
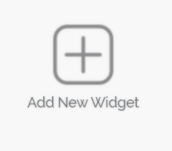
A dashboard consists of a number of widgets, each configured as required. No widgets are initially present within a new dashboard. You can click the Add New Widget button to initiate the process of adding a new widget to a dashboard.
When you do, the Add New Widget overlay is shown.
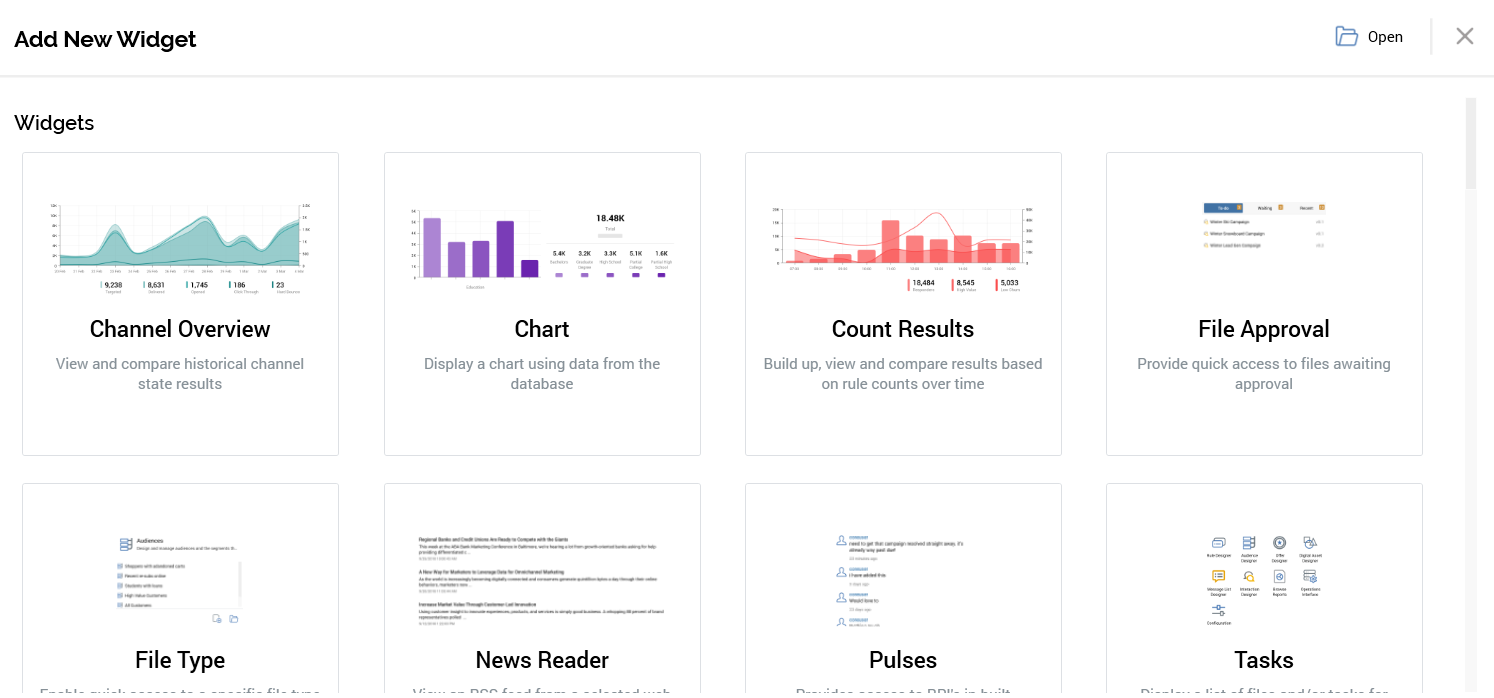
The overlay allows you to add a new or saved unconfigured or pre-built widget to the dashboard. It contains the following:
-
Open: this button allows you to add a widget to the dashboard from a file saved to the RPI file system. Clicking the button presents an Add Widget File System Dialog. Only Widget files are displayed therein. You can select a saved widget and click OK to add it to the current dashboard. Note that any changes made to a widget sourced from the file system are not saved back to the persisted file.
-
Cancel: removes the overlay from display without adding a widget.
-
The initial Widgets section allows you to add the following types of widget:
-
Channel Overview
-
Chart
-
Count Results
-
File Approval
-
File Type
-
News Reader
-
Pulses
-
Tasks
-
Time and Weather
-
Twitter Feed
-
You can also add a Header.
Having elected to build your own widget, a configuration overlay is displayed. Each widget type’s configuration is documented separately.
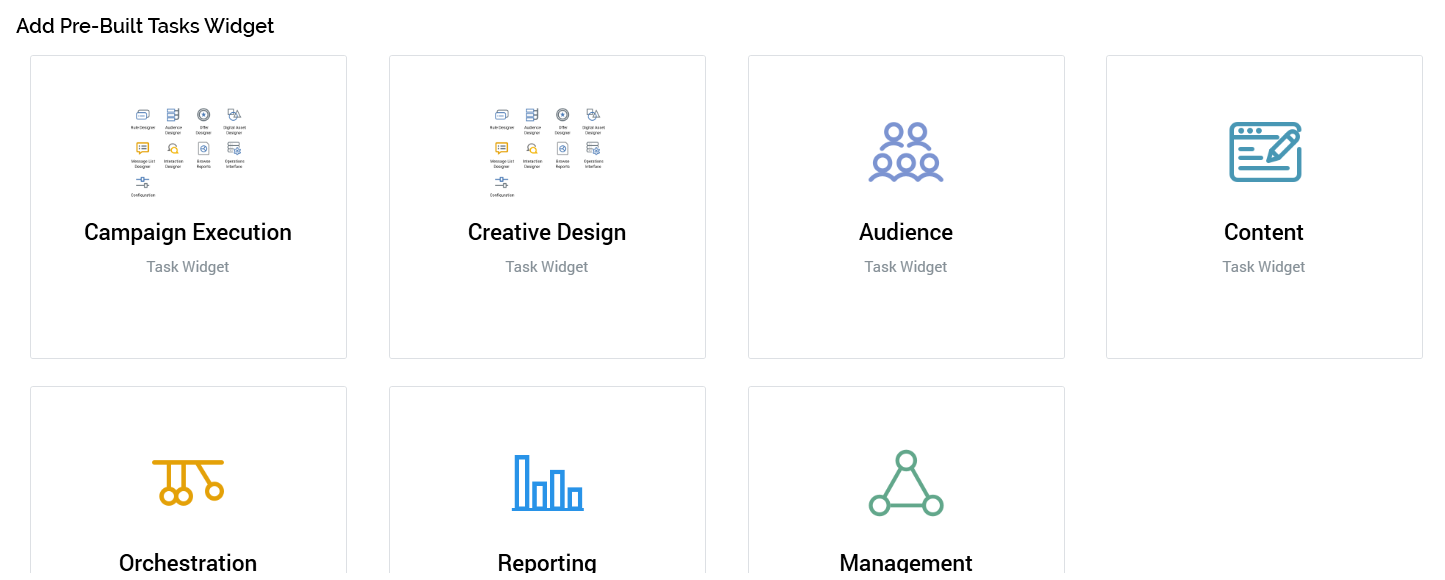
The subsequent sections allow you to add pre-configured widgets to the dashboard:
Add Pre-Built Tasks Widget: a series of options are displayed:
-
Campaign Execution
-
Creative Design
-
Audience
-
Content
-
Orchestration
-
Reporting
-
Management
Add Pre-Built File Type Widget
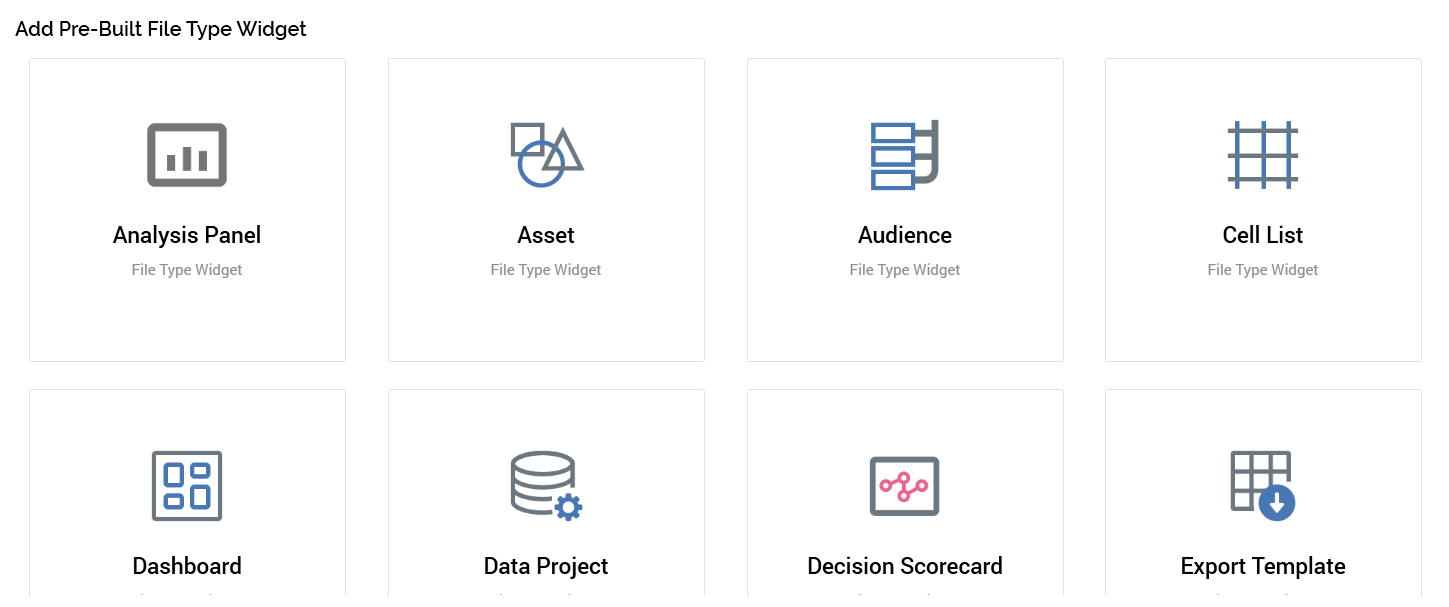
One option per file type (to which the user has access) is displayed. Choosing an option adds a file type widget to the dashboard, which is pre-configured with the selected file type.
Add Pre-Built Channel Overview Widget
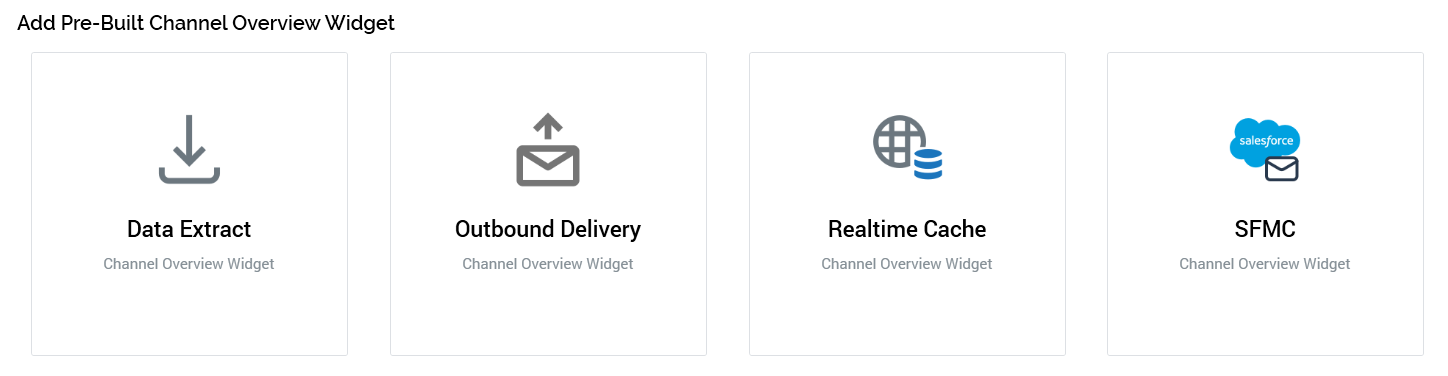
One option per existing channel is selected. Choosing an option adds a channel overview widget to the dashboard, which is pre-configured with the selected channel.
If you elect to add a pre-built widget, it is added immediately to the dashboard without display of its configuration overlay.
Note that the maximum number of widgets and headers that can be added to a dashboard is controlled by system configuration setting MaxDashboardWidgets.
You can re-order the widgets and headers shown within a dashboard using drag and drop. When you do so, shading indicates where the object being moved can be dropped.
A No drop cursor is shown where dropping would be inappropriate.