Support for this connector has been deprecated and will be removed in a future release. Refer to the Connector deprecation plan for details.
Overview
This section outlines how to setup Kissmetrics for use with its RPI web adapter.
Creating a New Website
-
Log in to Kissmetrics.
-
Navigate to https://app.kissmetrics.com/get-started.
-
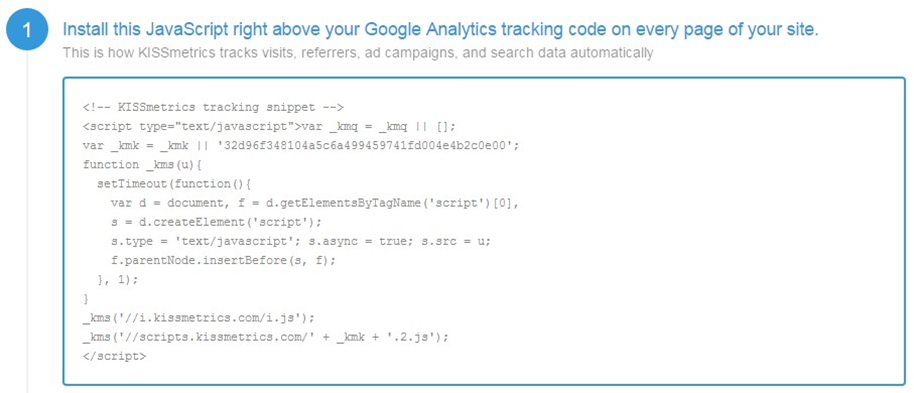
Click “INSTALL SETUP CODE YOURSELF”.

-
Javascript code will be displayed; you need to include this code on every page of your website that requires to be tracked by Kissmetrics.
-
On the lower part of the page. Click “Open all of Kissmetrics for me”.
-
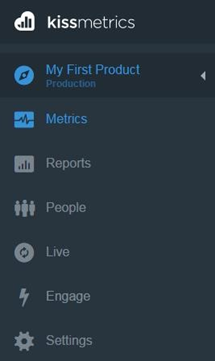
All other Kissmetrics functionality is made available. On the upper left-hand side of the Kissmetrics interface, select your new site (in the example below, “My First Product”):
-
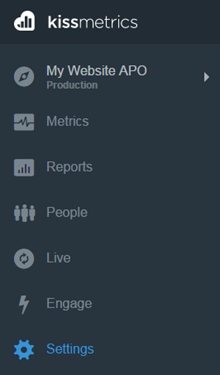
To rename the site, go to “Settings” > “Edit site” then enter the site name.
-
Click save changes.
Getting the Base URI
-
Go to the Kissmetrics Core API documentation (http://support.kissmetrics.com/apis/core-api.html).
-
Scroll down to Root Directory (http://support.kissmetrics.com/apis/core-api.html#root-directory).
-
Copy the URL as highlighted below(https://api.kissmetrics.com).

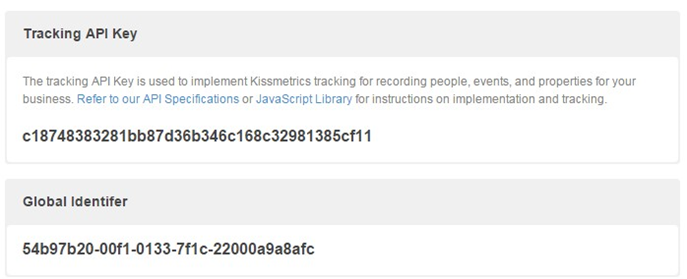
Getting the Tracking API Key and Global Identifier
-
Log in to Kissmetrics.
-
Make sure to select your production website (in this example, “My First Product”). Your account can support multiple websites, each of which has different tracking key, so be sure to select the correct one.
-
Go to “Settings” or navigate to https://app.kissmetrics.com/settings.
-
Copy the tracking API key and Global identifier.
Getting the API Token
-
Log in to Kissmetrics.
-
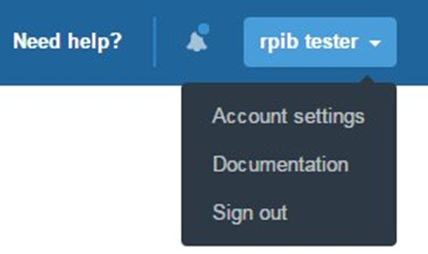
Click “Account Settings” (to the upper right):
-
Scroll down in API Tokens.

-
Click Manage API Tokens.
-
When the API token page is displayed, click “Generate a new token”.

-
Copy the generated token, as you will need this value to configure the RPI Kissmetrics API token property.

Getting the Account Name
-
Log in to Kissmetrics.
-
Click Account settings in the upper right.

-
Click Edit account details.

-
Copy the account name.
Recording Events and Properties
Before setting up a new Kissmetrics adapter, you must first record the event and properties to be used by Redpoint Interaction, thereby ensuring that the tracking code is successfully installed.
-
Get any URL where Kissmetrics tracking is installed. Ex. http://119.92.171.46/service.html.
-
Append the event Email to the URL: “kme=Email”
-
Append the property exid to the URL: “km_exid=0”
-
Append the property campaign to the URL: “km_campaign=test_campaign”
-
Your URL should resemble the following:
http://119.92.171.46/service.html?kme=Email &km_exid=0&km_campaign=test_campaign -
Browse to the URL. Note that Kissmetrics may take some time to record the event.
-
Refresh the Kissmetrics events/properties breakdown to check if the event Email and properties (exid and campaign) have been successfully recorded.
Creating Unique Visit Metrics
In this example, we will create a metric that will count the unique visits.
-
Login to your Kissmetrics account.
-
Select your website.
-
Click Metrics > Add new metric
-
Select “Number of People Who Did Event”
-
Click “Continue with this metrics”
-
Set a unique metric name
-
Set the event to “Email”
-
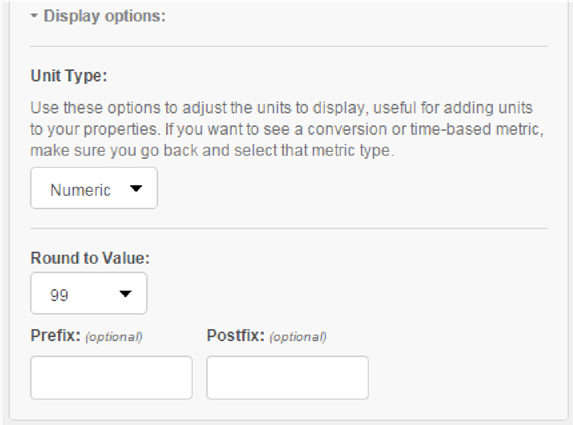
Click “Display option”, make sure that Unit type is set to “Numeric”
-
Click “Save metric”
-
Take note of the metric name and use this to configure the RPI Kissmetrics adapter metrics.
Creating Visit Metrics
In this example, we will create a metric that will the count the total number of visits.
-
Login to your Kissmetrics account.
-
Select your website.
-
Click Metrics > Add new metric.
-
Select “Number of Times Event Happened”.
-
Click “Continue with this metrics”.
-
Set a unique metric name.
-
Set the event to “Email”.
-
Click “Display option”, make sure that Unit type is set to “Numeric”.
-
Click “Save metric”.
-
Take note of the metric name and use this to configure Kissmetrics adapter metrics.
-
Additional note: when creating other metrics, it is important to set the Unit Type to Numeric.