

Provisioning the Storage Container Name and Connection String
This section describes how to create and configure an Azure Event Hubs on the Windows Azure portal. Please follow the steps below:
-
In a web browser, log into the Windows Azure portal (https://portal.azure.com).
-
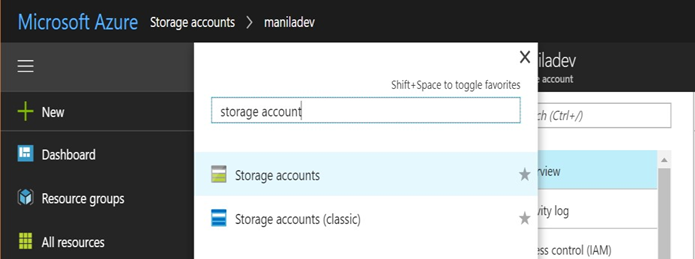
Once you have successfully logged into the portal, search for the “Storage accounts” resource and click Storage accounts.
-
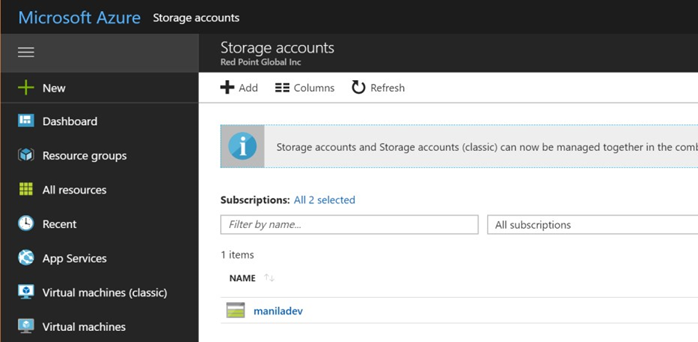
In the list of storage accounts, select and click the appropriate storage account to use (in this example, “maniladev”).
-
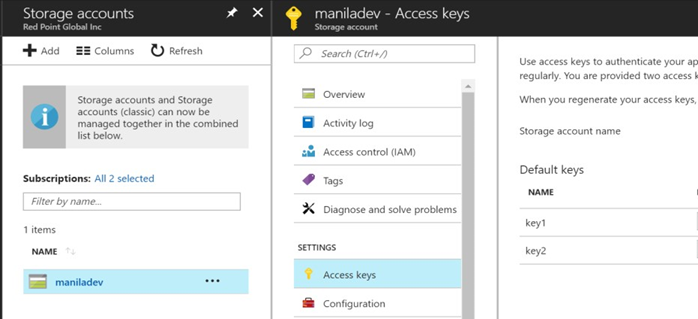
Under Settings, click Access keys.
-
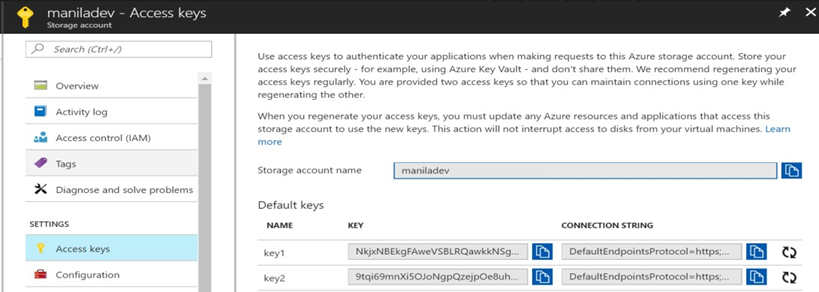
Use the storage account name to configure the storage container name of the RPI Azure Event Hubs queue provider.
-
Under Default keys, use the key1 connection string to configure the storage connection string of the RPI Azure Event Hubs queue provider.
Provisioning the Event Hubs Name and Connection String
-
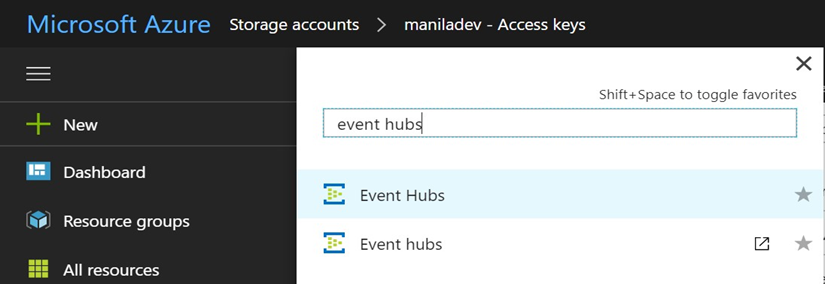
Once you have successfully logged into the portal, search for the “Event Hubs” resource and click Event Hubs.
-
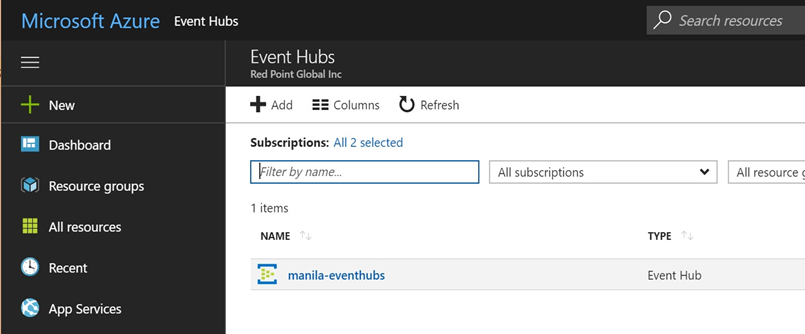
In the list of event hubs, select the appropriate event hub to used (in this example, “manila-eventhubs”). Take note of the name as you will use this to configure the Event hubs name of the RPI Azure Event Hubs queue provider.
-
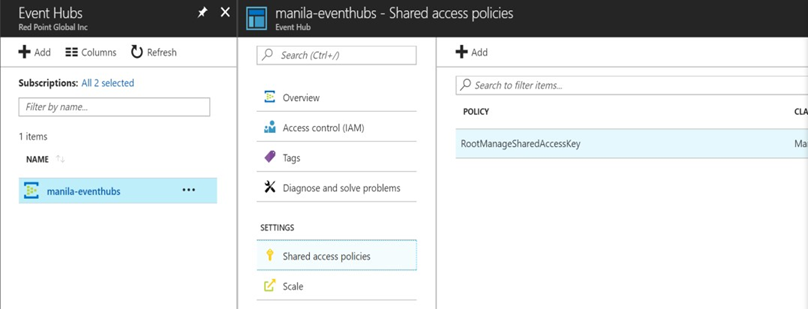
Click Shared access policies (located under Settings).
-
Click RootManageShareAccessKey (under Policy).
-
In the “SAS Policy: RootManageSharedAccessKey” panel, make sure Send and Listen are checked. Ask your Azure account admin to enable these options if they are not checked.
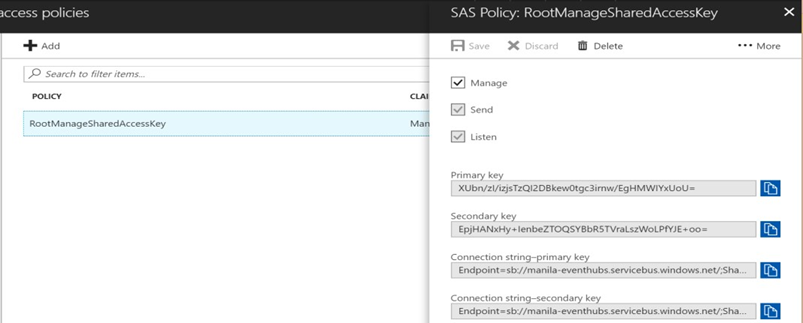
Use the Connection string-primary key to configure the Connection string of the RPI Azure Event Hubs queue provider.