

Overview
This section describes how to set up a SendGrid account to configure an RPI SendGrid email channel.
Setting up an Account
-
To acquire a SendGrid account, you will need to sign up for either a free or a paid account.
-
At the SendGrid home page, hover over the Pricing tab and click Get Started for Free.

-
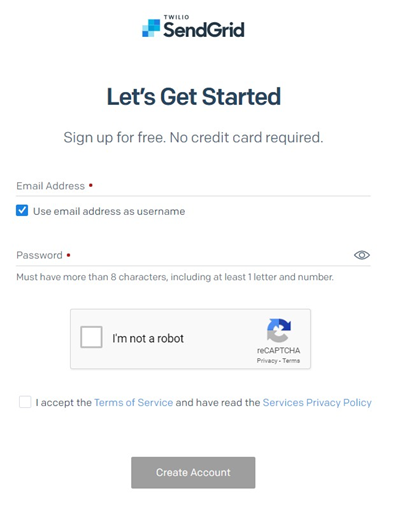
A SendGrid sign up form will be displayed. Fill in the required details and click Create Account.
-
Once you have created your account successfully, you will be emailed by SendGrid support to activate your account.
-
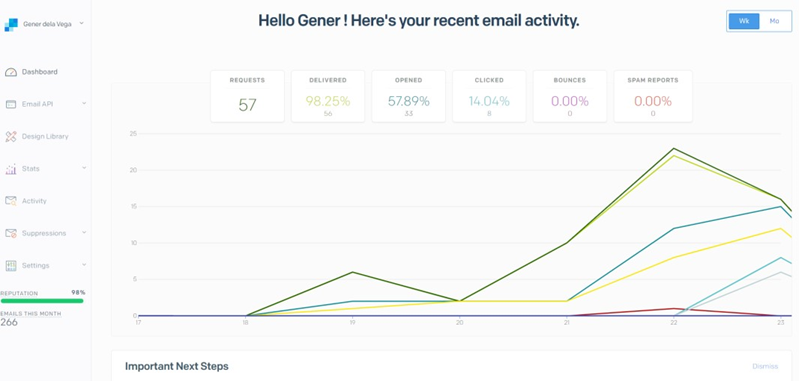
Once you have activated your account successfully, you may log into the SendGrid portal.
The table below describes the SendGrid RESTful service-based API calls utilized by the RPI SendGrid channel plugin.
|
API |
HTTP VERB |
Data |
Usage |
|---|---|---|---|
|
|
|
|
This endpoint allows you to send email. |
|
|
|
|
View your SendGrid Profile. |
|
|
|
|
Delete entries in the Unsubscribes list. |
|
|
|
|
Retrieve entries in the Unsubscribes list. |
For more details about SendGrid APIs, please see https://www.twilio.com/docs/sendgrid.
Setting up an API key for SendGrid Web API v3
An API key and API key ID are required to configure a SendGrid email channel to use the SendGrid Web API v3.
-
In a browser, navigate to https://sendgrid.com/login and sign in.
-
Click Settings > API Keys.
-
In the API Keys section, click Create API Key and select General API Key.
-
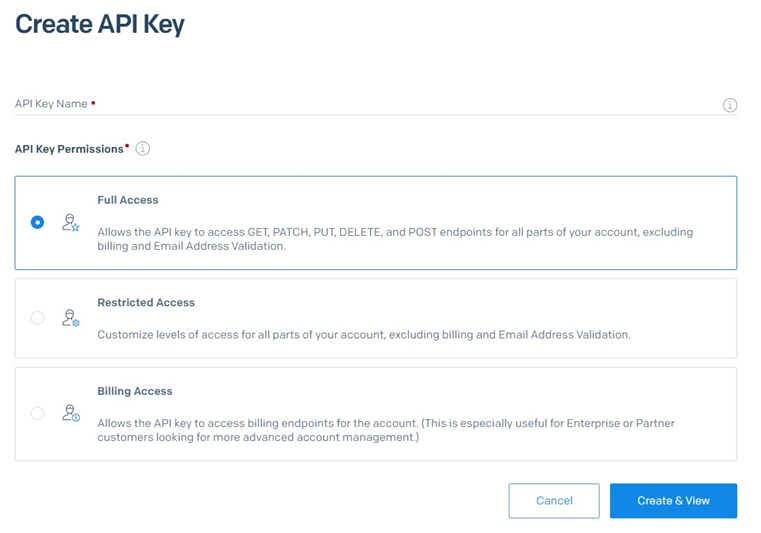
Enter the name of the API Key, select API Key Permission and click Save.
-
Copy the API Key and store it in a safe place to avoid your account being compromised.
Note that a SendGrid account must have the following minimum required permissions when used with RPI:
-
API Keys - Read Access
-
Mail Send - Full Access
-
Category - Full Access
-
Email Activity - Read Access
-
Suppressions - Full Access
-
Tracking - Full Access