Support for this connector has been deprecated and will be removed in a future release. Refer to the Connector deprecation plan for details.
Razuna Installation
This section outlines how to setup Razuna for integration with the RPI Razuna external content plugin. Please follow the steps below:
-
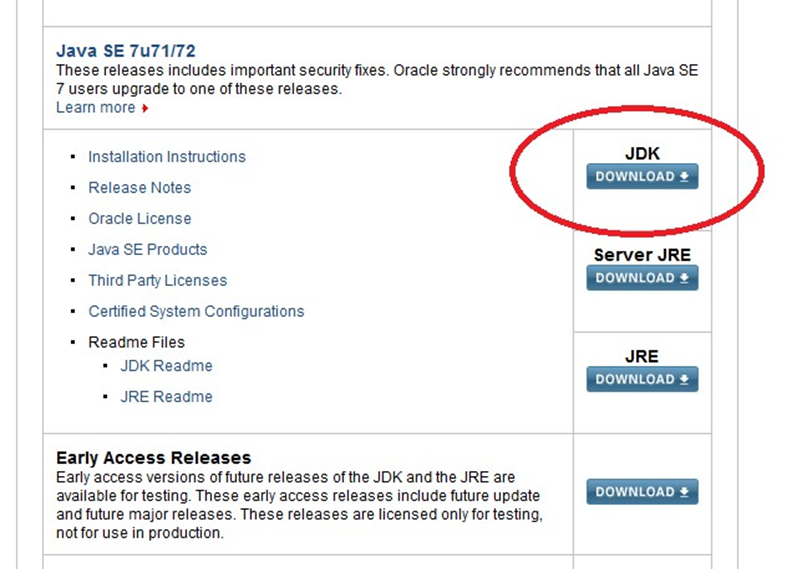
Install Java JDK 7 (1.7) from this location: http://www.oracle.com/technetwork/java/javase/downloads/index.html.
-
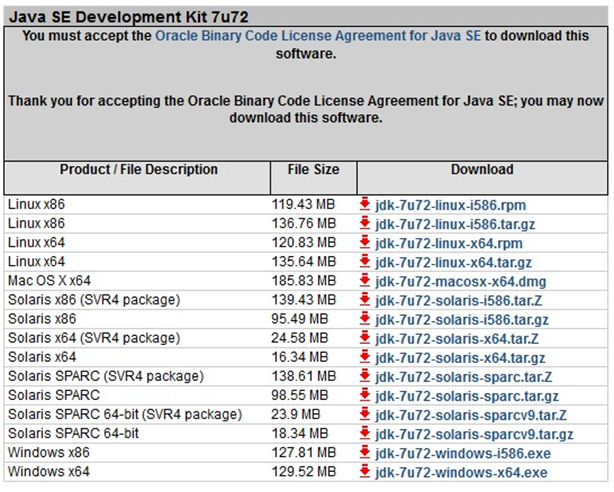
Download the Java SE 7u71/72 JDK.
-
Choose the appropriate installer for your version of Windows.
-
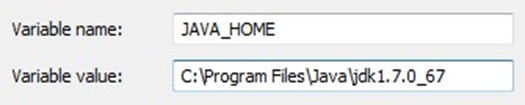
Additionally, you need to define system wide environment variables called JAVA_HOME and JRE_HOME. The path to Java will be (depending on your installation):
C:\Program Files\Java\jdk7.xxx (JAVA_HOME) or C:\Program Files\Java\jre7 (JRE_HOME).
It is crucial that the JAVA_HOME variable is set correctly:-
Click Start. Right-click Computer and click Properties.
-
In the Control Panel Window, click Advanced System Settings.
-
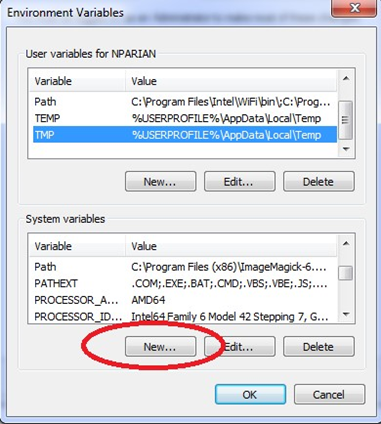
In the System Properties Window, go to the Advanced tab and click Environment Variables.
-
Click the New button under Environment Variables.
-
Add a new variable named JAVA_HOME and put Java’s JDK directory in your system:
-
Add another variable named JRE_HOME and put the JRE’s directory in your system:

-
-
Install the 32-bit version of GhostScript from: http://downloads.ghostscript.com/public/. Download the file: gs909w32.exe. Ghostscript is an interpreter for PostScript™ and Portable Document Format (PDF) files. It helps Razuna with handling PDF documents.
-
Install ImageMagick from: http://www.imagemagick.org/script/binary-releases.php#windows.
Make sure to use the recommended release (Win32 dynamic at 16 bits-per-pixel; filename: ImageMagick6.8.9-7-Q16-x86-dll.exe). ImageMagick is required by Razuna for handling and storing image files. -
Install FFMpeg from: http://ffmpeg.zeranoe.com/builds/. Please install the following builds only:
-
Extract the archive and move it to the C:\ffmpeg directory. FFMpeg is required by Razuna to handle audio and video files.
-
Install the latest Exiftool from: http://www.sno.phy.queensu.ca/~phil/exiftool/. Once downloaded, create a folder on C: called exiftool and copy or move the downloaded executable to it. Then rename the executable to exiftool.exe (you need to rename the executable or else it will not work). Exiftool runs on all versions of Windows. Exiftool helps Razuna in writing meta information to files.
-
Install UFRaw from: http://sourceforge.net/projects/ufraw/files/ufraw/ufraw-0.19.2/ufraw0.19.2-2-setup.exe/download. UFRaw helps Razuna in handling and reading RAW type of image files.
-
Install MP4Box from: http://www.videohelp.com/tools/MP4Box. Once downloaded execute the installer. Make sure to install it to the C:\MP4Box directory.
-
If you have not already done so, download the latest (currently 1.7) Razuna Stand-alone release from http://razuna.org. We recommend to extract Razuna to the C: directory. Ensure that there are no spaces in the Razuna path. The Razuna standalone server comes with Tomcat pre-configured.
-
The download above will install Razuna with Tomcat. You must update Razuna to include patches from: https://github.com/razuna/razuna. Click the Download Zip file button to get Razuna with the patches.
-
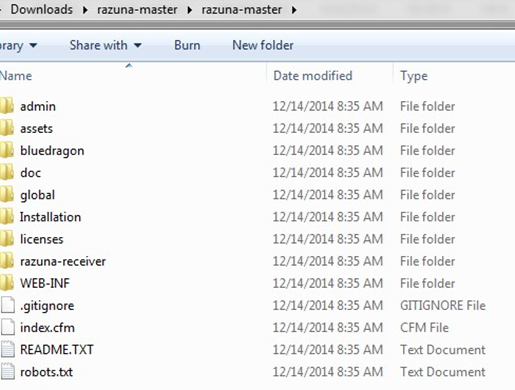
Extract the newly downloaded master.zip archive and copy its contents into your Razuna directory (C:\razuna_tomcat_1_6_5\tomcat\webapps\razuna; note that your directory may vary depending on your installation). Delete all the contents of the destination folder first before copying.
-
Finally, start the application server. In order to do so, navigate to the bin directory in the Razuna folder (../tomcat/bin/) and start the server with the command: ./startup.bat
-
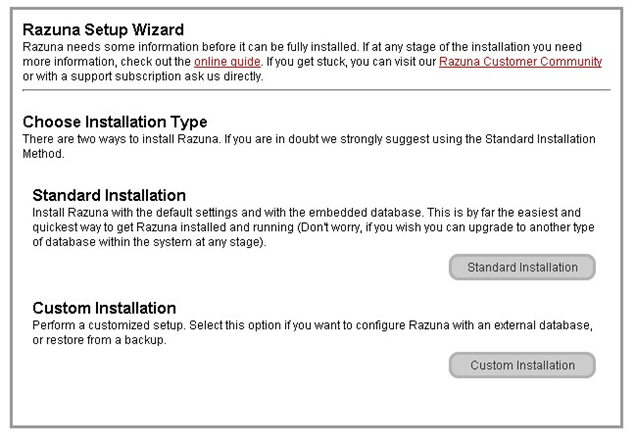
Once the server has started successfully you should navigate to http://localhost:8080/razuna and you will be presented with the First-time Wizard to finish the setup.
-
In the First-time wizard, choose Standard Installation.
-
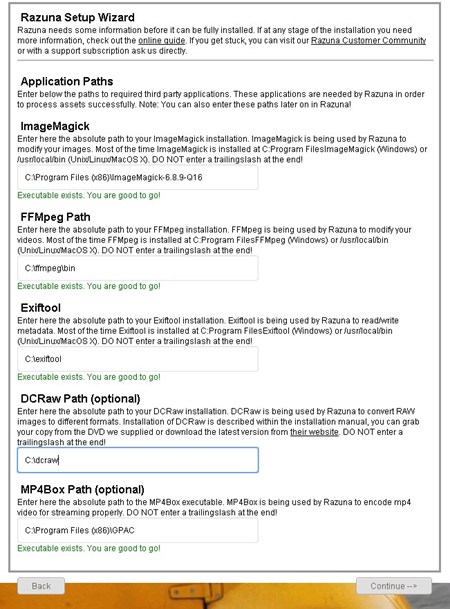
Complete the appropriate directories for each installation. For example: for the exiftool, specify C:\exiftool.
-
Enter the Administrator account’s details. Click Finalize Setup.

Setting Up a Tenant
-
Login to Razuna: http://localhost:8080/razuna.
-
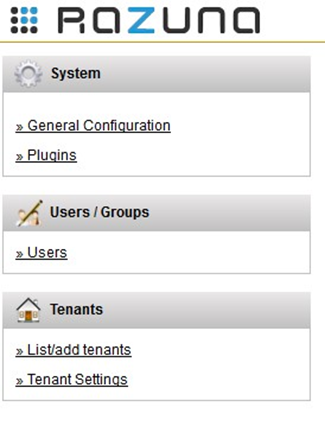
Once logged in, you will see Razuna’s menu on the left.
-
Click on List/add tenants.
-
On the new page, click the Add a Tenant tab. Type the name of the tenant and click Add Tenant.
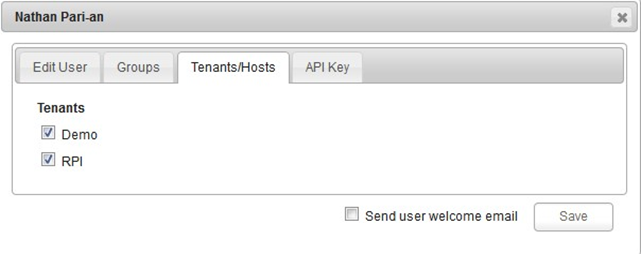
In the image below, Demo is the default tenant when installing Razuna. It has an ID of 1. RPI is a useradded tenant with an ID of 2.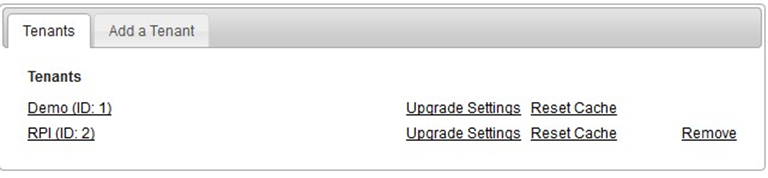
Clicking on a tenant will display the Edit Tenant window. The folder name is listed below (note that this information is required when configuring the Razuna provider at RPI).
-
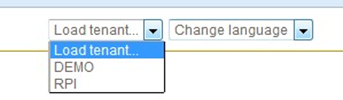
To load a tenant, choose it from the dropdown at the upper right. A new tab will open. You will have to log in to access the tenant.

Users
-
To access Users, click Users from the menu on the left. The list of users will be displayed.
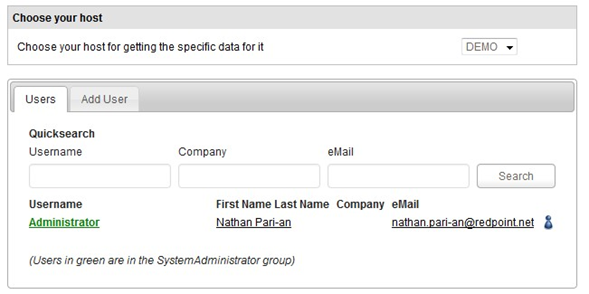
The selected tenant is indicated in the Choose your host section. The users associated with the tenant are listed below. -
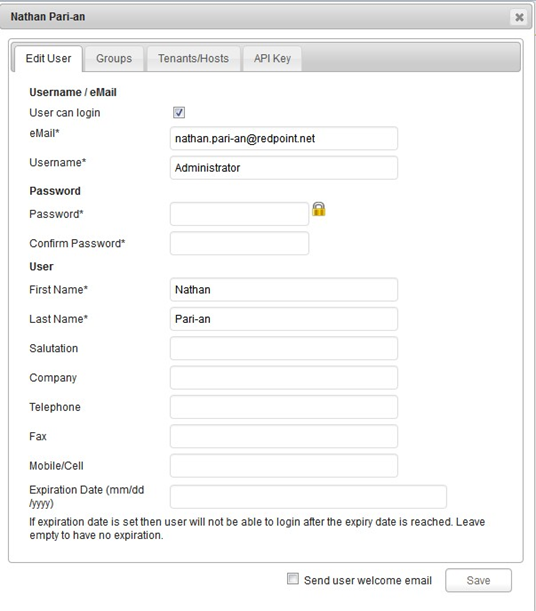
Go to the Add User tab to create a new user.
-
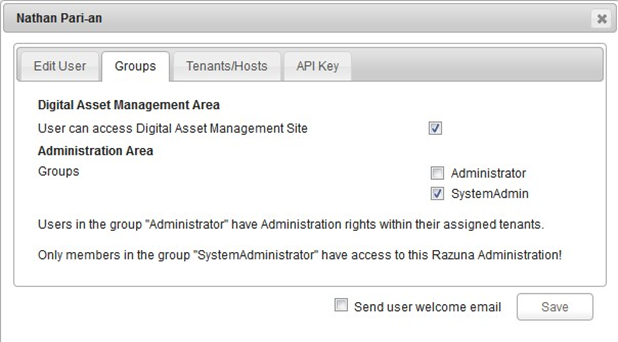
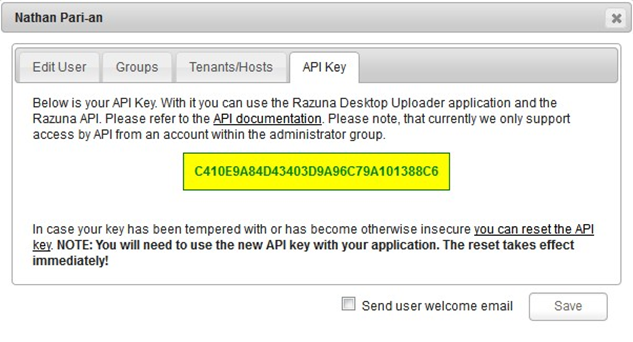
Clicking on a user will display its properties window.