

Overview
The Definition tab’s Acquisition panel is used to start the process of defining a data project.
Within the panel, you can:
-
Select a local file to upload that will form the basis of the data project’s definition.
-
Having uploaded the file, commence RPI’s automated analysis of it.
Note that when the Definition tab’s Acquisition panel is displayed after a data project’s second or a subsequent file acquisition has started, its contents are replaced with a message advising that the data project has already been defined.
During definition of a data project, the Acquisition panel consists of the following elements:
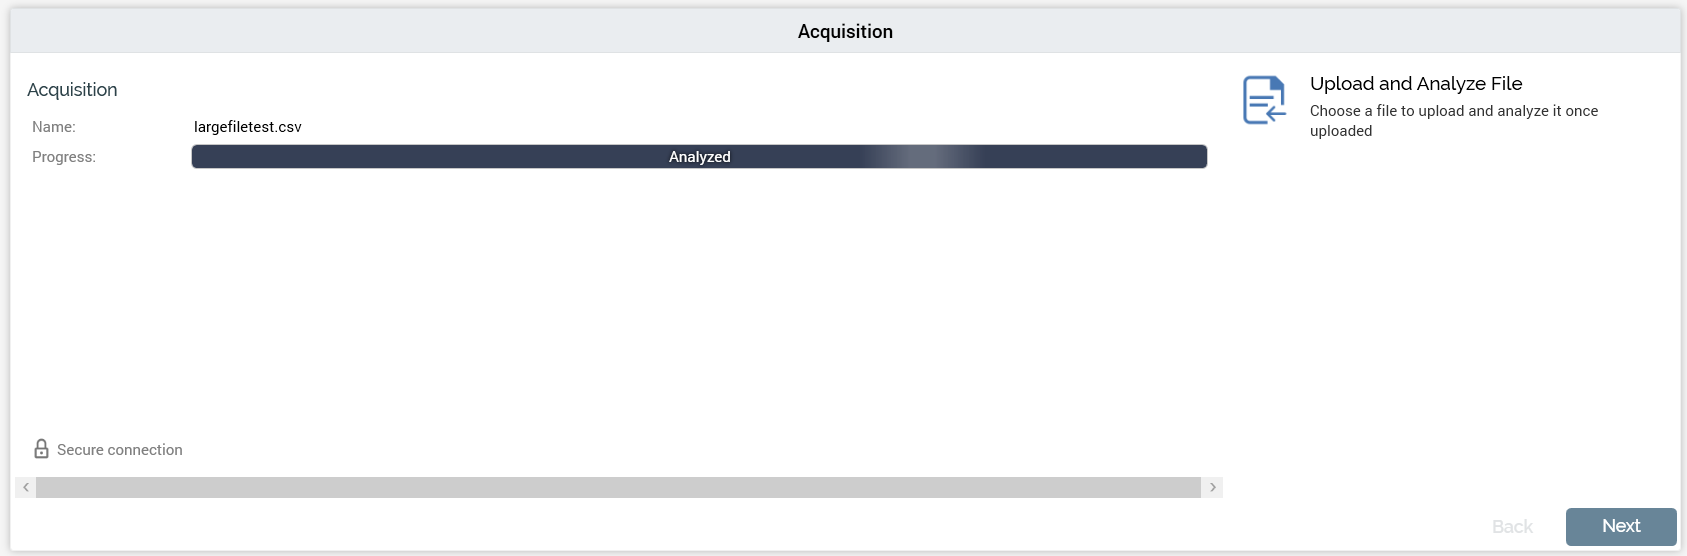
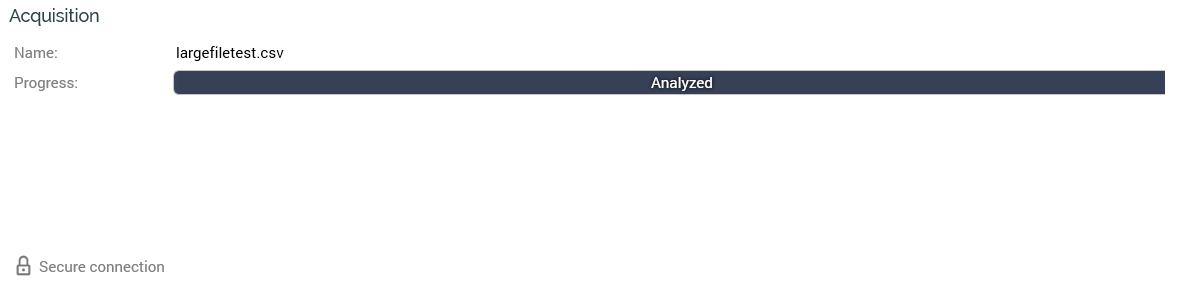
Acquisition Section
This section keeps you informed about the progress of file upload and analysis.
It contains the following:
-
Name: a read-only label that displays the name of the file you have chosen to acquire. Name is populated once you have invoked Upload and Analyze File and selected a file to upload from your local or network Windows file system. Note that the file’s name must not contain invalid characters.
-
Progress: this section contains a progress bar that is populated during the compression, upload and analysis processes. The progress bar provides a visual indication as to the current stage within the process and is updated automatically.
-
The fact that upload is carried out using a secure connection is confirmed via a padlock icon and “Secure connection” label.
Actions Panel
The Actions panel is shown to the right.
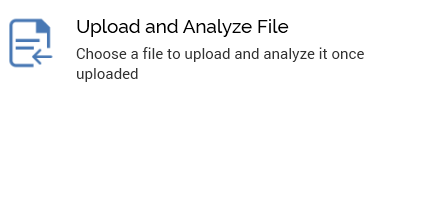
The panel is only displayed if defining the data project. The panel contains the following button, which is enabled or disabled in accordance with the current status of the data project:
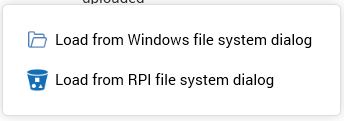
Upload and analyze file: on clicking this button, two additional options are shown:
-
Load from Windows file system dialog: clicking this option displays the Choose File to Upload Windows file system dialog, within which you can locate a file to upload. By default, only text files (*.txt, *.csv) are shown. You can change the default filter to display compressed files (*.zip, *.rar, *.7z), or all files.
-
Load from RPI file system dialog: clicking this option displays the RPI file system dialog. Only Amazon AWS S3 buckets are supported – if you try loading a file from another external content provider, a warning will be shown. You can select an encrypted or unencrypted S3 file as required.
As soon as you select a file and click Open, the upload process begins.
Note that the selected file must not contain the following column names: SEQ_NUM, BRAND_DT, BRAND_FILE and JOBID.
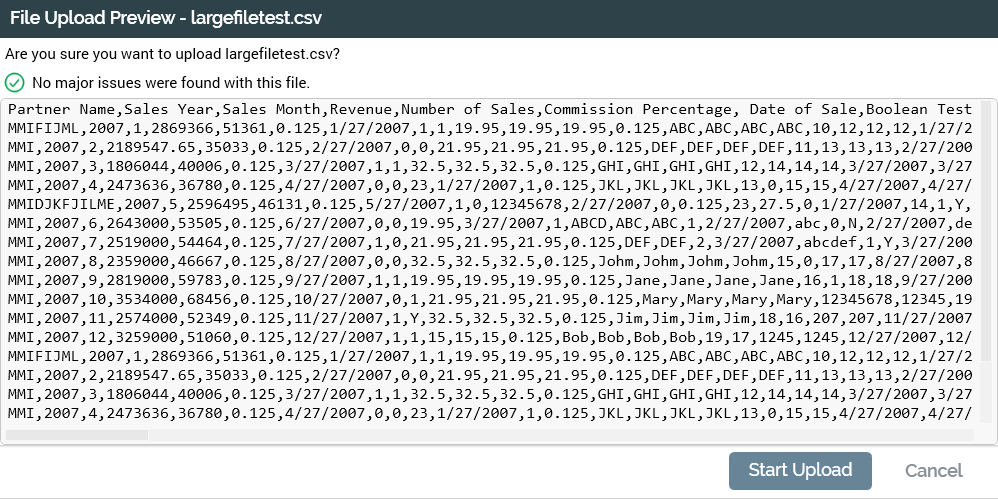
If the selected file is a text file, RPI performs a quick analysis of 100 of the file’s rows. This “sanity check” is used to determine whether the file appears to be legitimately delimited or fixed-width. Following the sanity check, a sample of 20 records from the file is displayed in the File Upload Preview dialog.
The sanity check results are shown as follows:
-
If the file is determined to be delimited or fixed-width: ‘No major issues were found with this file’.
-
If RPI was unable to identify the file as delimited or fixed-width: ‘It is not recommended that you upload this file as the file type could not be determined’.
-
If an error occurred during analysis: ‘An unexpected error occurred while analyzing the file’.
Based on the information at your disposal, you can then invoke Start or Cancel Upload (note that, if desired, you can still proceed with upload if RPI failed to identify the file’s type).
If you elect to proceed, the file is compressed before uploading, and decompressed on the server when fully uploaded. If the selected file is already compressed, RPI proceeds without showing a preview (note that RPI supports the following compressed file types: .7z, .gz, .pkg, .rar, .sit, .sitx, .zip and .zipx).
You can upload both unprotected and password-protected compressed files (RPI decrypts using the password value stored in system configuration setting ZipPassword; if the password is incorrect, the Acquisition process step’s status becomes Upload Failed).
For other file types, RPI displays a message indicating that the file extension was not recognized and it is likely that analysis will fail. You are still at liberty to proceed with uploading the file if you so choose (for example, your organization may maintain data file in a proprietary format).
The file is uploaded from your local file system or network, via a secure link, to a folder on the RPI server defined by system configuration setting DataIntakeLandingDirectory.
As soon as the file is uploaded, the process of analyzing it begins. RPI employs a series of checks to determine the type, structure and content of the file. Details of the analysis processes are documented separately.
If upload and analysis is successful, the File and Field Analysis panels are populated. The File Analysis panel is displayed immediately.
Note that you can upload and analyze another file even though a file has already been uploaded.
Navigation Buttons
The navigation buttons provide an alternative way of navigating through the wizard-style sequence of data project definition process steps. They are displayed at the bottom right of the panel.

In the Definition tab’s Acquisition panel, the Back button is disabled, as Acquisition represents the first step in the data project definition process. Clicking Next displays the File Analysis panel.