This section describes how to create and configure an Apache Hive Data Source Name (DSN). Please follow the steps below. Please note that you may skip steps 1 – 4 if you have already installed the ODBC driver.
-
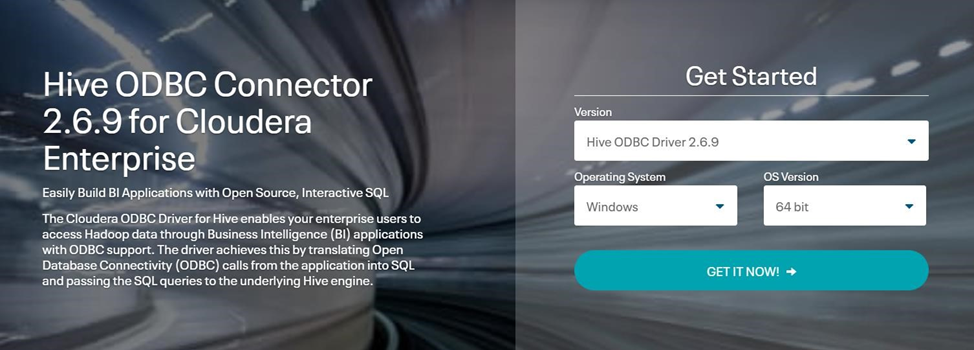
In a web browser, navigate to https://www.cloudera.com/downloads/connectors/hive/odbc/2-6-9.html to download the driver.
-
Select latest Hive ODBC driver, click Windows Operating System and select 64 bit. Click Get It Now to download the driver:
-
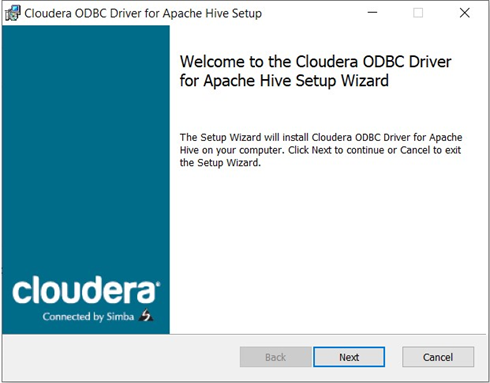
After downloading the file, go to your download folder. Locate and double click the ClouderaHiveODBC64.msi file.

-
In the installation Wizard Window, click Next and follow the required steps to install the driver.
-
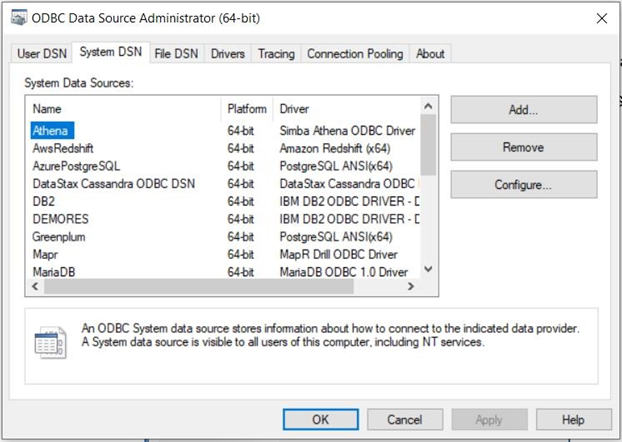
Once you have successfully installed the ODBC driver, go to Control Panel\System and Security\Administrative Tools and click ODBC Data Sources (64).
-
In the ODBC Data Sources Administrator Window, click the System DSN tab.
-
Click the Add… button to create a new Data Source.
-
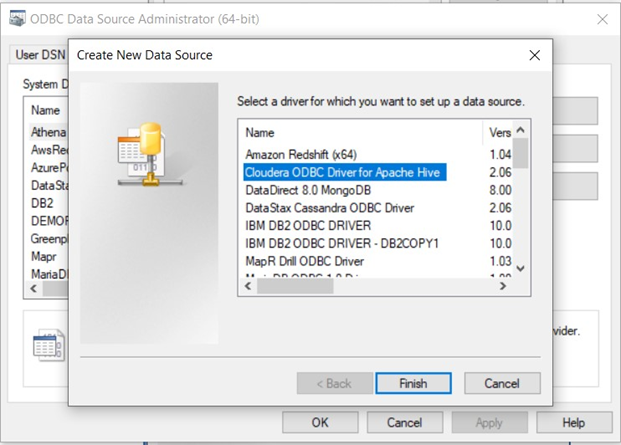
Find and select Cloudera ODBC Driver and click Finish.
-
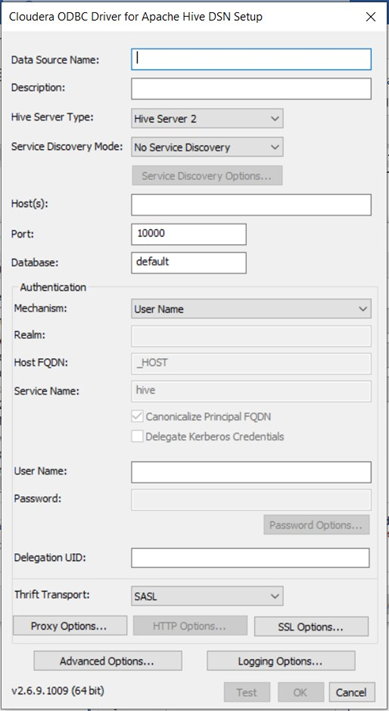
In the Cloudera ODBC Driver DSN Setup Window, configure the following details:
-
Data Source Name
-
Host: Hive host server (IP address or server name).
-
Port: Hive server port number. Only numerical values are accepted. The default Hive server port is 10000.
-
Database: the Hive database name (the default name is ‘default’).
-
Hive Server Type: the type of Hive server configuration. Supported values are ‘Hive Server 1’ (the default) and ‘Hive Server 2’. Select ‘Hive Server 2’.
-
Mechanism: the type of authentication used. In this case, select ‘User Name’.
-
User Name: the username to be used to connect to Hive. Enter the value ‘hive’.
-
-
Click the Test button. Once the connection has been made successfully, click the OK button to create the DSN.

