

Overview
The Assign Users to [Client] dialog, displayed on invocation of Choose Users at the Users list in the Client tab, allows you to manage the assignment of users to the currently-selected client.
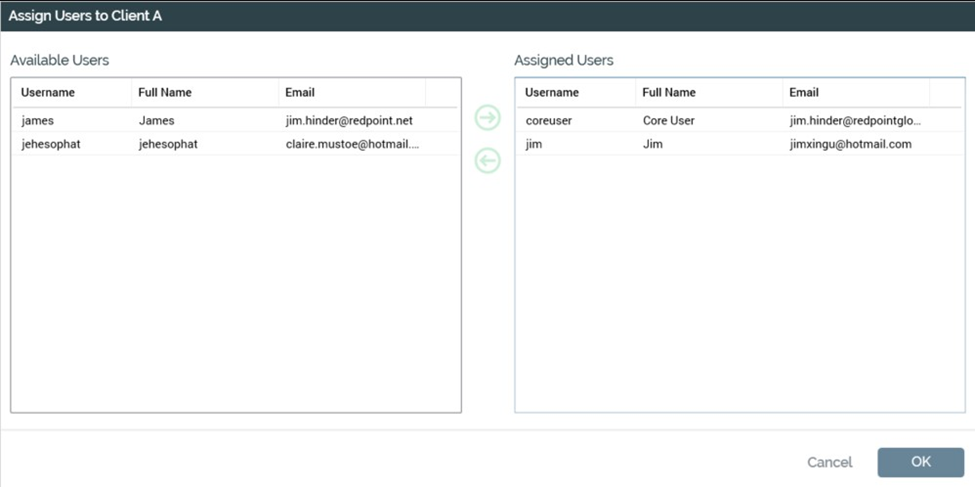
On invocation, the dialog presents two lists of users: to the left, a list of those users within the cluster that are not currently assigned to the selected client; and to the right, a list of those already assigned. On initial display, the contents of the two lists reflect the current state of user assignment at the client.
Available Users Section
The list to the left displays users that have not yet been associated with the current client. Users are listed alphabetically. The following properties are shown:
-
Username
-
Full Name
-
Email
User Buttons
Two buttons, shown between the two lists, control the assignment of users to, and removal of users from, the current client:
-
Assign the selected Users to this Client: this button is enabled when one or more users are selected in the Available Users grid. Invocation moves the users to the Assigned Users grid.
-
Remove the selected Users from this Client: this button is enabled when one or more users are selected in the Assigned Users grid. Invocation moves the users to the Available Users grid.
Note that double-clicking a user in either list has the effect of removing the user from that list and moving it to the other list.
Assigned Users Section
The list to the right displays users that have been associated with the current client. Users are listed alphabetically. The following properties are shown:
-
Username
-
Full Name
-
Email
OK and Cancel
Clicking the OK button at the bottom of the dialog closes the dialog. Any changes to the client’s user community are reflected in the Users list. If changes were made, the client’s Persistence state is set to Edited, and it is necessary to click Save to make the changes permanent.
Clicking Cancel closes the dialog without saving.