

Support for this connector has been deprecated and will be removed in a future release. Refer to the Connector deprecation plan for details.
Creating a Free DotDigital Account
This section describes how create a free DotDigital account (if required). Please follow the steps below:
-
Browse to the DotDigital website: https://www.dotDigital.com/.
-
To acquire a free trial account, click Free Trial.
-
Complete the form and click Submit.
-
An email will be sent to your email inbox for verification.
Create API user
This section describes how to create an API user to connect to the DotDigital service. Please follow the steps below:
-
Open the DotDigital portal at https://login.dotdigital.com/
-
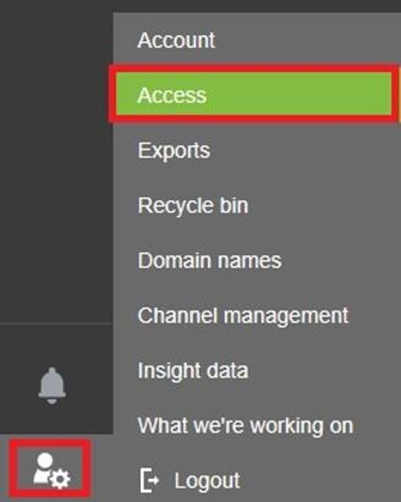
Click the lower leftmost icon, then choose Access.
-
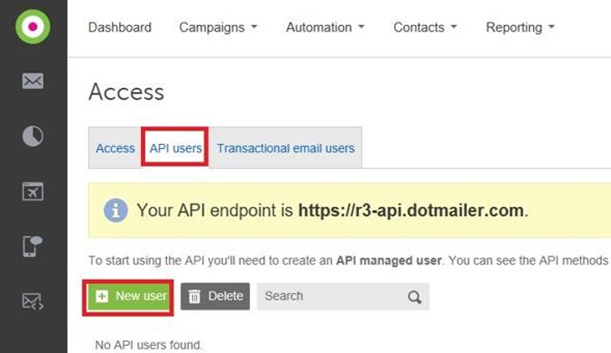
Go to the API users tab, then click New User.
-
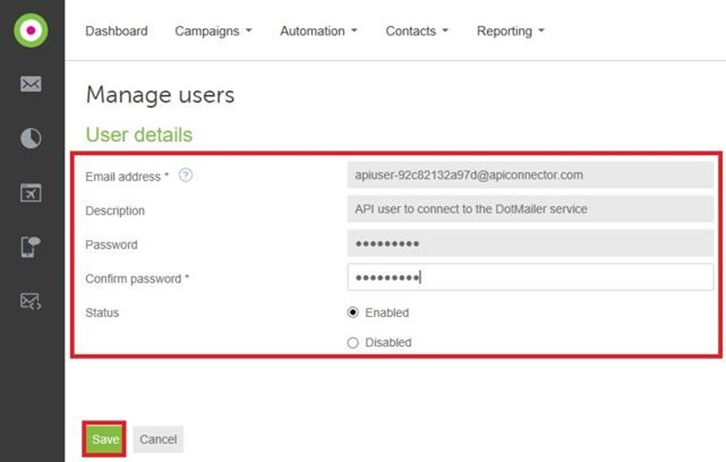
Complete the form, and click Save when done.
Setting Up External Dynamic Content
This section describes how to set up a public facing URL to use for RPI dynamic content. Please follow the steps below:
-
In Windows Explorer, open the RPI deployment files folder. Go to the Plugin Services folder.
-
Copy the DotDigitalEdcService folder, then paste it into the ‘C:\inetpub’ folder.
-
Open IIS.
-
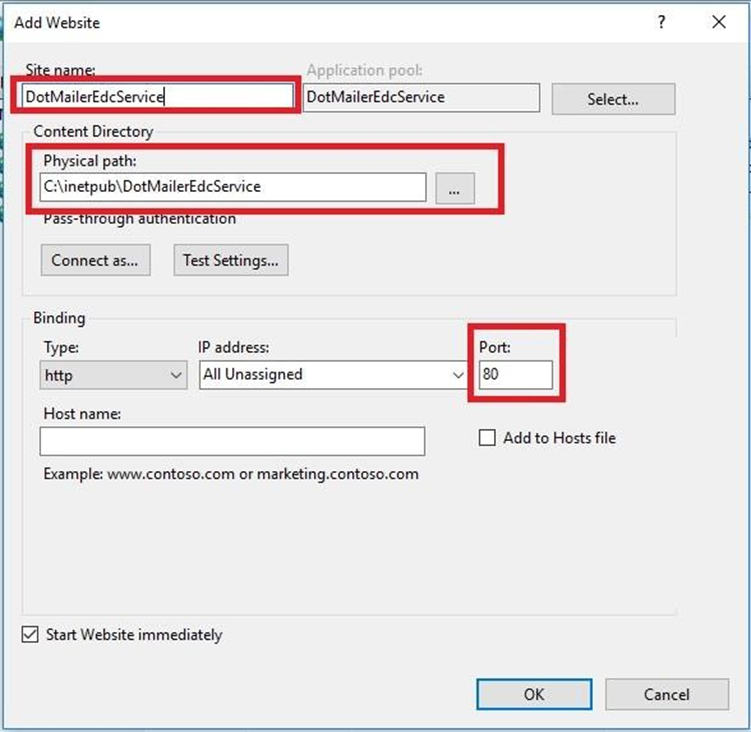
Right-click Sites, the select Add Web Site.
-
Complete the details as shown below. You may need to use another port number if port 80 is already in use.
-
Click OK to save the new website.
Configure External Content Shared Folder
This section describes how to configure an external content shared folder for use by DotDigital. Please follow the steps below:
-
Login to RPI Server Workbench.
-
In the Configuration tab, locate the
DotmailerExternalDynamicContentSharedFolderPathsetting and specify a shared folder path. -
Save your change.