

Support for this connector has been deprecated and will be removed in a future release. Refer to the Connector deprecation plan for details.
Setting up XAMPP and Magento Admin Panel
-
Magento requires that XAMPP be installed. Download it at https://www.apachefriends.org/index.html.
-
Follow the XAMPP installation instructions.
-
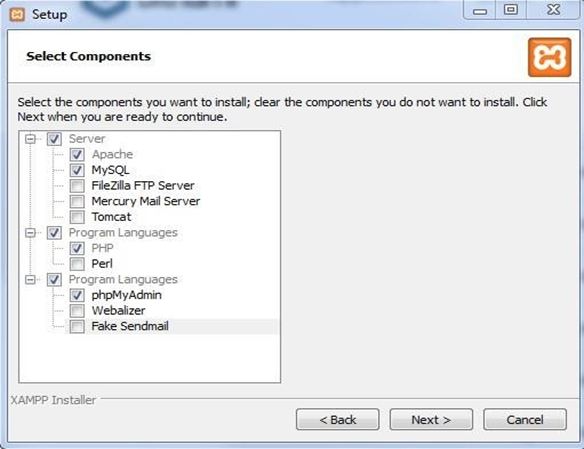
At Select Components, select only the following and click Next:
-
MySQL
-
PHP (By default, this is already selected)
-
phpMyAdmin
-
-
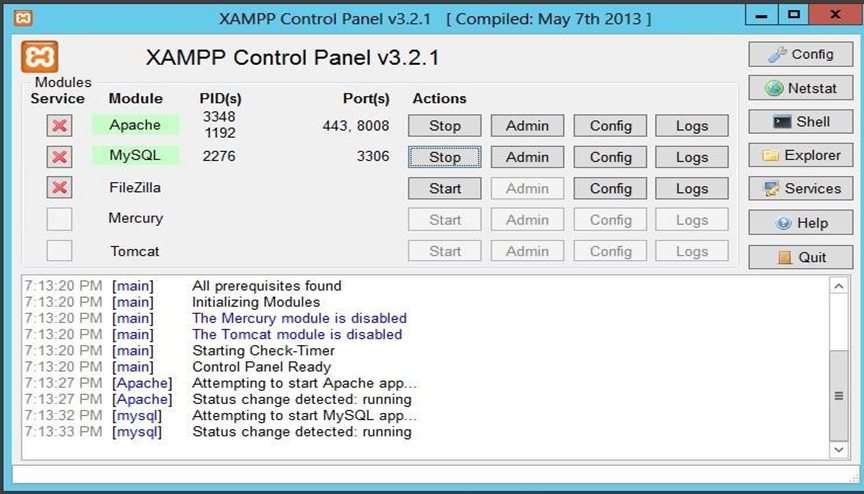
Run the XAMPP Control Panel.
-
Click the Start button for Apache and MySQL. It should look like the image below.
-
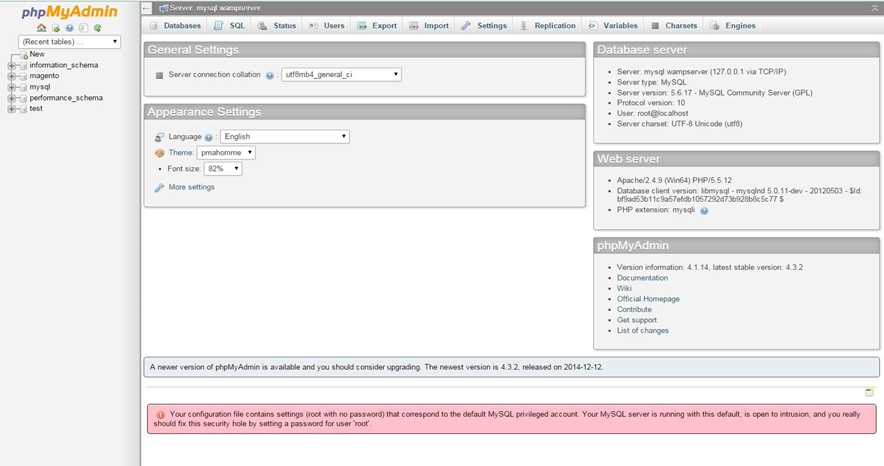
Create the Magento database in MySQL prior to installing Magento. Click MySQL Admin button in the XAMPP control panel, doing redirects to phpMyAdmin (the MySQL database warehouse).
-
Browse to https://www.apachefriends.org/add-ons.html choose Magento and download the Windows platform installer. This is a Community Edition of Magento.
-
Unpack/unzip the Magento installer.
-
Add the magento folder from the Magento zip file to the XAMPP htdocs folder (C:\Xampp\htdocs).
-
Browse to http://127.0.0.1/magento/ (the Magento web-based installation wizard).
-
Follow the instructions.
-
In the installation procedure’s Configuration section, type root in the User Name field and leave the User Password blank. Click continue
-
Upon completion of the setup, the encryption key will be provided.
-
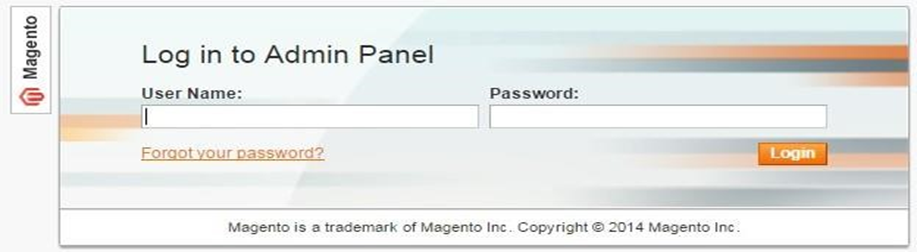
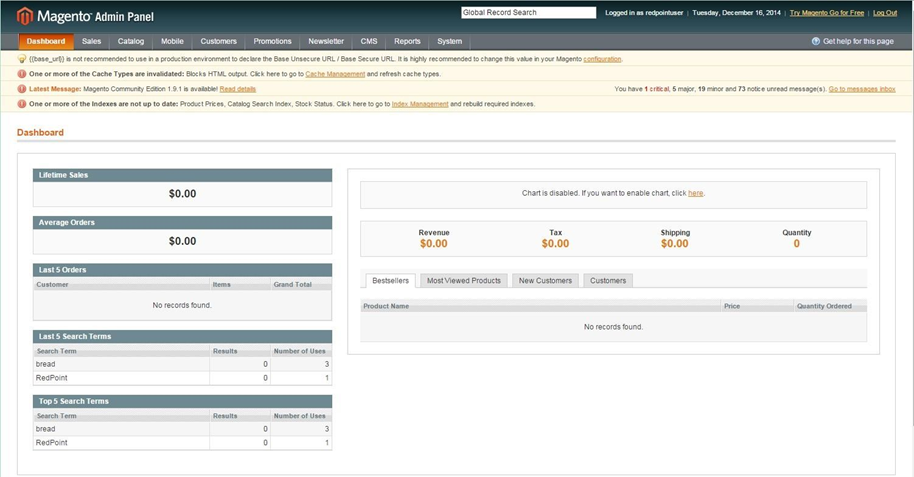
Click the Go to Backend button to go the Magento Admin Panel. Use the username and password you created during installation to log in.
-
After logging in, the default Dashboard will be displayed.
Setting up Credentials for RPI Configuration
-
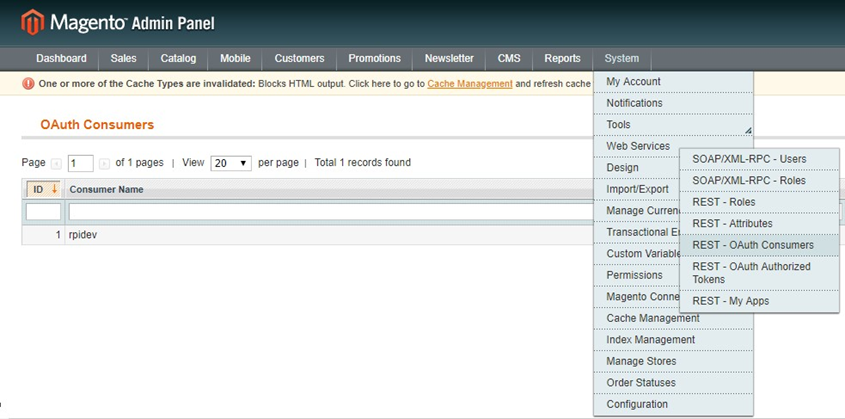
In the Magento admin panel, navigate to System > Web Services > REST OAuth Consumers.
-
Click on the “Add New” button to add a new Consumer Application.
-
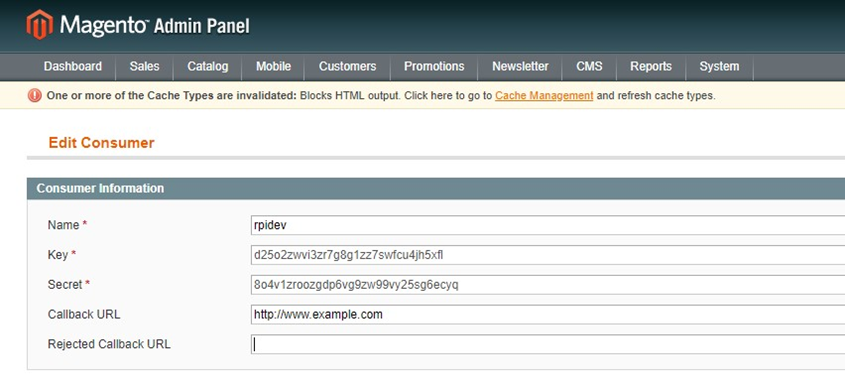
In the “New Consumer” screen insert a custom name.
-
The Key and Secret fields are disabled; copy their values for later usage in setting up the RPI connector’s Consumer key and Consumer secret properties.
-
Set the Callback URL and save the Consumer app.
-
Navigate to System > Web Services > REST Roles.
-
Click on the “Add admin Role” button in the top right corner. The “Add new Role” screen is shown.
-
In the field “Role name” enter e.g. “RESTadmin”.

-
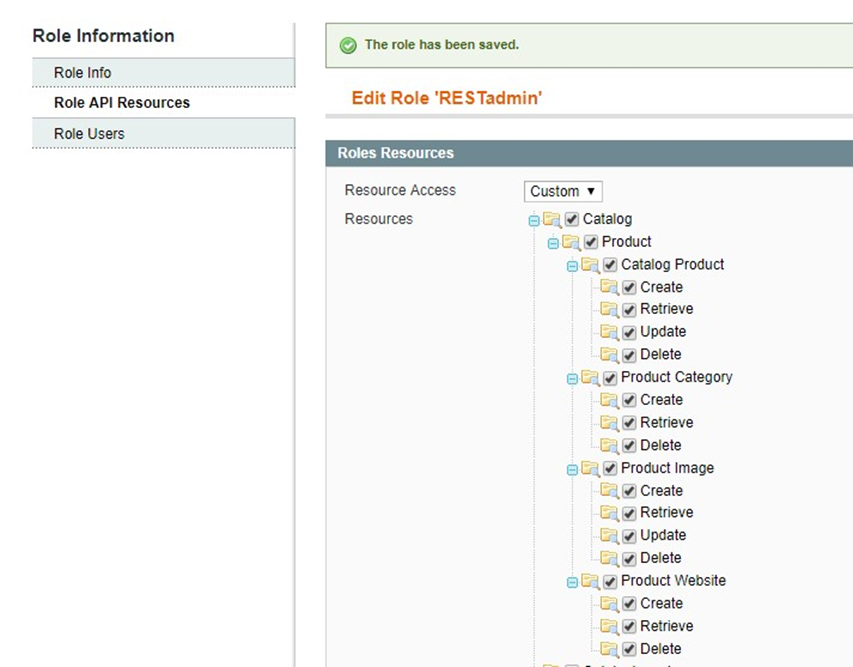
Click the “Role API resources” tab on the left.
-
The “Role Resources” screen is shown. Select Custom as Resource Access and Product under Resources.
-
Click on the “Save Role” button in the top right corner of the screen.
-
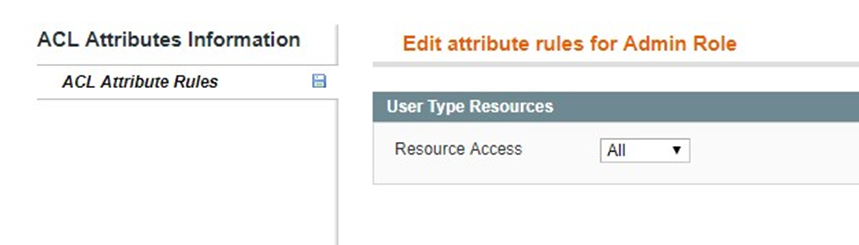
Navigate to System > Web Services > REST attributes.
-
Click on “Admin” in order to configure the REST resource attributes that Admins will be allowed to access.
-
In the “User type resources” screen, select the resources that Admin users are to access, or select “All“.
-
Click the “Save” button in the top-right corner.
-
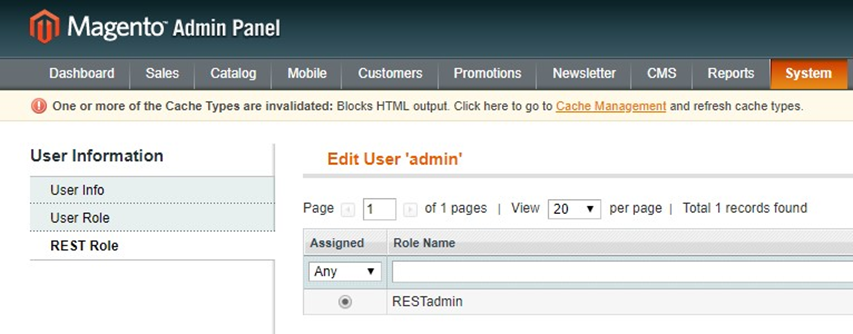
Navigate to System > Permissions > Users. The “Users” grid is shown with a list of registered Magento site Administrators.
-
Click on an admin user in the list to open the “Edit user” screen.
-
Locate the “REST role” tab on the left. Click it and a list of Admin roles is shown on the screen.
-
Click on the “Assigned” radio box near the role name.
-
Save the user.