Support for this connector has been deprecated and will be removed in a future release. Refer to the Connector deprecation plan for details.
CosmosDB Cache Configuration
This section describes how to provision an CosmosDB Cache. Please follow the steps below:
-
Login to Azure portal by navigating to https://portal.azure.com on your web browser.
-
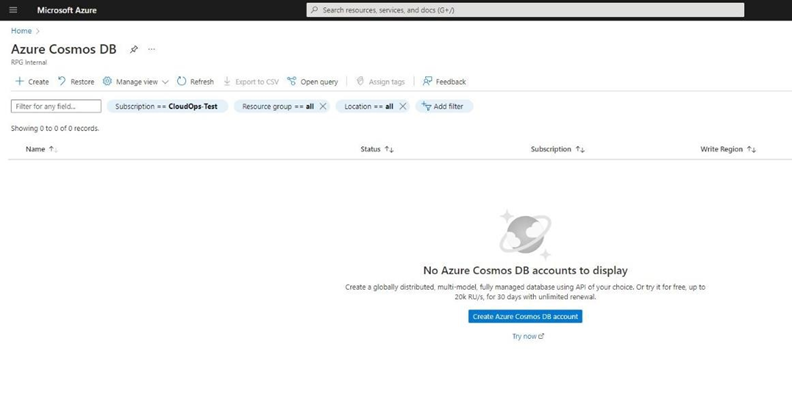
Go to Home section and find Azure CosmosDB.
-
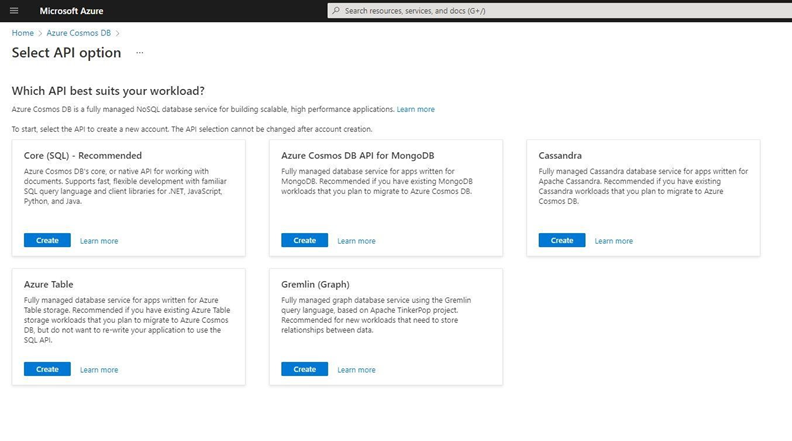
In the “Select API option” page, choose “Core (SQL) – Recommended.” Click Create.
-
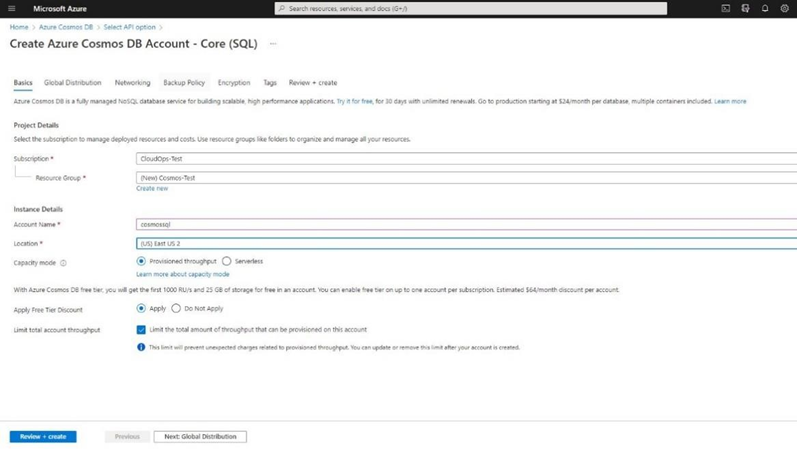
Provide the required fields on the “Create Azure Cosmos DB Account – Core (SQL)” page.
-
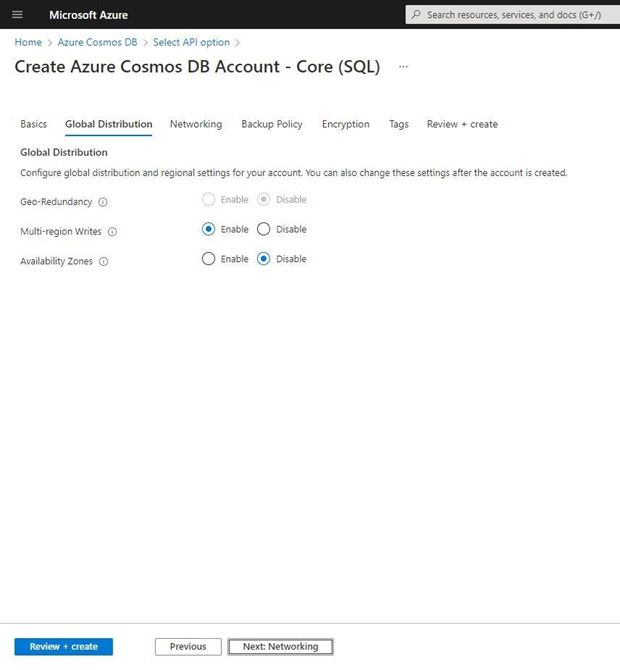
Specify the Global Distribution settings of the database to be created. Click “Next: Networking” button.
-
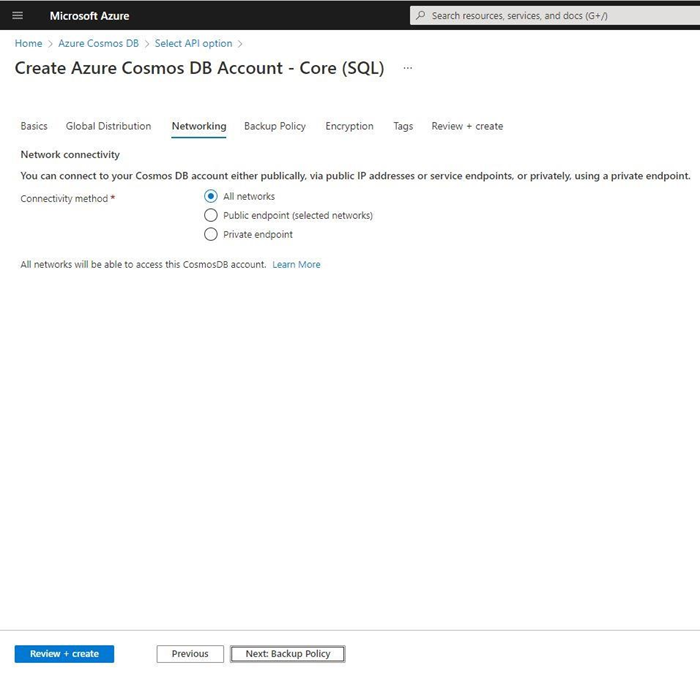
Specify the desired connectivity method in the Networking page. Click “Next: Backup Policy” button.
-
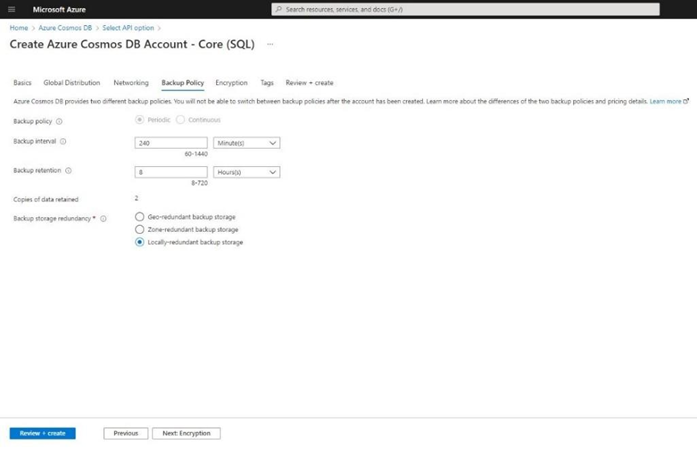
Specify the backup policy settings of the database to be created. Click “Next: Encryption” button.
-
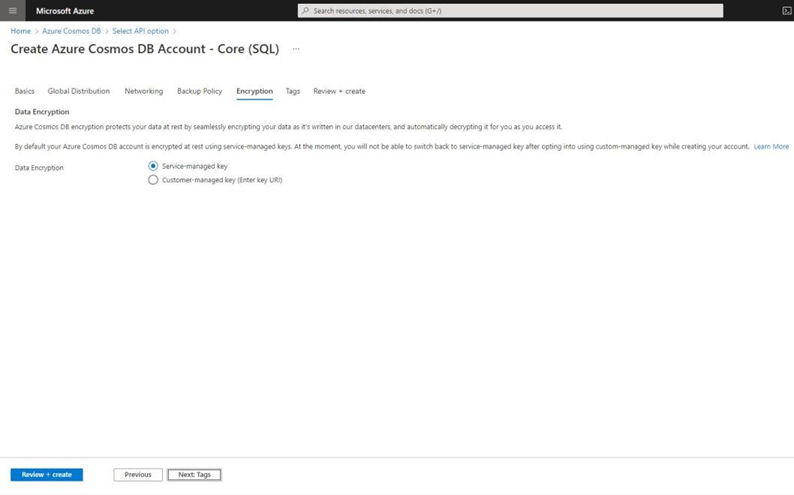
Choose “Service-managed key” for the encryption. Click “Next: Tags” button.
-
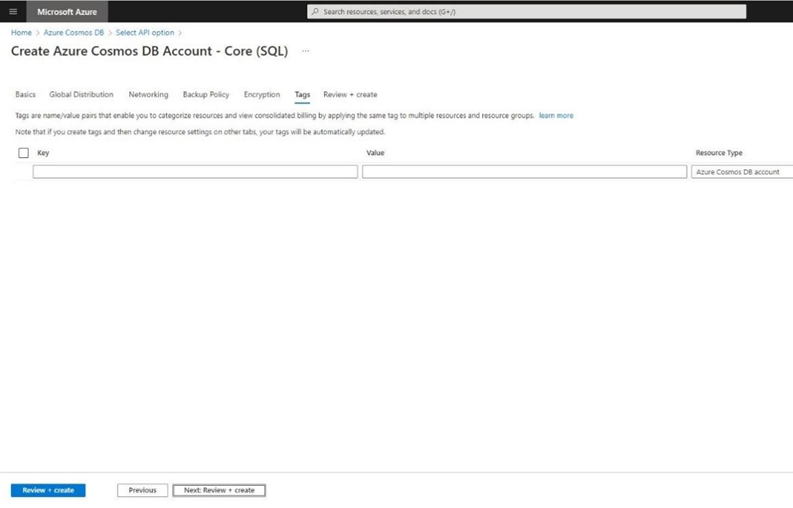
Add tags for the database. Leave blank if not needed. Click “Next: Review + create” button.
-
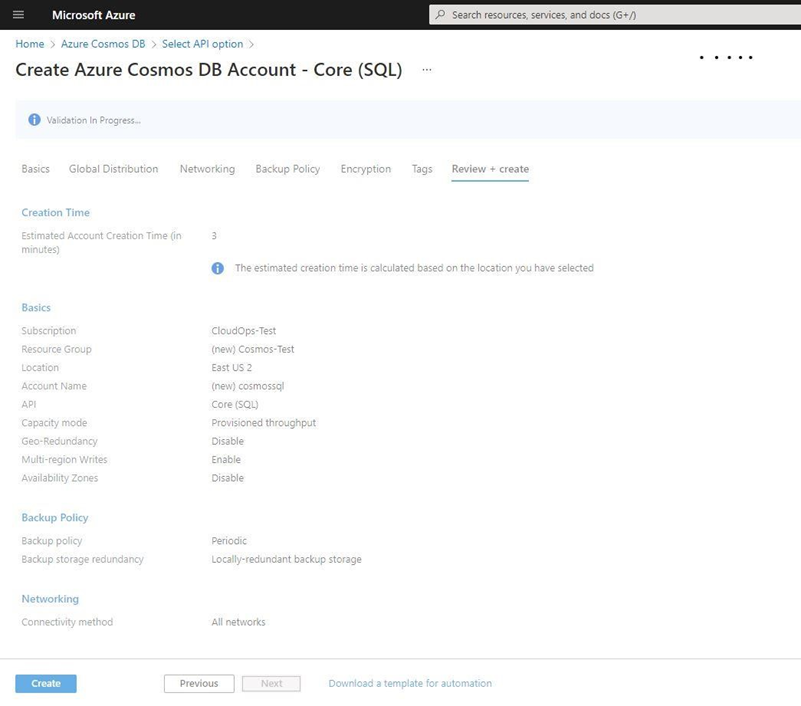
Review the settings of the database to be created. If correct, click the Create button.
-
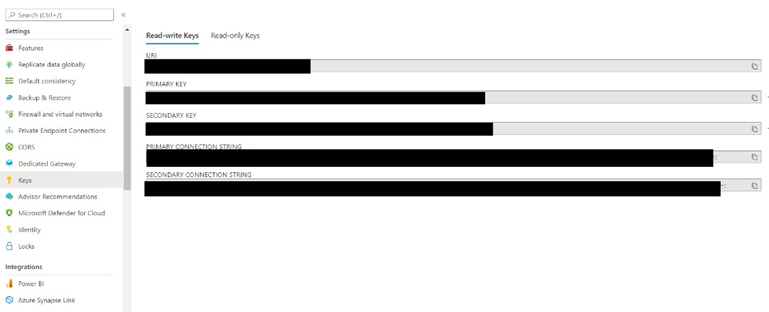
Once the provisioning of the new CosmosDB database has completed successfully, you can find the connection string from the settings on the left menu by clicking “Keys”. The primary and secondary connection strings will be shown. These will be required for the RPI Realtime Configuration, along with the database ID. Refer to the RPI Admin guide for additional details regarding this configuration.